Bok Choy, Radish & Celery Ferment

A perfect and pretty side dish

Chop. Chop. Time to harvest and preserve the bok choy and radishes coming out of the garden. In this ferment, I use just the stems of bok choy and add celery to keep it crunchy. The red radishes offers a bit of spice and a pretty rosy hue.  Below is my recipe, such as it is. The fermentation process lends itself to experimentation and variation.  I change proportions of ingredients based on what is available from my garden or fresh in the grocery store, usually making quart size containers at a time.  Having a few different ferments bubbling away on the kitchen counter or in the refrigerator allows me to serve several small side dishes (Korean-style) alongside main dishes at dinner.  I also use this ferment in salads, veggie roll-ups or as a garnish on crackers with cheese or spreads too. The variation at the table not only stimulates interest but digestion as well.

In Vegetable Fermentation Further Simplified, Sandor Katz gives the lowdown on how to ferment any vegetable. Trust me – fermentation seems exotic but it is really super easy. If you are looking to get into fermentation, follow his guidelines and you’ll be making very original side dishes and manufacturing your own tasty probiotics in your kitchen in no time.  I’d love to hear about what you are fermenting.

Fermented Bok Choy, Radish & Celery

A few bunches of bok choy (only use white stems)

1 bunch red radishes (thinly sliced)

3 – 5 stocks celery

2-3 tablespoons of salt (amount of salt depends on volume of veggies and taste). Experiment!

(You can add garlic or any spice you please to this ferment as well)

Place chopped bok choy stems, celery and thinly sliced radishes in a flat dish and sprinkle salt over veggies. Let sit for a few hours until fluid is released from veggies. After washing hands, you can also massage veggies to release more fluid if necessary.

This time I used a Japanese pickle press to submerge my veggies but if you don’t have this handy kitchen tool, you can pack vegetables into a wide mouth canning jar or crock. Ideally, veggies are totally covered in salt brine but if not then add water. If you are using a crock, submerge veggies with a weight on top of a plate. If you are using a canning jar, you can use a double plastic baggie filled with water to submerge veggies. 

Use a rubber band to secure cheesecloth or fabric over jar or crock to keep flies out and let sit on counter for 4 -7 days. The speed of ferment will depend on amount of salt and outside temperature. The longer you let it ferment, the tangier the taste will be. I generally let this ferment sit for 4-5 days. Taste your ferment frequently.

Place in refrigerator when you like the taste.

Non-gluten Bread

IMG_1407The fall season is upon us, and naturally I crave heavier richer foods. Especially carbohydrates. Toast with butter, to be specific. But, here’s the thing – I try to limit carbohydrates, especially breads. How I satisfy my craving for bread is by making non-gluten bread recipes, even though I am not gluten intolerant. Because they are flourless and made of fermented grains, non-gluten breads offer more nutrients per calorie. If I’m going to eat bread, it has to satisfy my cravings and be worth its heft for my slower winter.

Here are two non-gluten bread recipes I found that are simple, flavorful, and most importantly, unfussy. They are infinitely amenable to variations. I always add hemp seed and more salt, especially on the top of the loaf.

This buckwheat bread is really simple, hearty and inexpensive: https://breadtopia.com/gluten-free-fermented-buckwheat-bread/

This quinoa/millet bread, although more complex, has a sweet nutty flavor and when it is toasted the edges crisp up just right: https://www.wholeheartedeats.com/the-unbelievable-bread_20-html/

Fermented Kohlrabi

IMG_0803Chop. Chop.  Time to harvest and preserve the kohlrabi.  I had a hunch kohlrabi would make a good ferment because as a brassica it is sweet, similar in color, and crunchy like cabbage, but this outer-worldly looking vegetable is even more versatile.  In this ferment, I added Hungarian hot wax peppers to give subtle spice, and indeed, the combo created a delicate balance of flavors.

IMG_0814Below is my recipe, such as it is.  The fermentation process lends itself to experimentation and variation.  I change it up based on what is available from my garden or on sale in the grocery store, usually making just quart size containers at a time.  Having a few different ferments bubbling away on the kitchen counter or in the refrigerator allows me to serve several small side dishes (Korean-style) alongside main dishes at dinner.  The variation at the table not only stimulates interest but the digestion as well.

IMG_0808In Vegetable Fermentation Further Simplified, Sandor Katz gives the lowdown on how to ferment any vegetable.  If you are looking to get into fermentation, follow his guidelines and you’ll be making very original side dishes and manufacturing your own tasty probiotics in your kitchen in no time.  I’d love to hear about what you are fermenting.


Fermented Kohlrabi

3 – 4  kohlrabi

2 Hungarian hot wax peppers

2 teaspoons salt


Peel skin off kohlrabi and shred in cuisine art or mandolin.

Place shredded kohlrabi in bowl and sprinkle 2 teaspoons of salt over kohlrabi.

Wash hands and massage kohlrabi until you’ve squeezed out as much liquid as possible.

Mix in diced hot wax peppers

Pack vegetables into a canning jar.

Pour liquid over the top of vegetables.

Fill plastic baggie with enough water to weigh down kohlrabi so it is submerged under liquid (usually just 1/2 cup of water).

Place on kitchen counter in a bowl.  As it ferments it will bubble up and excess will spill into bowl.

Wait 3 – 7 days, or more.  Taste often until flavor appeals to you.

Cover with a lid and place in refrigerator.


Shio-Koji

IMG_0618If you are looking to add more fermented foods into your diet this summer, try making shio-koji(salt koji).  It’s uber-easy and extra tasty. Koji, rice inoculated with the Aspergillus oryzae spores, is commonly used in making traditional Japanese fermented foods like miso, sake and soy sauce, but it is also used to make this salt seasoning which is made from just three ingredients: koji, salt and water. Left on the kitchen counter for one to two weeks, and stirred once a day, it will ferment into sweet/salty creaminess.

IMG_0465

Although it can be used  simply as a salt substitute on all foods, one of my favorite ways to use shio-koji is for an overnight ferment on garden vegetables like root vegetables (especially radishes and turnips), or sugar snap peas, peppers and cucumbers.  Immerse vegetables (whole or sliced) into the mixture; the next day serve them as side dishes to meals or add them in salads.

IMG_0620

On raw salads, I enjoy using shio-koji is as a stand alone addition or in a dressing of olive oil and rice wine vinegar.  One tablespoon will give that mystifying savory sweet & salty umami taste which will keep your dinner guests guessing and wanting more.

A common and delicious way to use shio-koji is as a marinade for tofu, beef, pork, chicken or fish.  It tenderizes and brings out natural umami. Just coat your tofu, meat or fish with the shio-koji and put it in the refrigerator overnight, then bake or grill.

I know I sound all ga-ga about shio-koji, just like the nukazuke pickles, but it’s the kind of stuff I love having around my kitchen because it lends itself to experimentation and fermentation is my preferred method to get probiotics into my body.  With lots of fresh garden veggies and summer grilling, shio-koji brings sparkly savory sweet/salty flavors to the table.  If you make shio-koji, let me know all the ways you use it.

You can buy koji at most Asian Markets in the refrigerated section. Cold Mountain sells Koji in a 16 ounze container. I like to double or triple this recipe for a larger batch. This is a 6 ferment which lasts longer than a 3 percent ferment and has a sharp clean flavor.

Shio-koji Recipe

from Miso, Tempeh, Natto and other tasty ferments by Kristen and Christopher Shockey

3 tablespoons salt

1.5 cups dried koji

2-3 cups water, boiled and cooled, to fill quart jar.

Mix salt and koji in a bowl and mix well. Place mixture in quart jar and add water.  Cover with cheesecloth and secure with rubber band.  Ferment for 1-2 weeks.  Outside temperatures will influence how long it takes to ferment.  Stir every day.  It’s ready when the sharply salty taste balances with a sweet taste. Keep in refrigerator in glass container with lid.

Nukazuke (Rice Bran) Pickle Recipe

DSC06106

There are some foods that are just too damn exciting, and not just to the palate.  Nukazuke, rice bran pickles, fall into the “I wish I would have done this sooner” category.  Not only are they crisp, their flavor is subtle, but with a complexity unique to each vegetable’s qualities. And, just as significant, the fermentation process for making them is very simple and downright entertaining.  My own definition of what cures me is any activity or experience, which engages, vitalizes, and catalyzes healing.  It might be hard to imagine that a traditional Japanese pickling process could elicit such fizz in me. But it does. I always pay attention when any food processing activity excites, or as my friend Danny says, gives me juice. We all know this…if what we do gives us energy then we must be on the right track.

I found out about nukazuke pickles in the most traditional way — from my neighbor, Stewart.  He borrowed one of my most cherished books, The Art of Fermentation, by Sandor Ellix Katz, made a batch of the nukazuke pickles, and then gave me some samples. In due time, he offered me a lesson on how to ferment vegetables using this method.  Because Stewart has spent significant time in Southeast Asia and had previously tasted these pickles at their source, he was drawn to making them.

Stewart warned me that recipes for making these pickles vary widely, but since it’s a no-fail kind of process, he advised doing my own research and experimenting since ingredients were cheap.  That’s exactly what I did so the recipe that follows is a composite recipe based on The Art of Fermentation’s instructions, Stewart’s recommendations and my own google searches. I offer it as a guide, and like Stewart, encourage readers to try out their own versions, becoming their own resident authority on a method that they can share with neighbors.  One reason I love live culture foods is they survive because they are passed from organism-to-organism, household-to-household, and generation-to-generation.

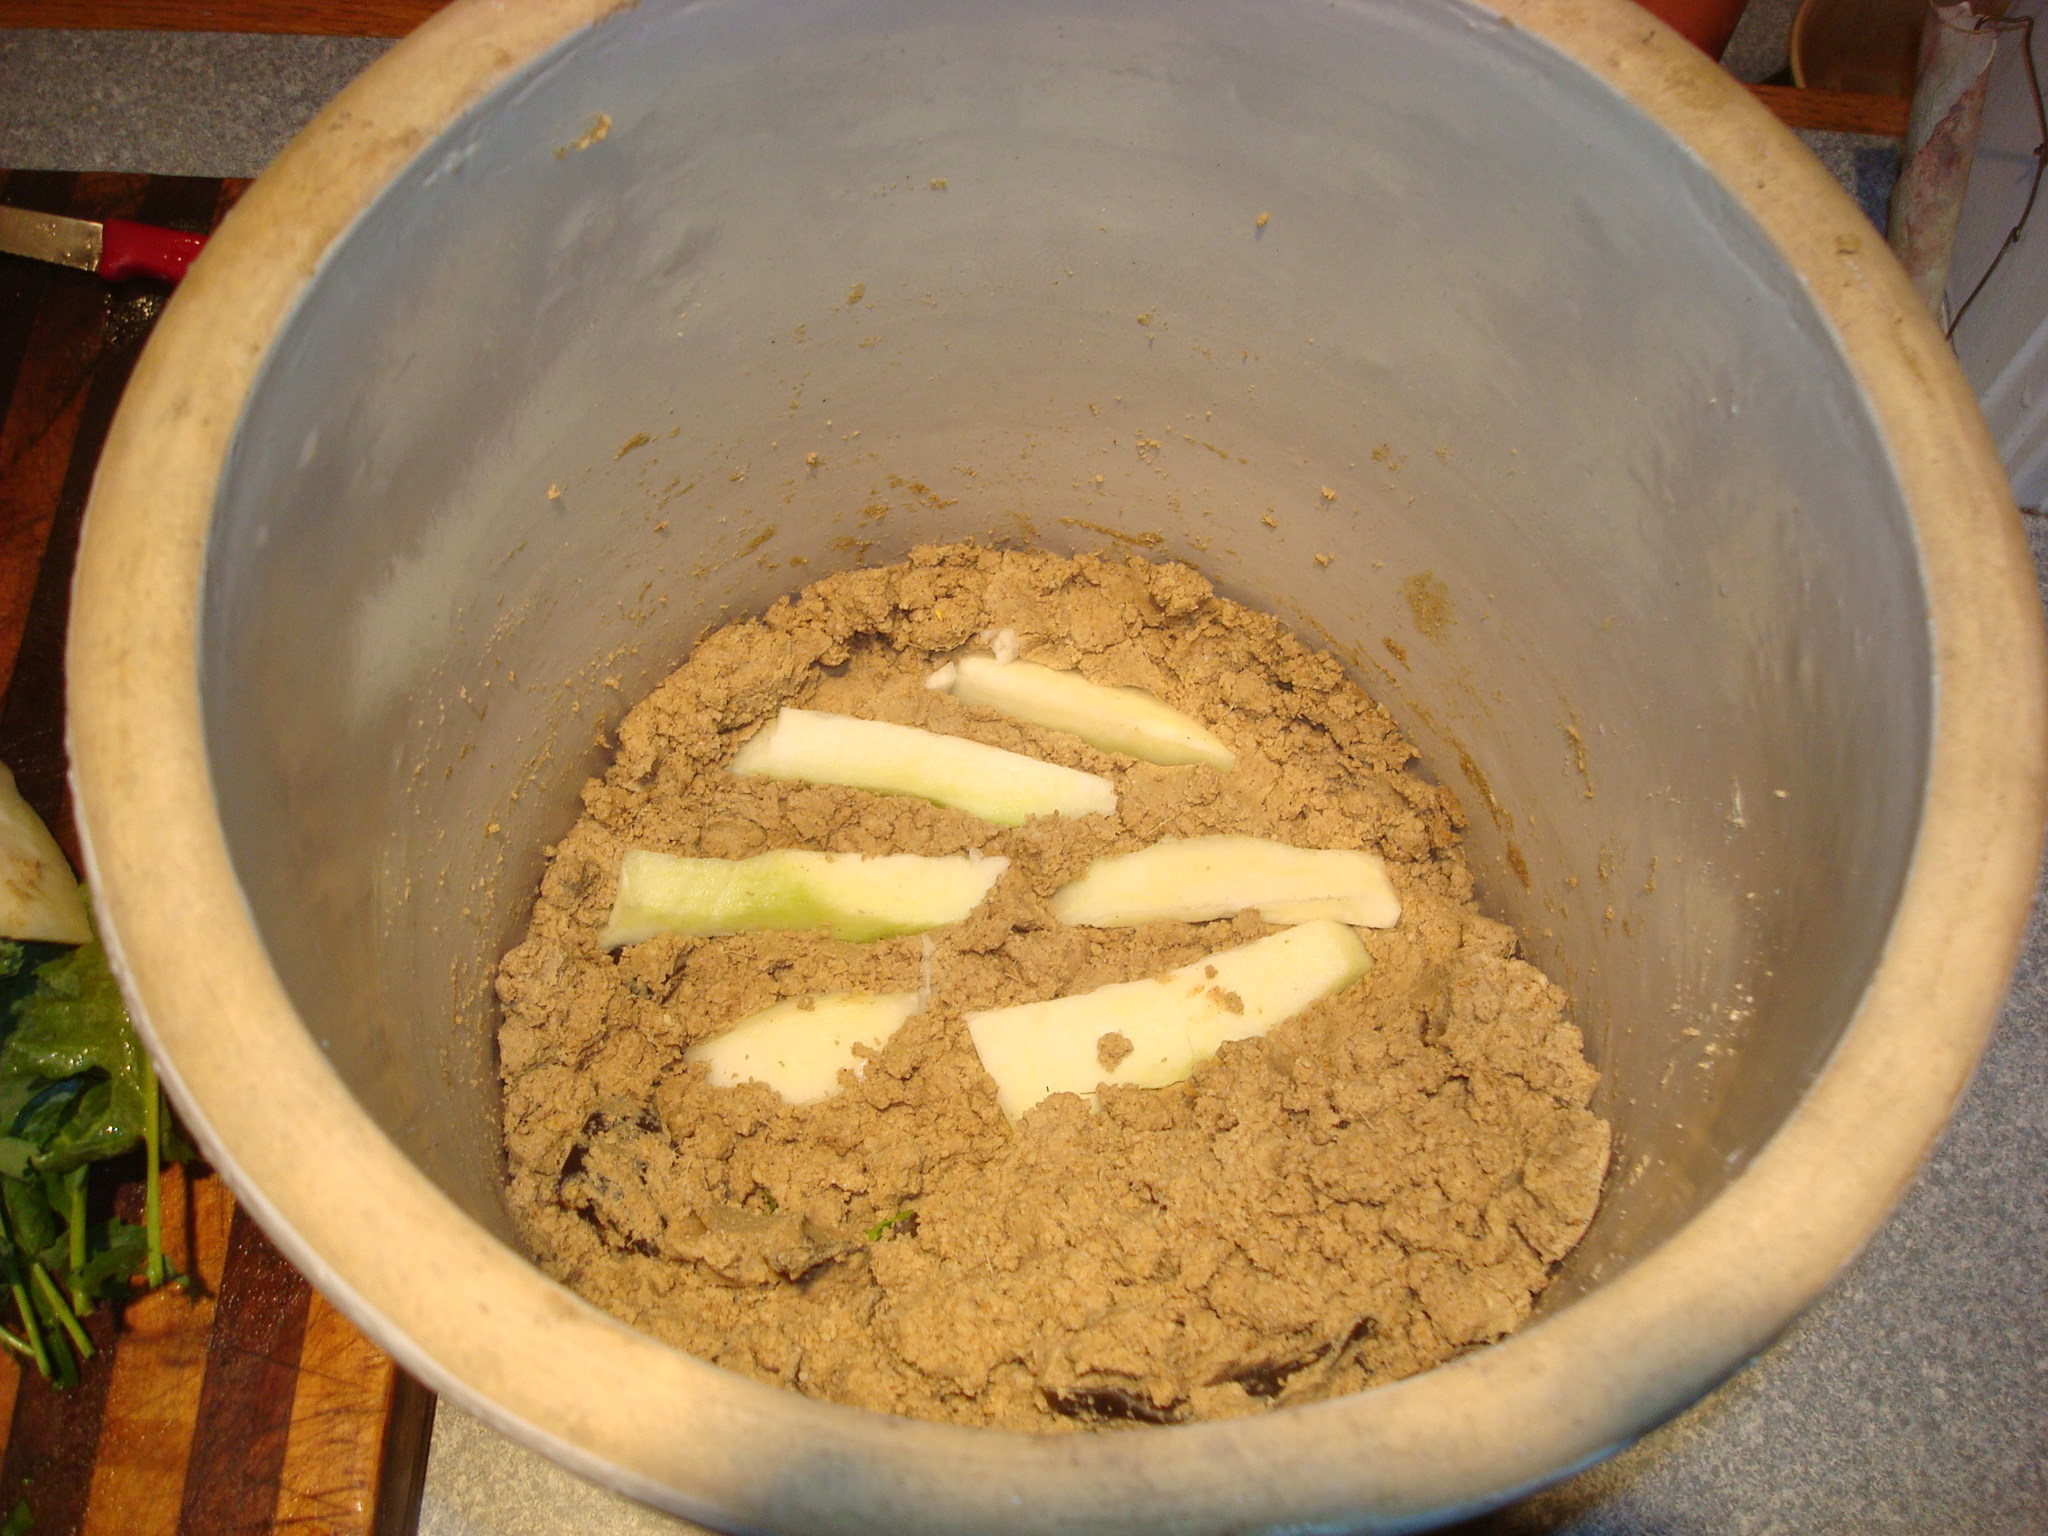
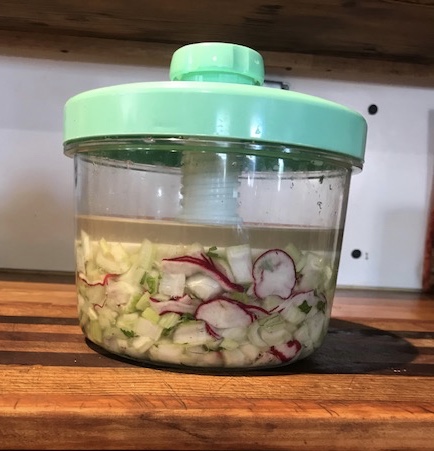
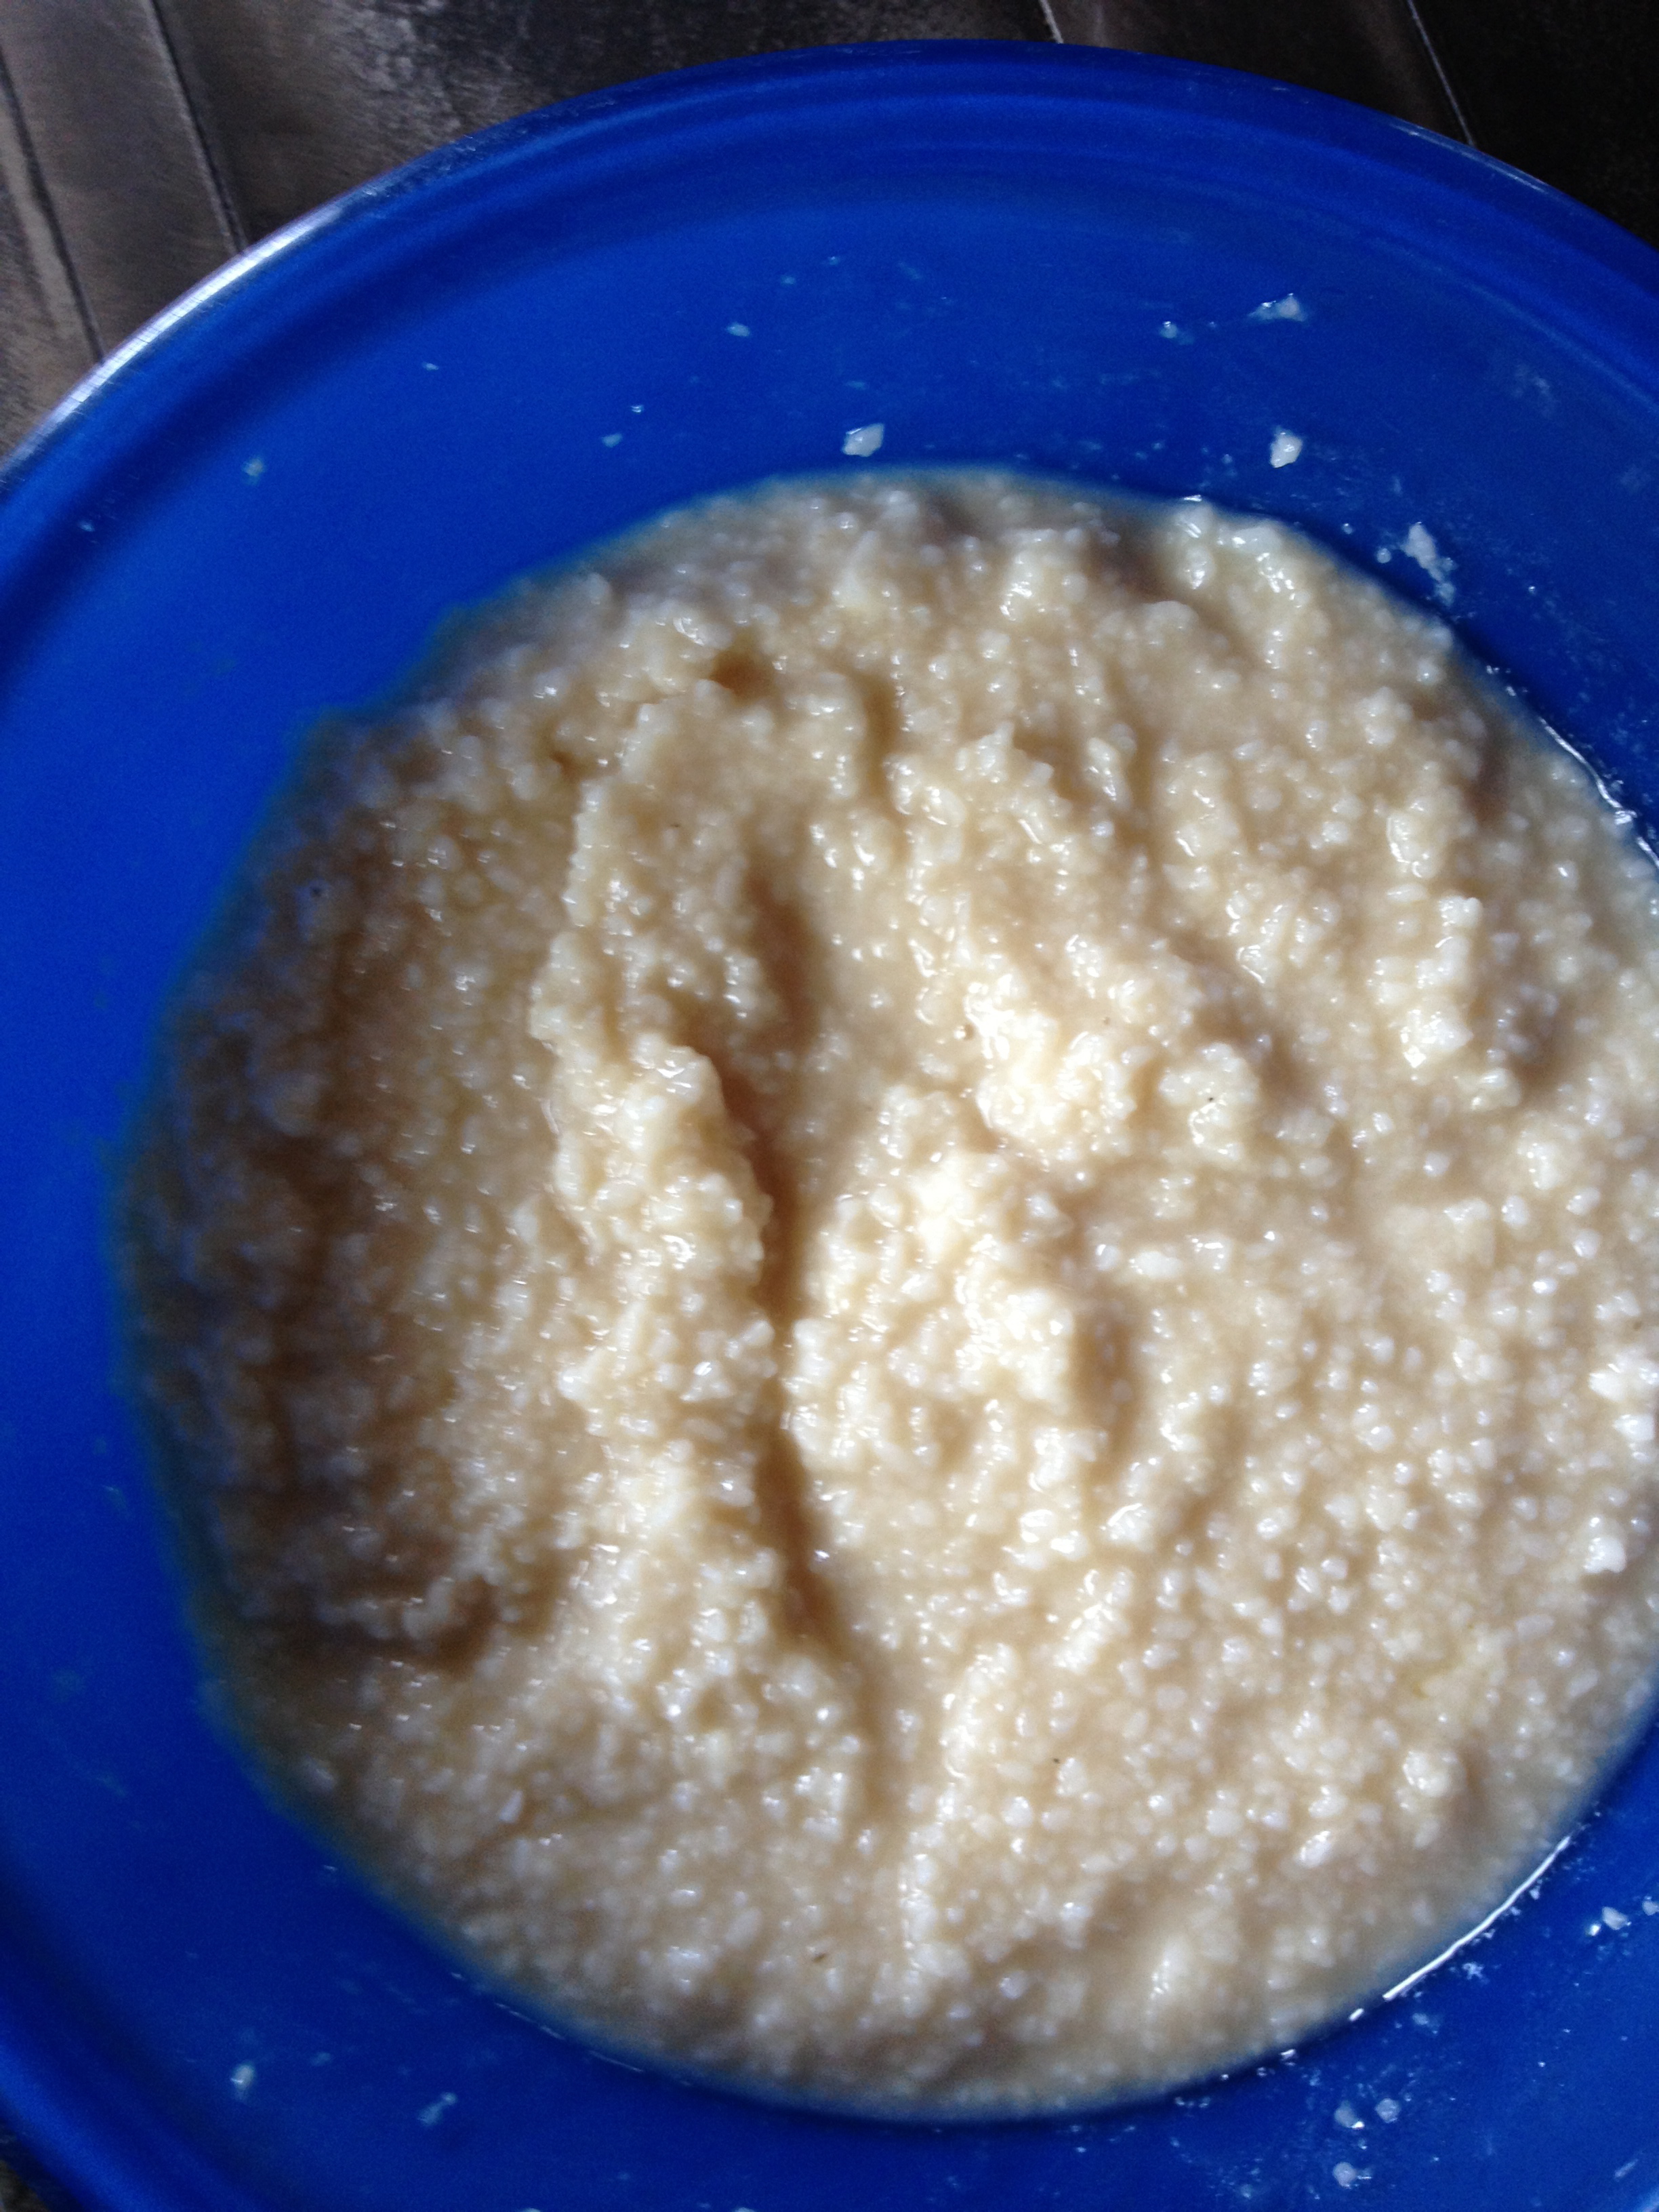
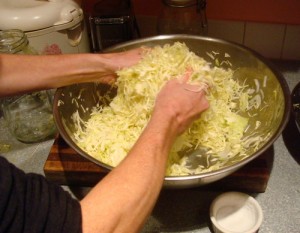
In this fermentation method, we bury any and all types of vegetables in a rice bran and salt paste with a consistency like wet sand.  Depending on the ambient temperature, vegetables can pickle in a matter of hours or overnight, retraining their crispness. If you like a stronger, more sour taste and softer texture, the vegetables can be left in the rice bran for a few days or even months. This method of fermentation is reliant on a continuous supply of lactic-acid producing bacteria colonies, which comes from the surface of our bare hands and the skin of fruits and vegetables.

It is important to stir the nuka pot (crock if you have one) everyday with your hands to keep the healthy bacteria alive and to prevent mold.  Since this is a live culture, it emits an earthy almost nutty scent.  It can also be refrigerated if ambient summer temperatures become too warm (which might sour your nuka-bed), or if you go away for any length of time.

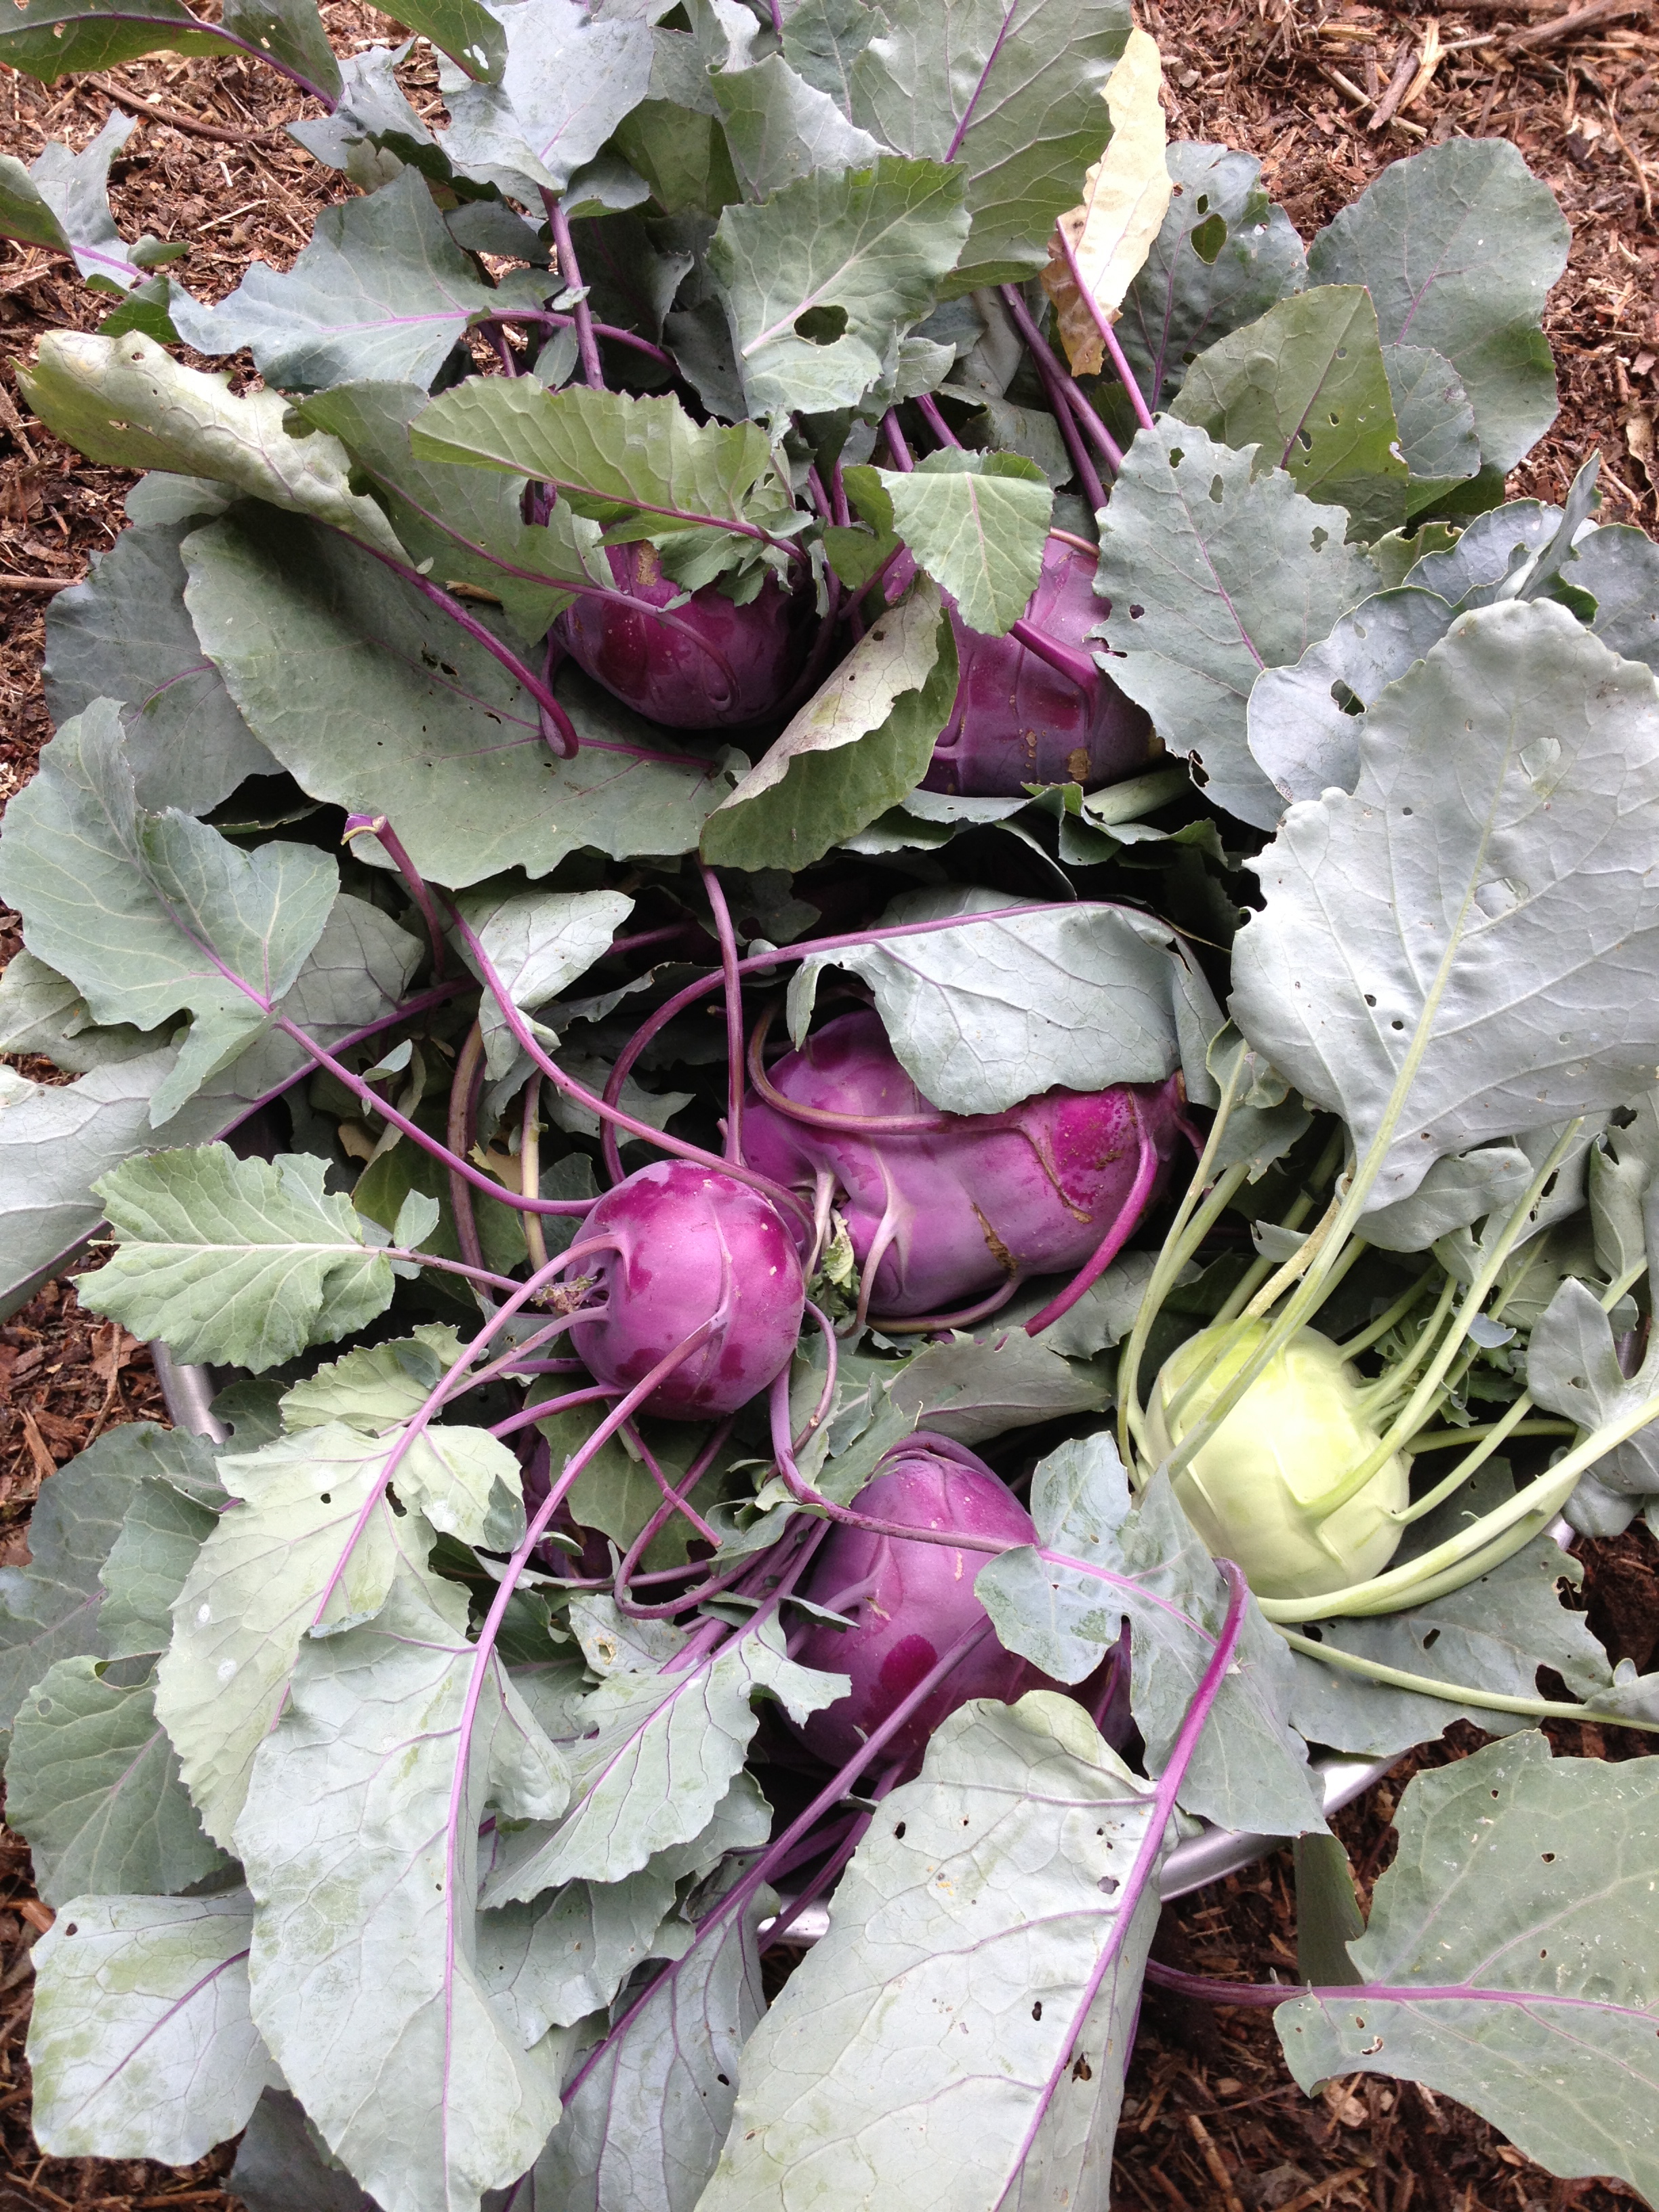
The reward for getting your hands nuka-covered everyday is finding your vegetable treasures buried in the nuka pot.  To my husband Craig’s delight, I’ve been serving a different pickle delicacy with dinner every night.  He exclaimed after sampling the kohlrabi, “This is sooo good.  You are really on to something!”

 Nukazuke Rice Bran Pickle Recipe

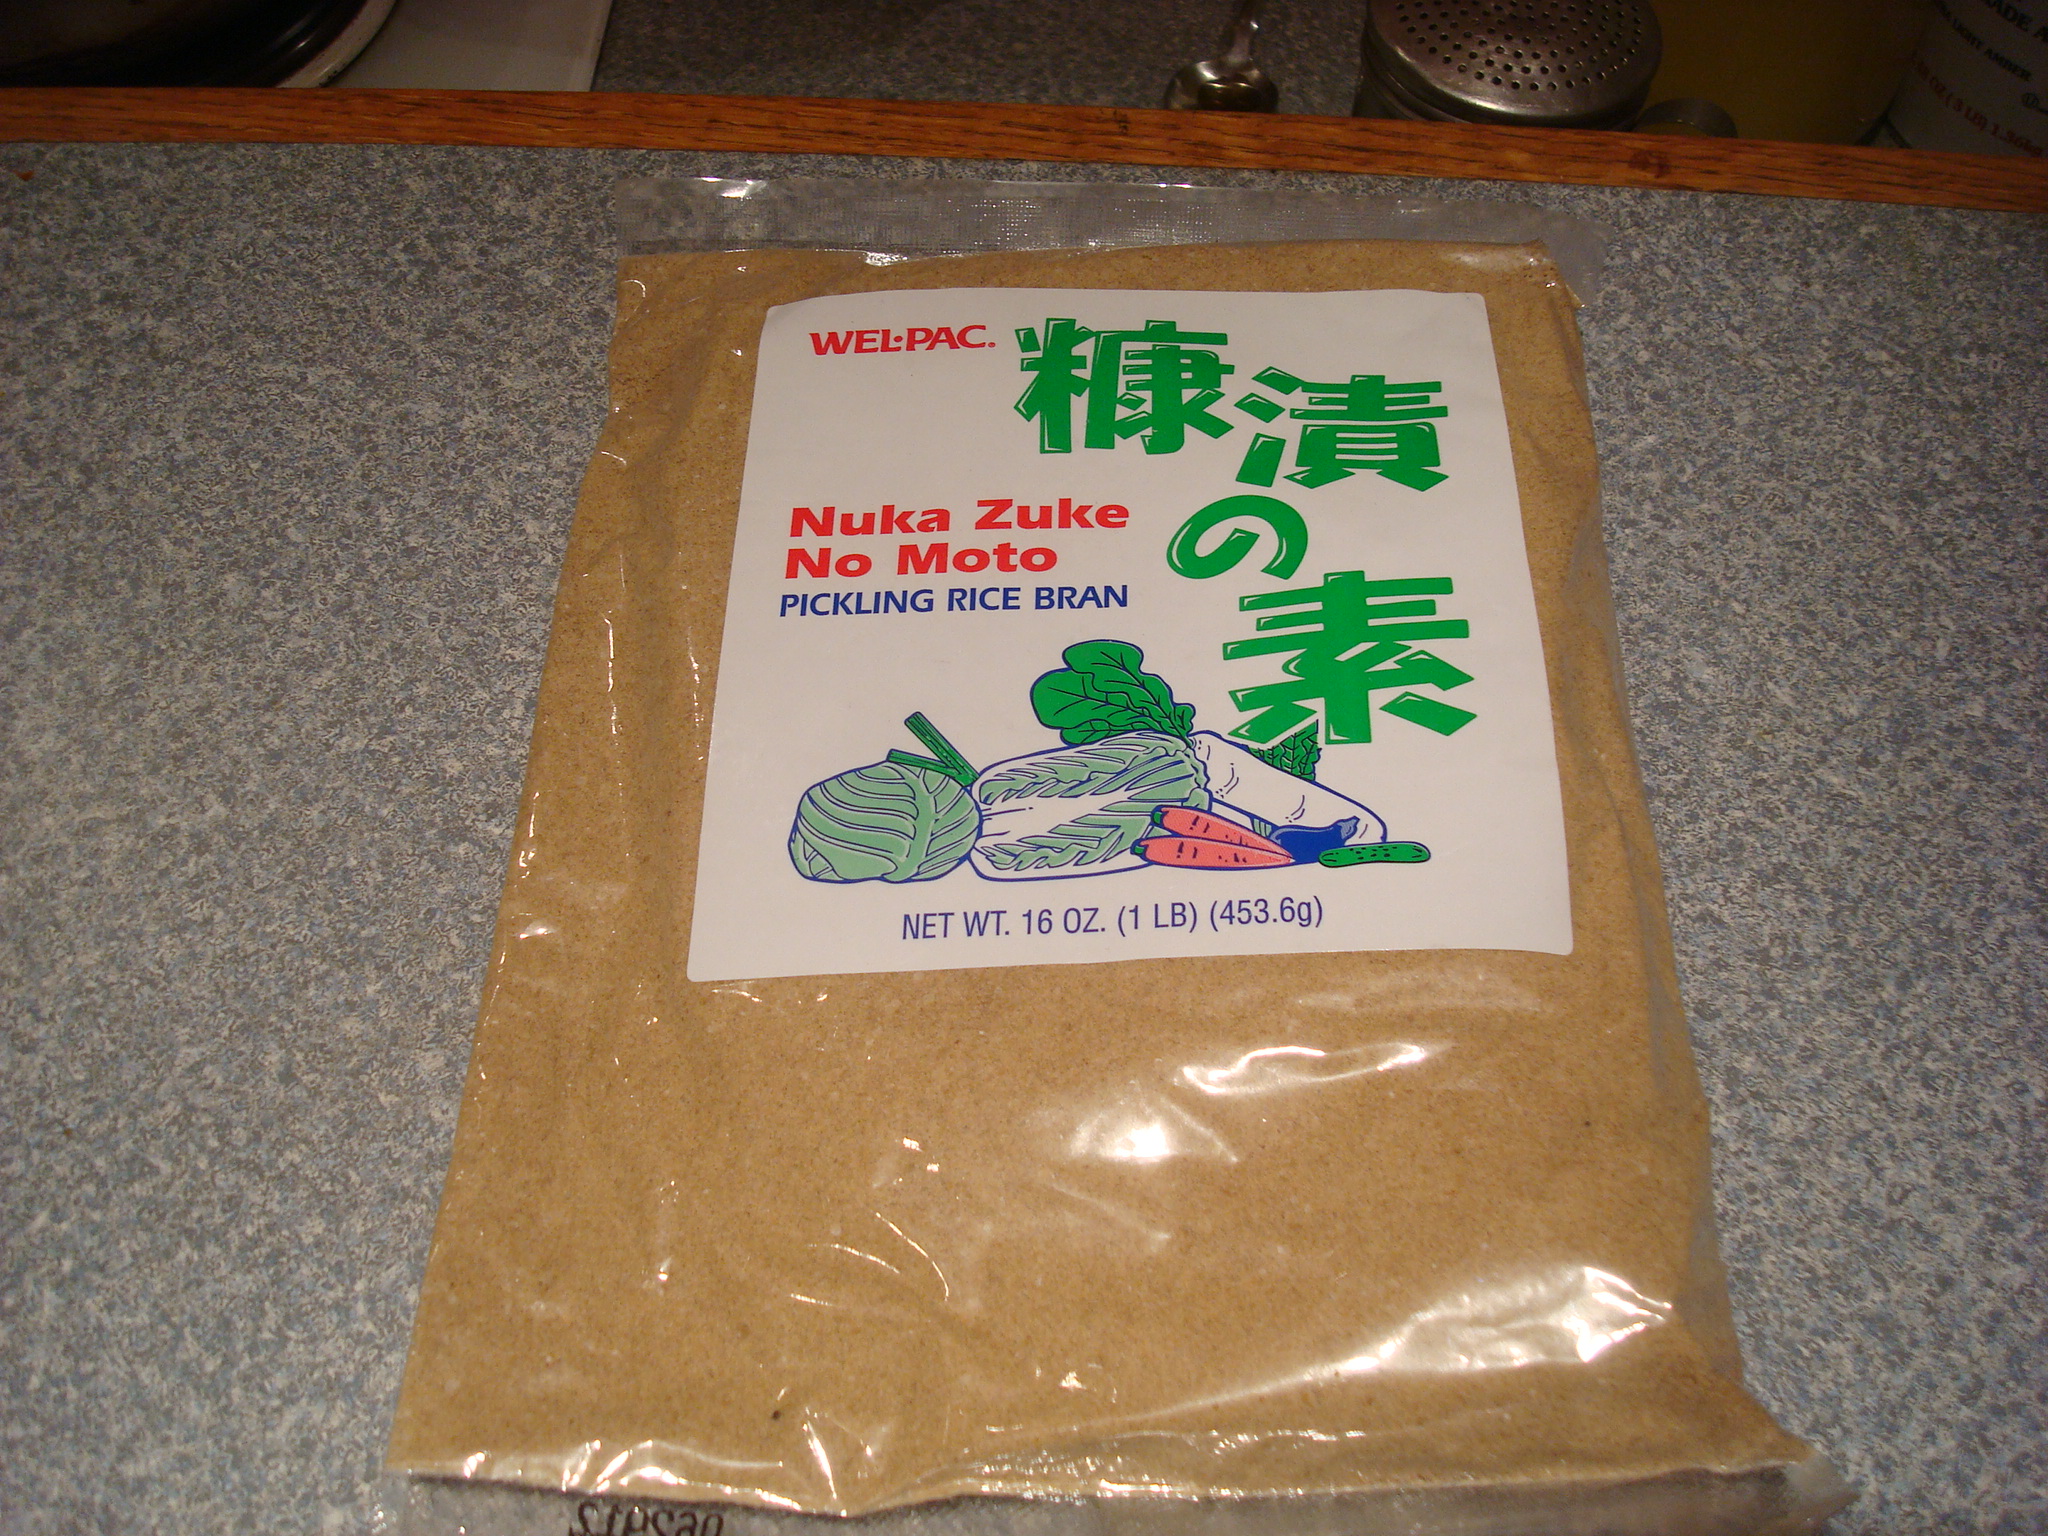
1. Use two pounds of rice bran. Use a glass or ceramic crock for your nuka pot.

I bought rice bran in one pound packages at our local Japanese food store (Uwajimaya).  If you can find fresh bran (wheat or rice) that is more ideal since bran can go rancid over time.

DSC06083

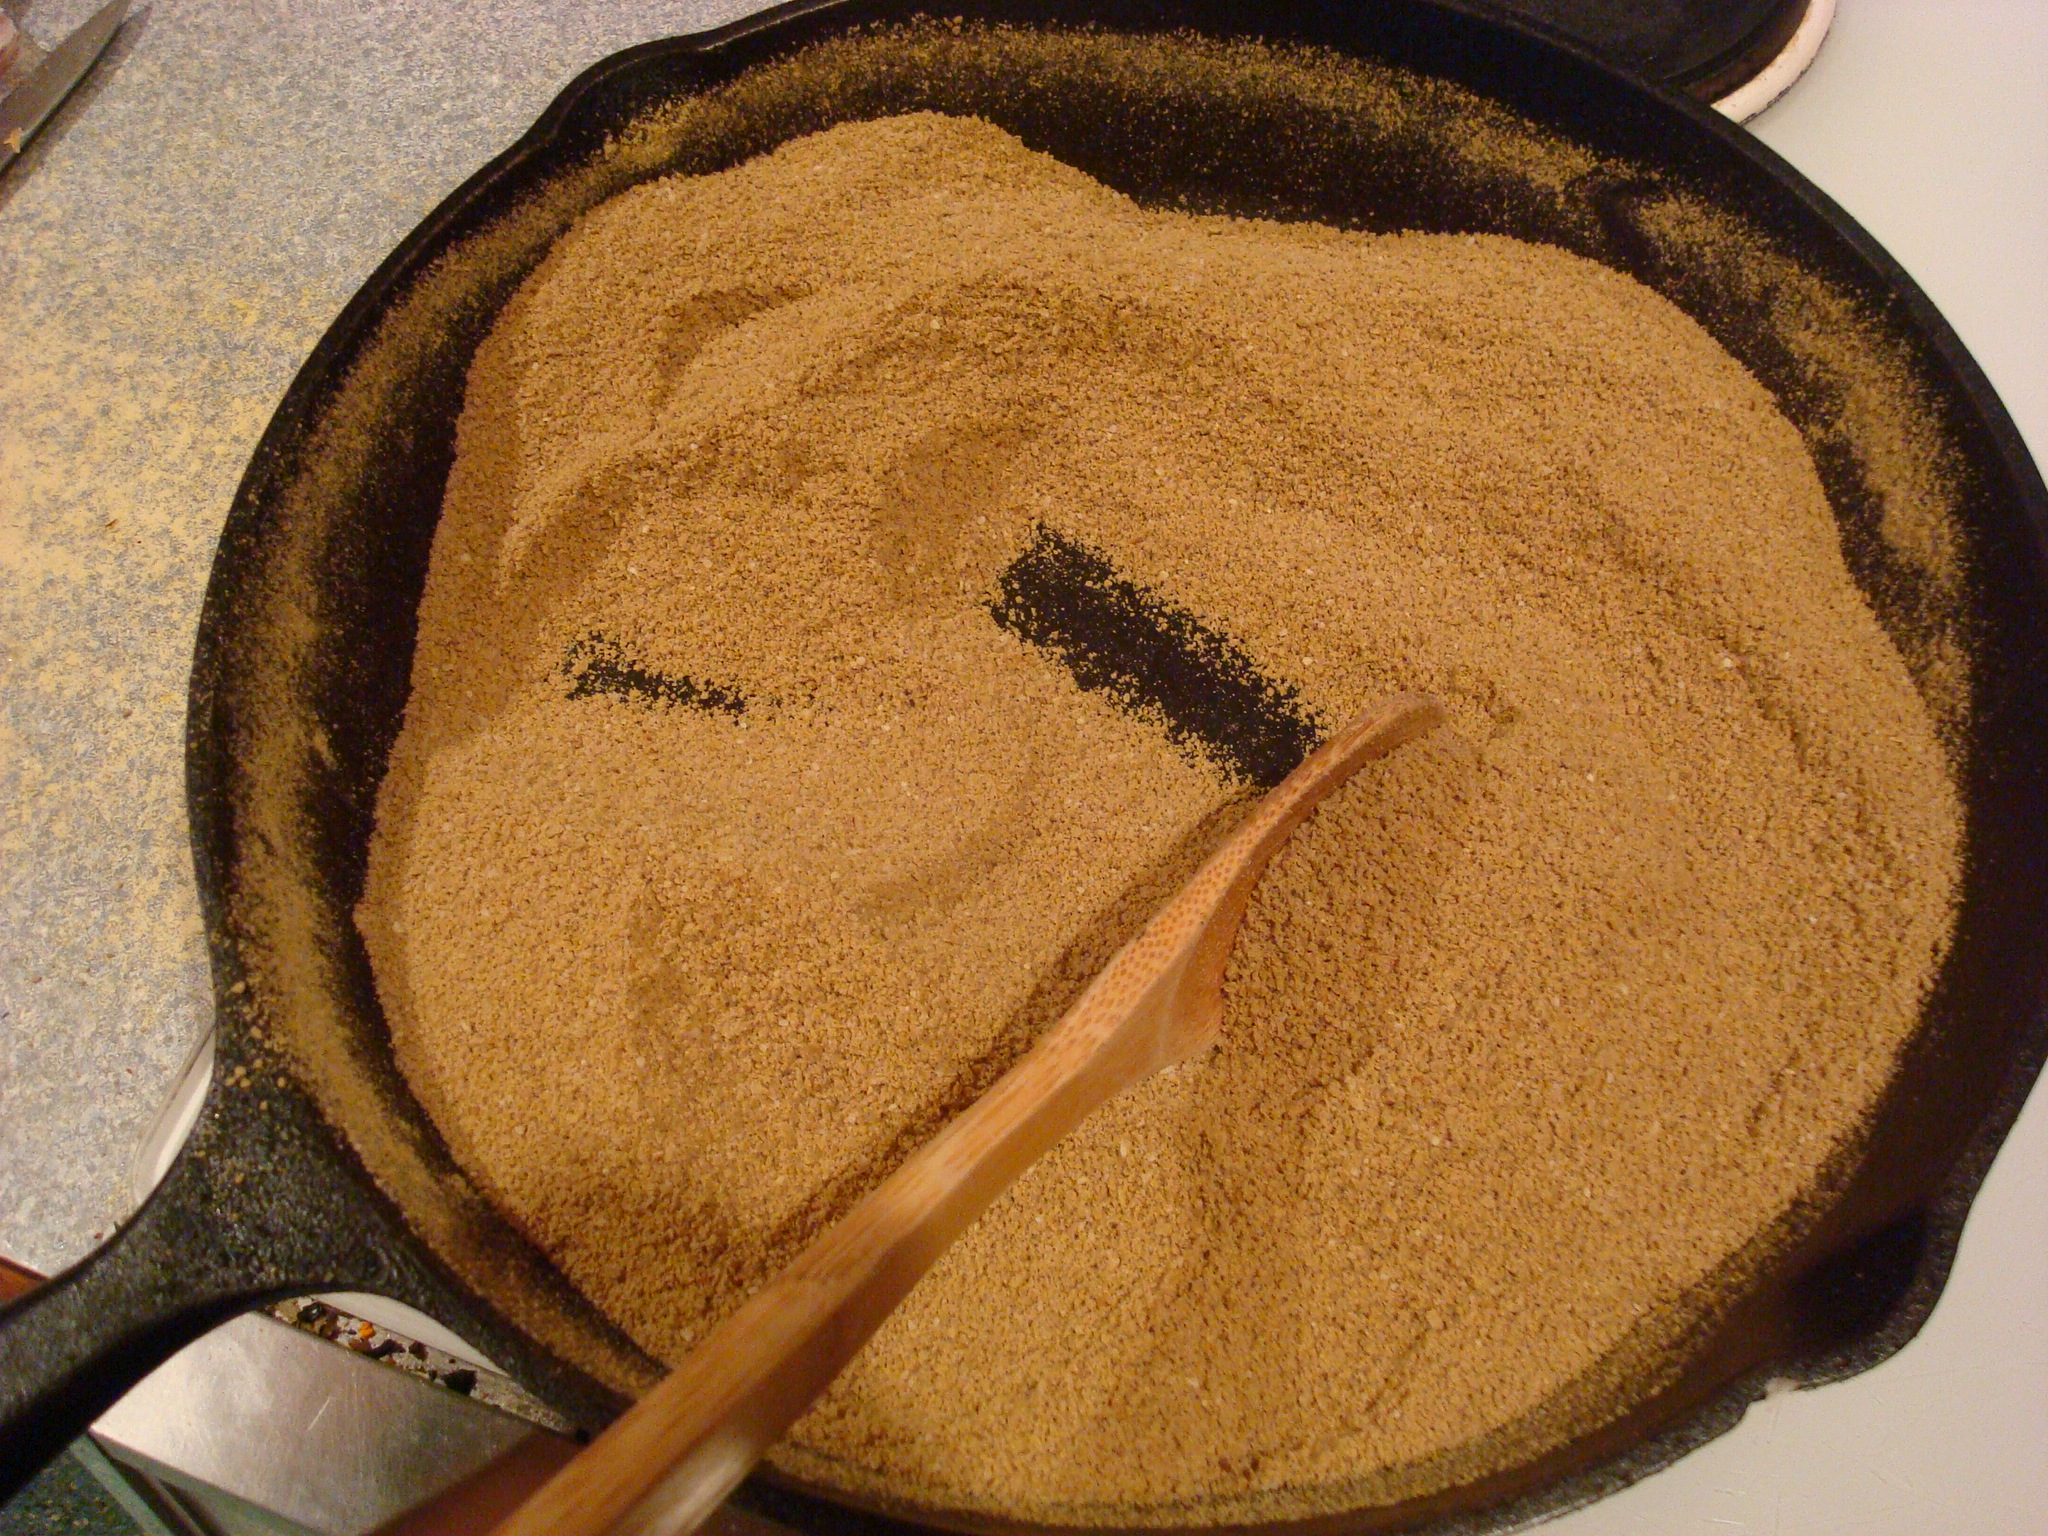
2. Roast the rice bran until slightly darkened and gives off a roasted aroma.

DSC06075

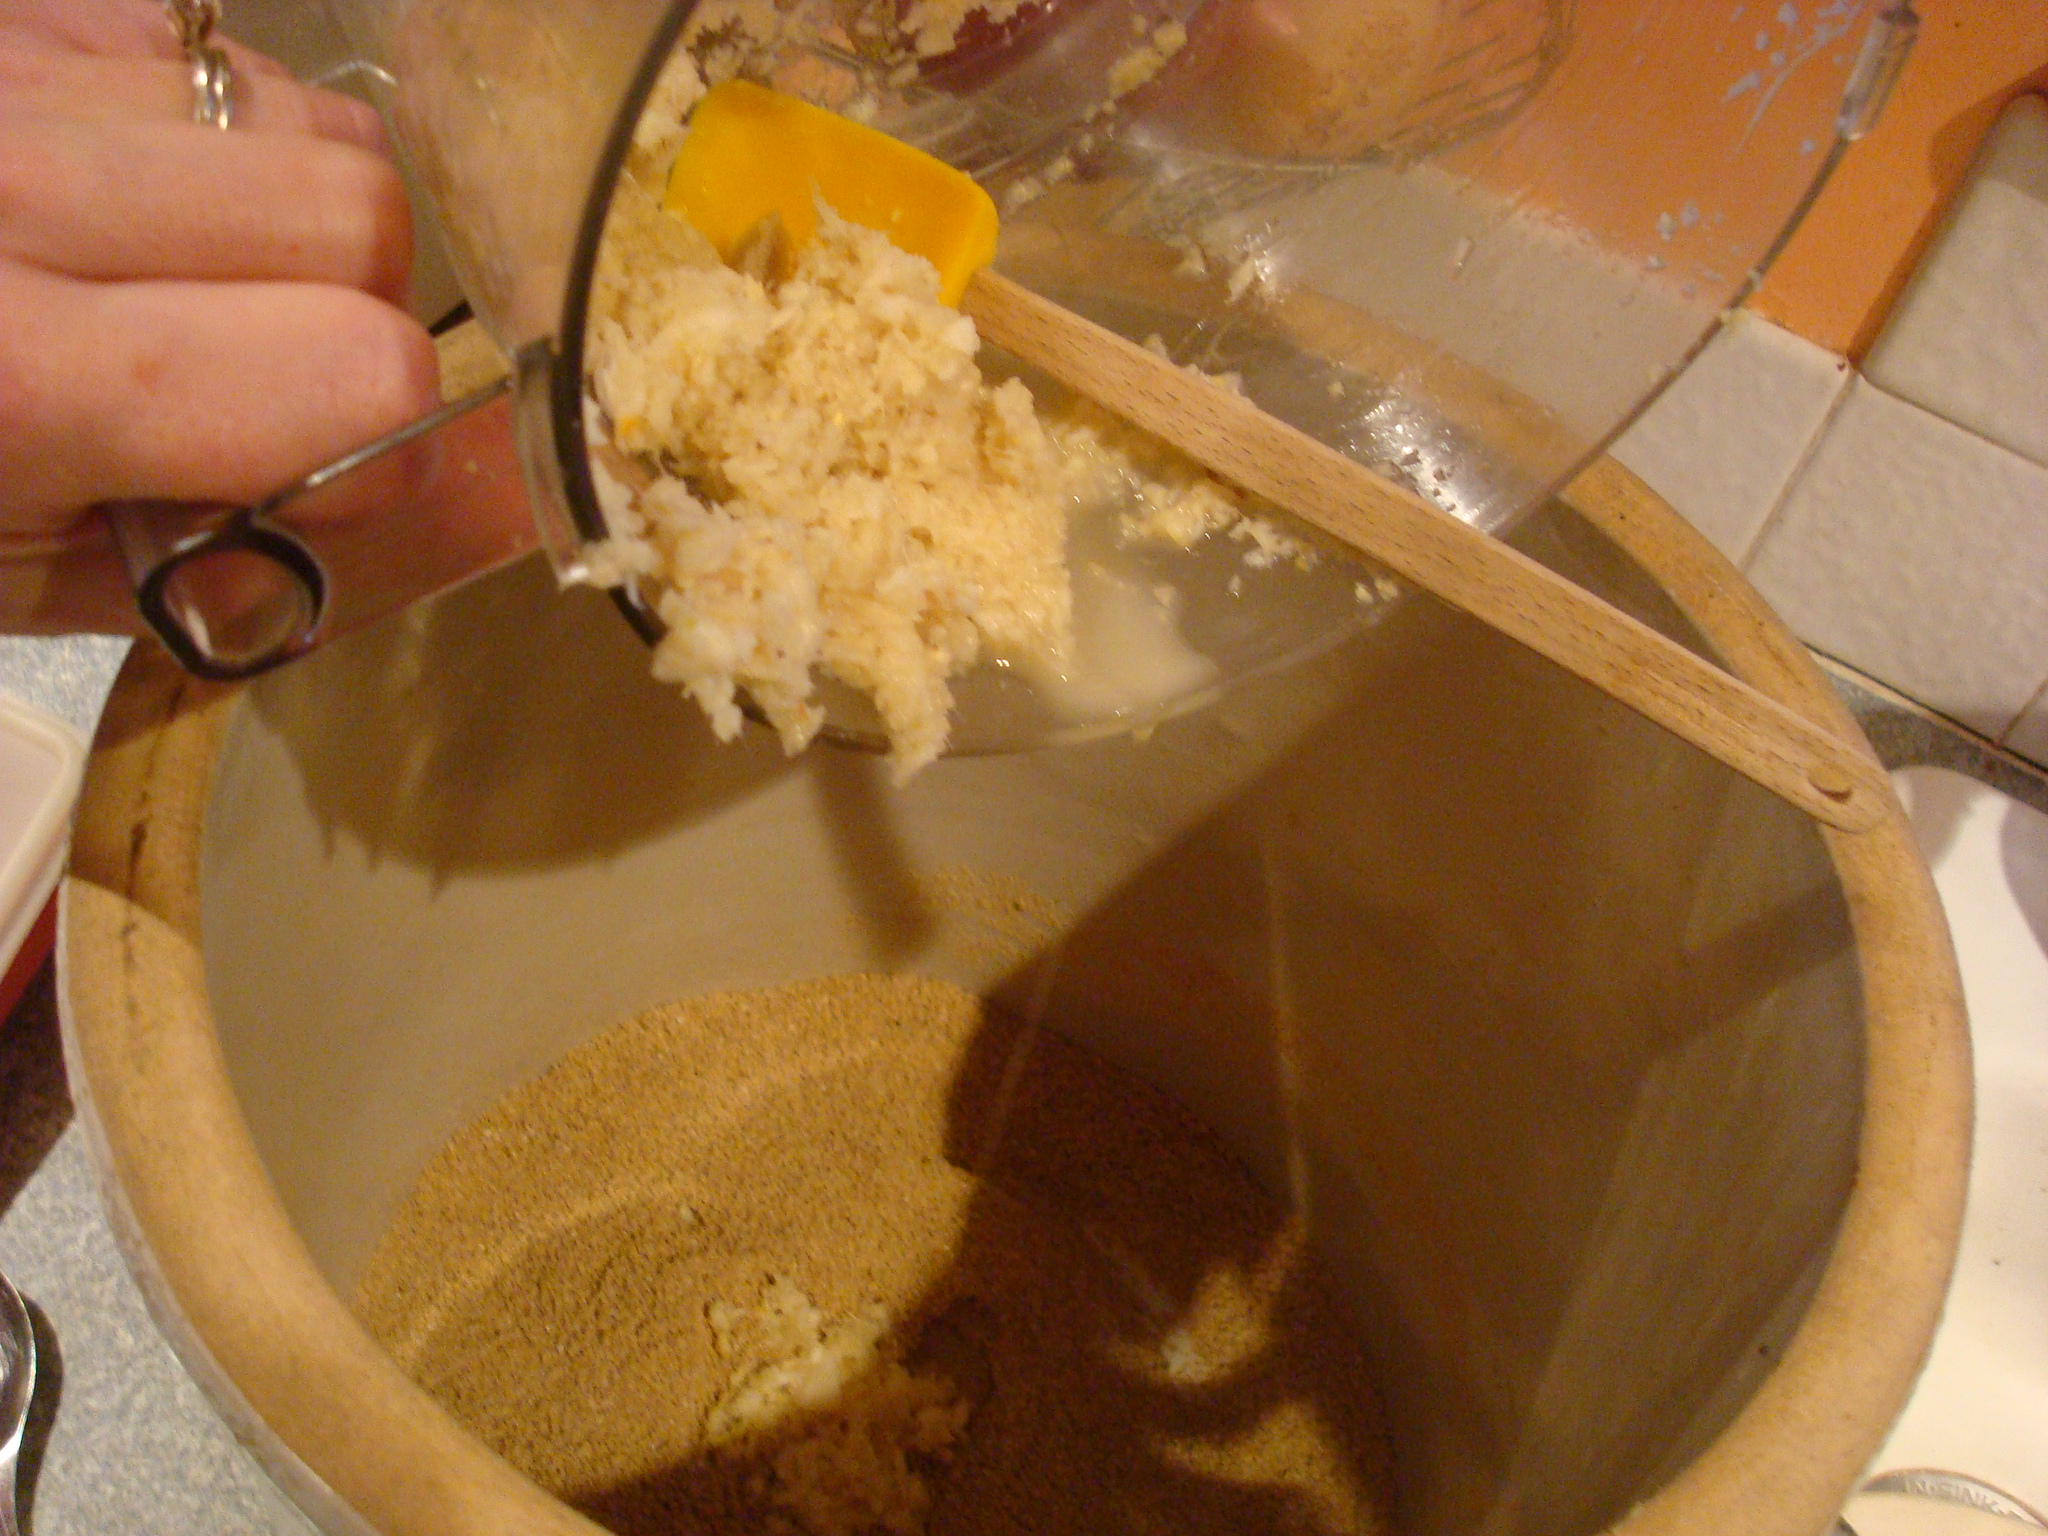
3. Make a slurry of 6 cloves of garlic and a big chuck of ginger in the cuisine art and add it to the bran. Optional:  red chili peppers with seeds removed.

DSC06078

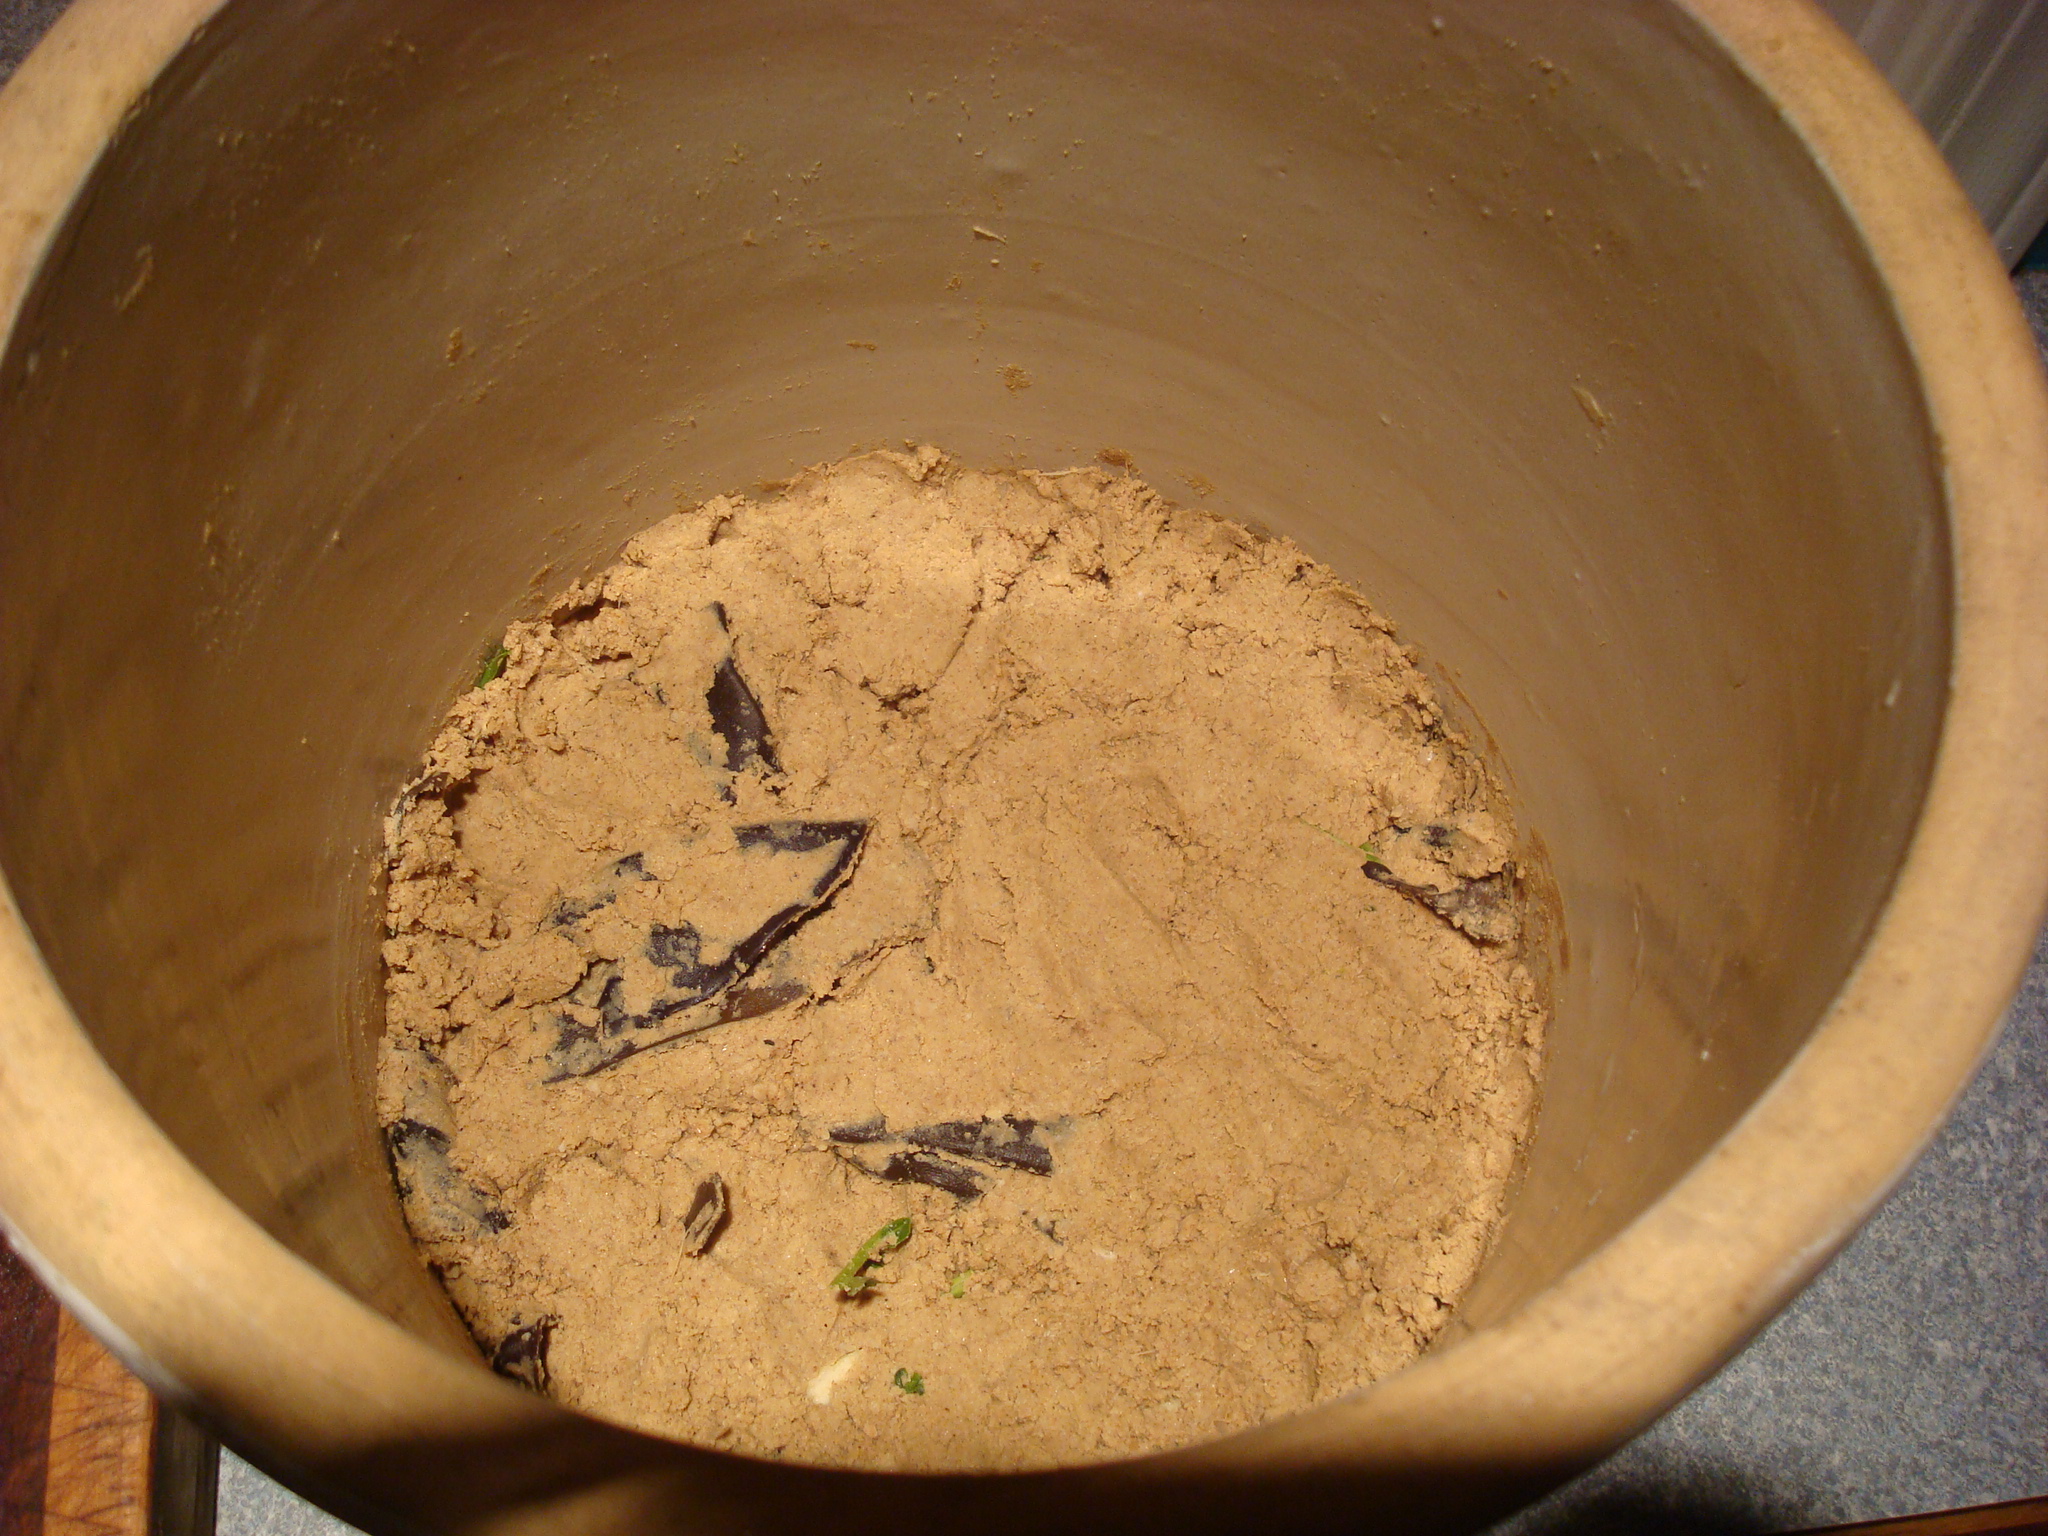
4.  Add 5 – 6 Tablespoons of salt to 6 cups of boiling water. Recipes vary greatly regarding salt content. Sandor Katz reports that recipes range from 5% – 25% salt content to the weight of bran so use your judgement and taste preferences. Chop up a piece of kombu seaweed and add to salted water.  Let water cool and then add salted water and kombu to rice bran until you find a consistency you like.  Some people prefer a wetter mixer.  I like a wet sand consistency, using only 4 1/2 cups of water.

5.  I added a cup of starter from Stewart’s batch however, if you are starting your culture from scratch you can add a piece of soaked bread, crushed dried eggshells, apple peelings, beer or sake to get the ferment going.  Again, recipes vary greatly as to whether you need any of these additional microbial prompts or not.

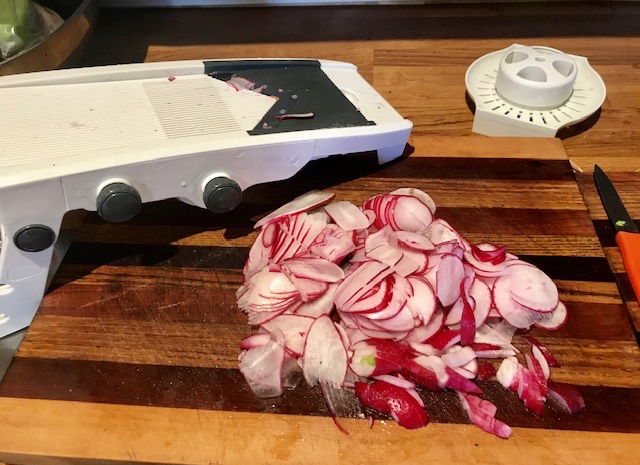
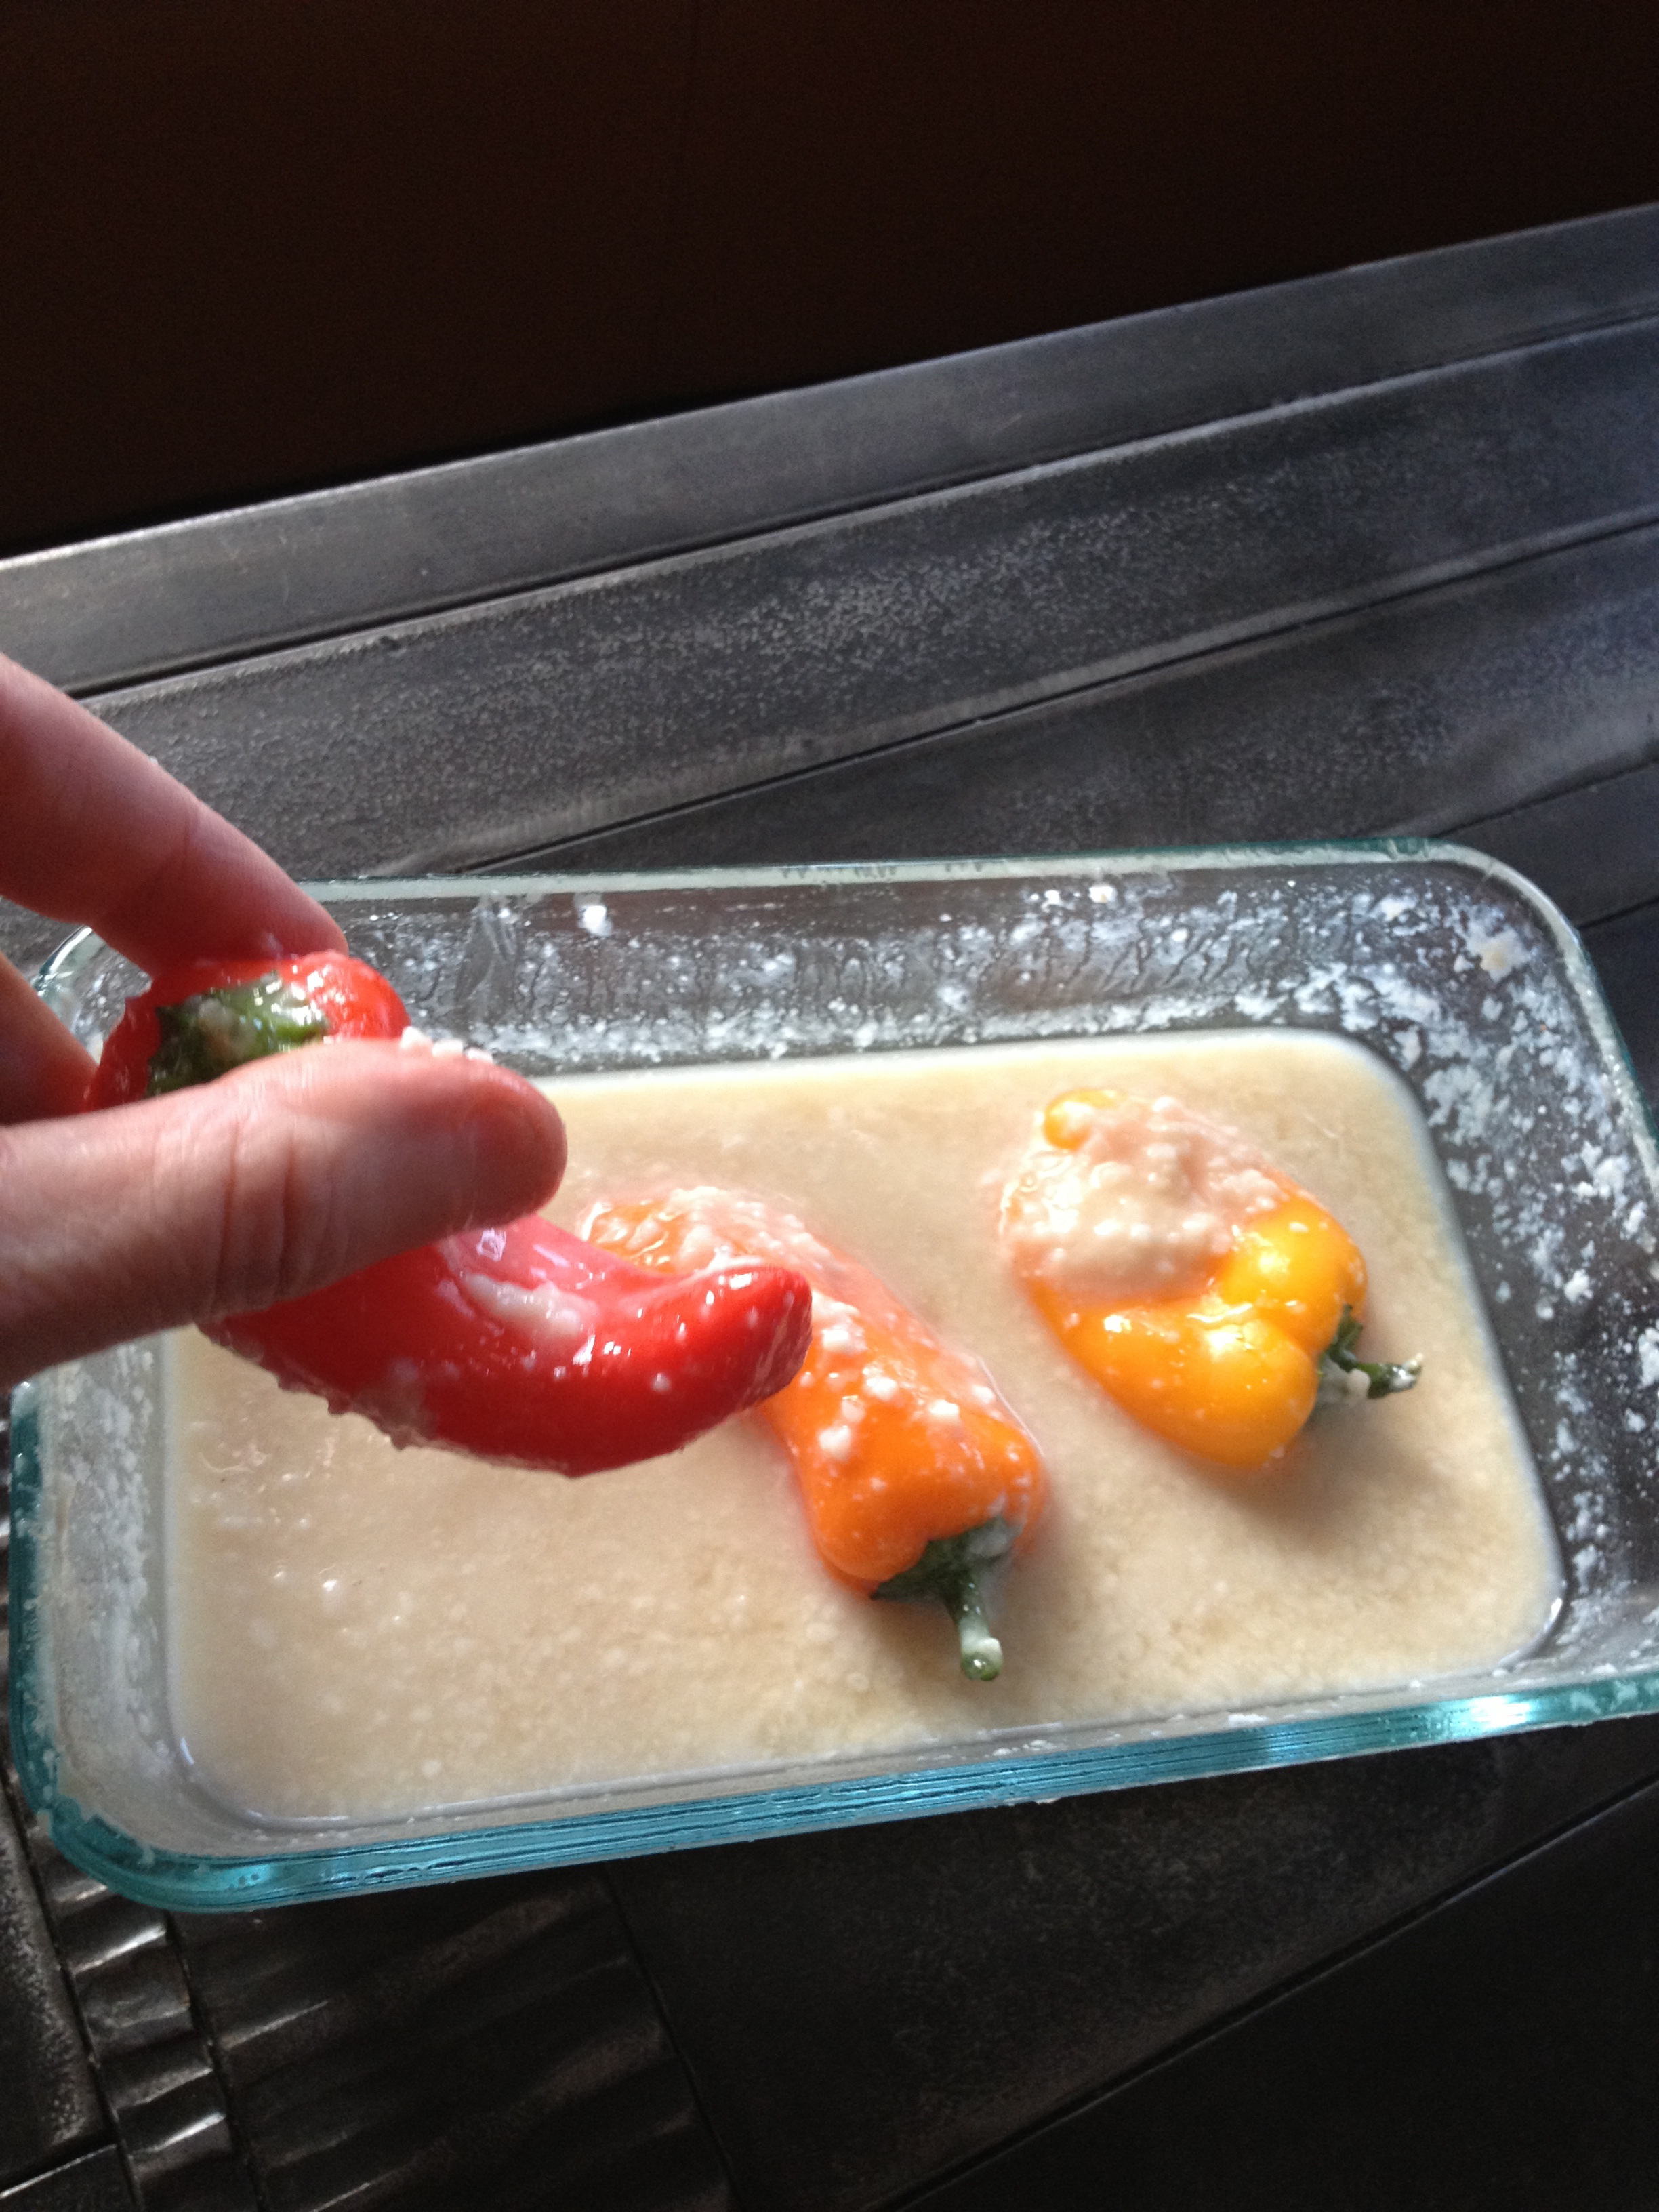
6.  After washing hands, stir nuka with your hands, aerating it well.  Bury a variety of different vegetables in your culture every day and remove them the next.  Some people salt rub their vegetables to stimulate the breakdown of vegetables, but it is not necessary if you want less salt.  Gradually, the vegetables start tasting more and more pickled.

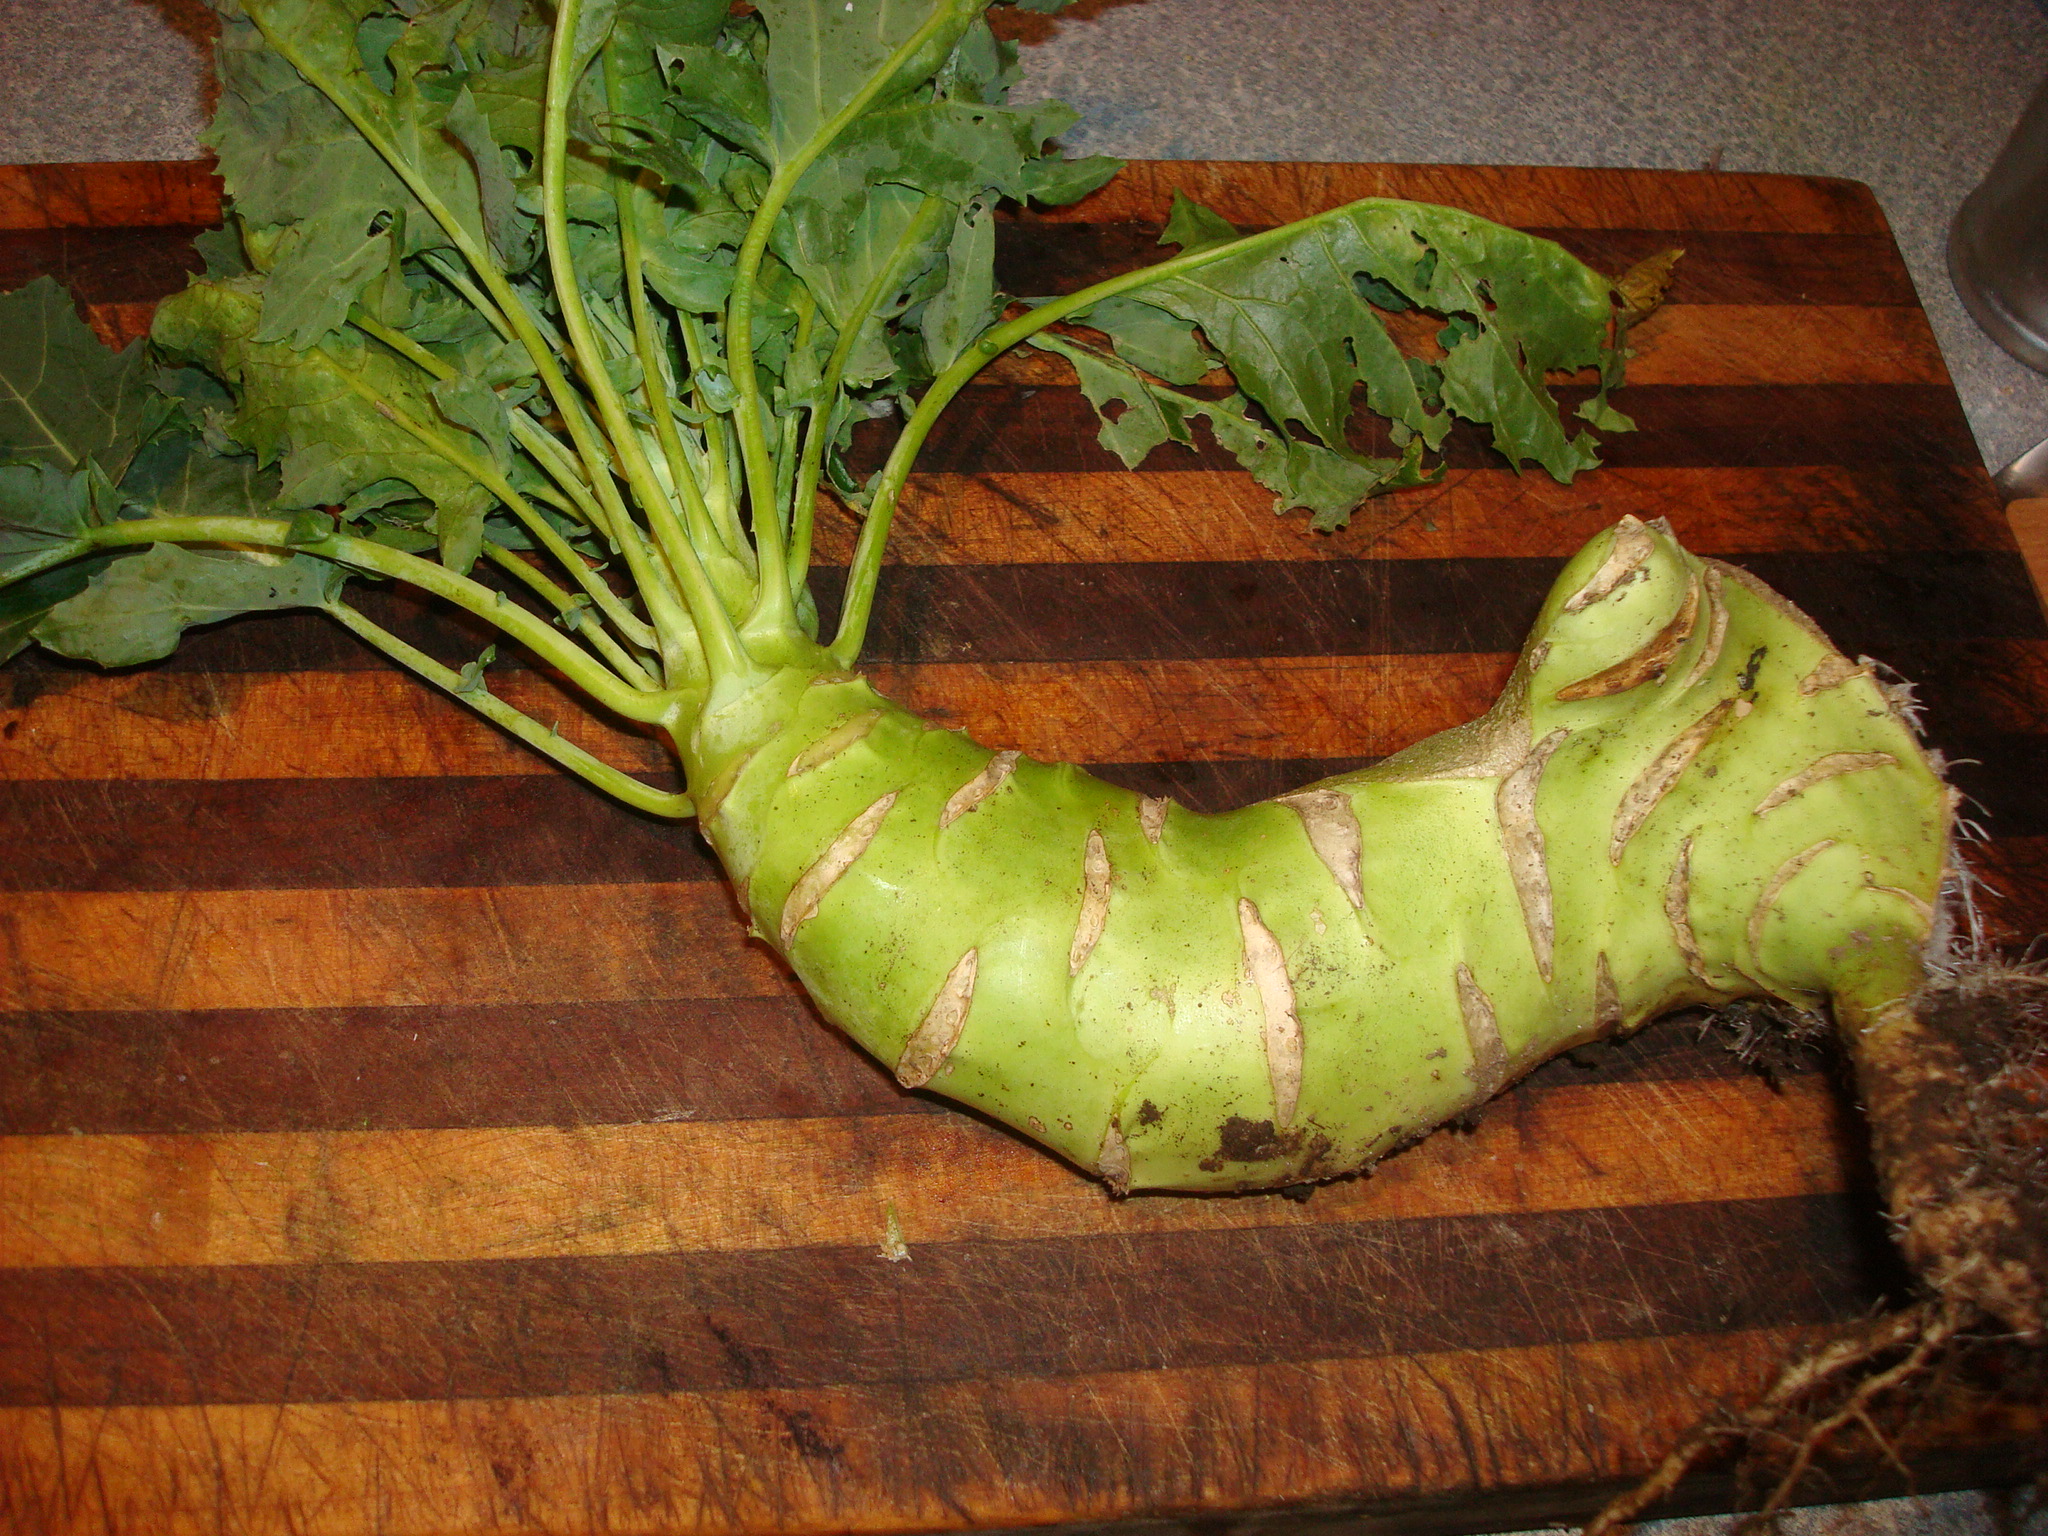
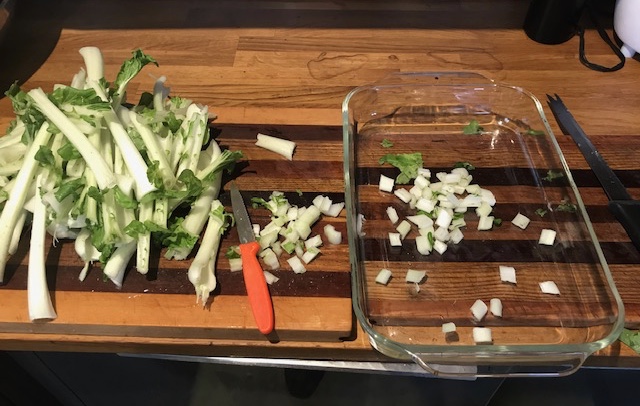
On the fourth day I used a gnarly looking old kohlrabi that had been overwintering in my garden. I peeled and cut it into pieces, and buried both the leaves and root in the nuka pot.  Vegetables can be put in whole or sliced in the pot.

DSC06095

 DSC06097

7. Wipe away any residual bran from the sides of the vessel and pat surface down smooth after covering vegetables.

DSC06099

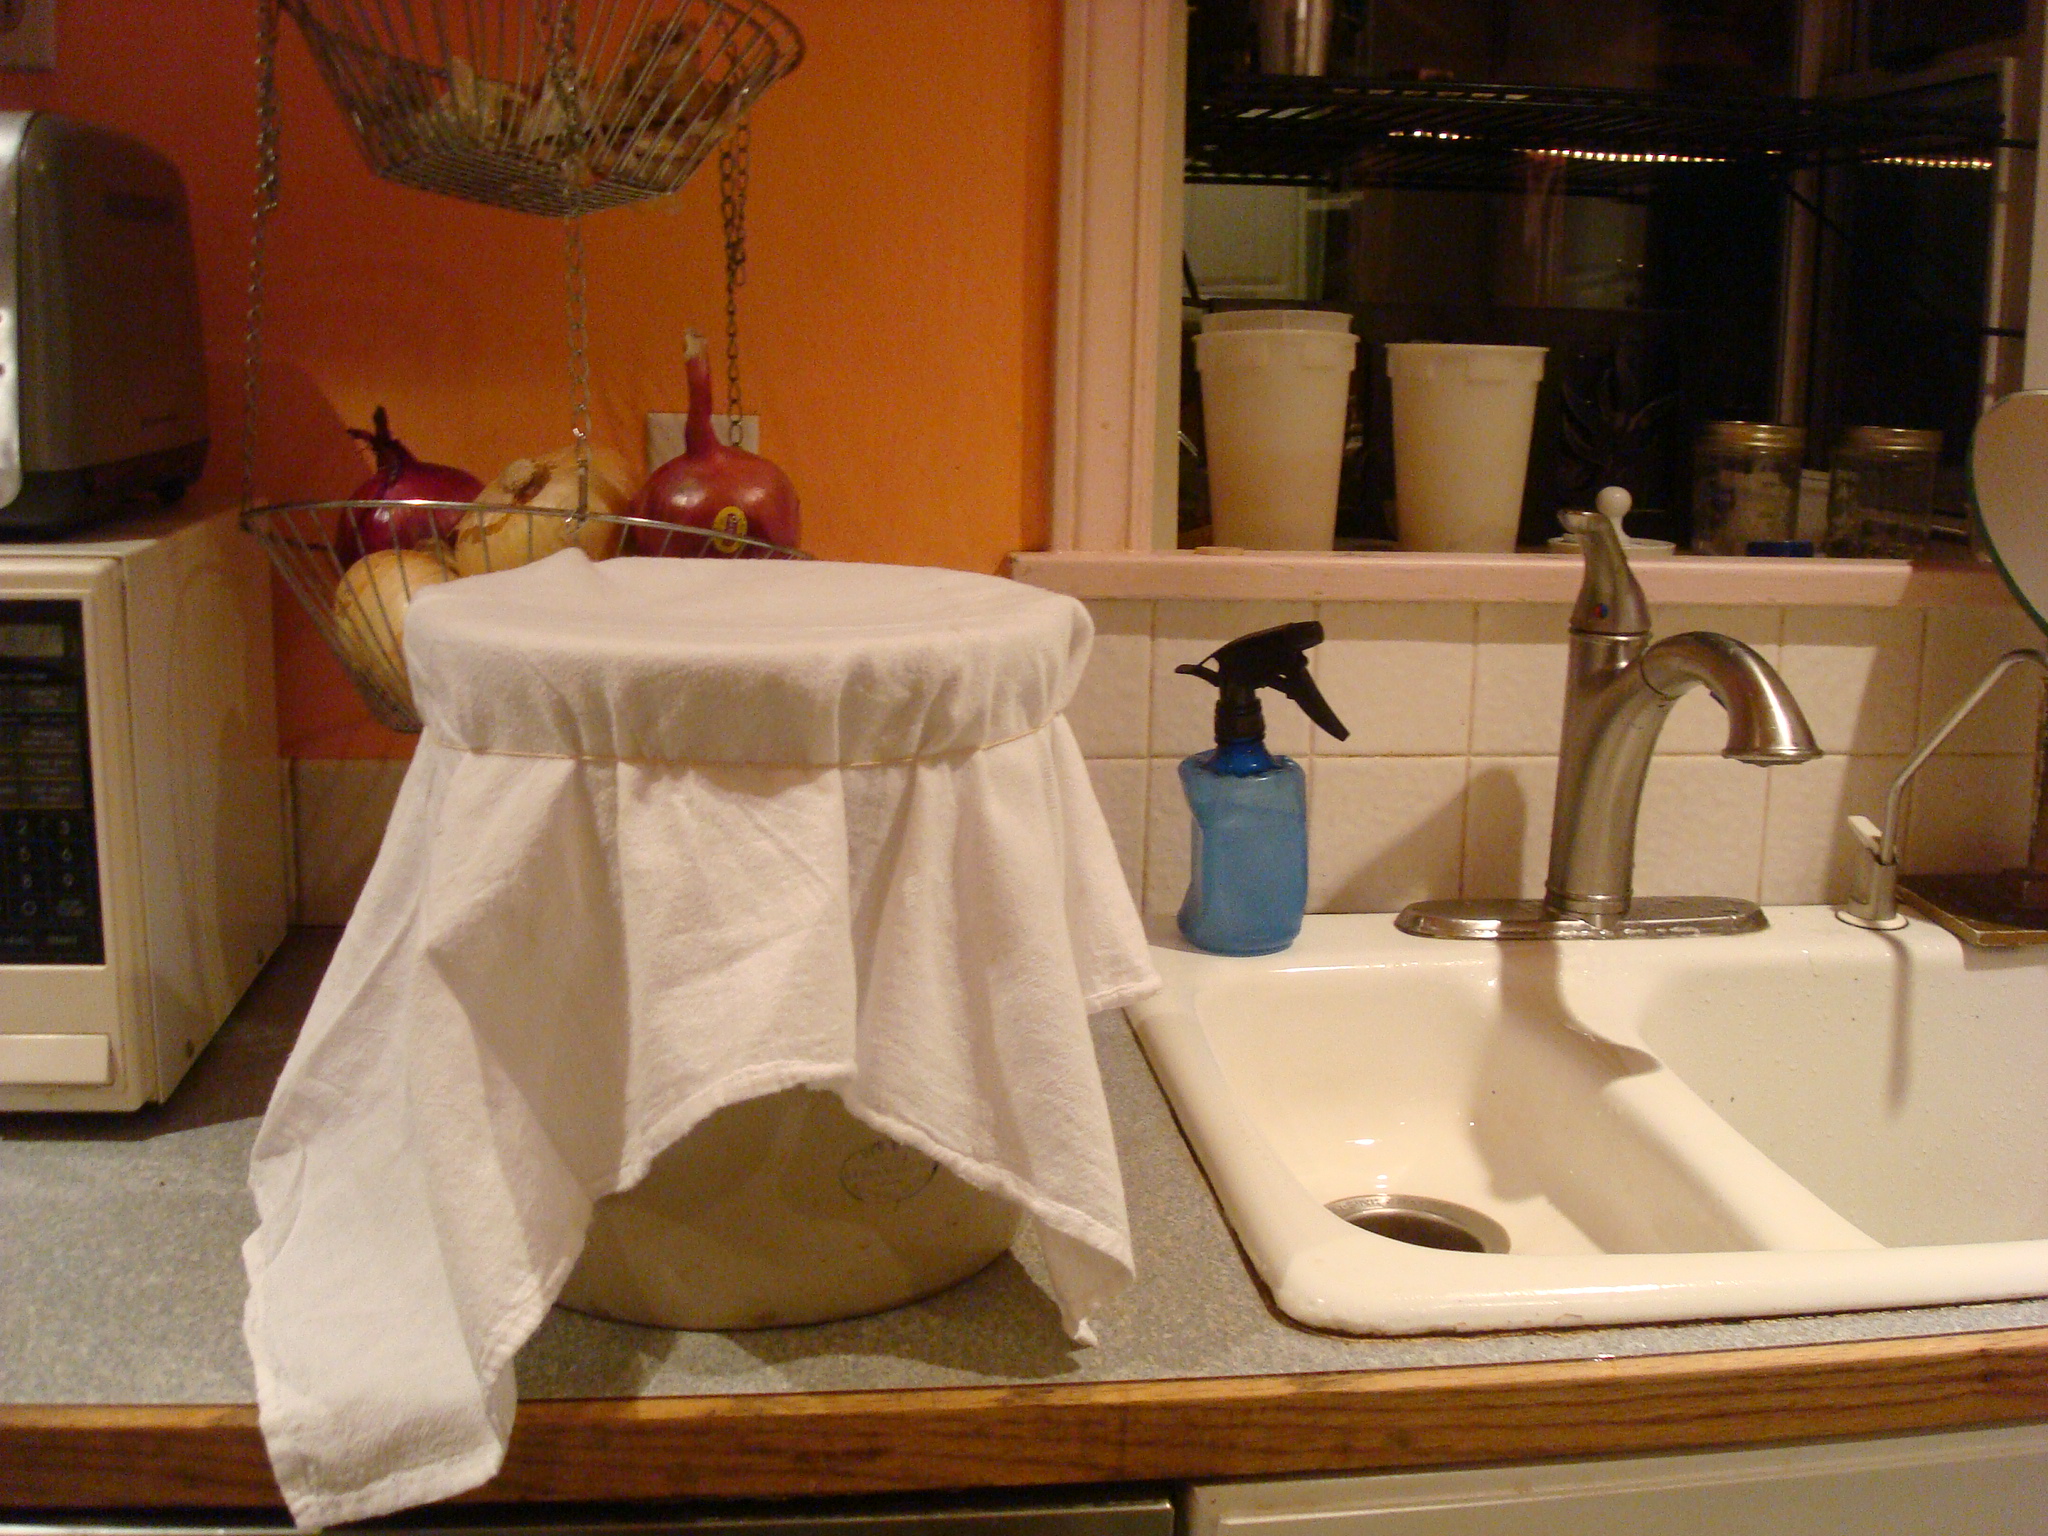
8.  Cover pot with a clean cloth and use an rubber band to bind it.

DSC06102

9.  The next day, remove the vegetables from the nuka pot, wipe off excess nukazuke paste into the pot. Wash off vegetables with cool water.  Occassionally add more rice bran and salt to your pot.

DSC06105

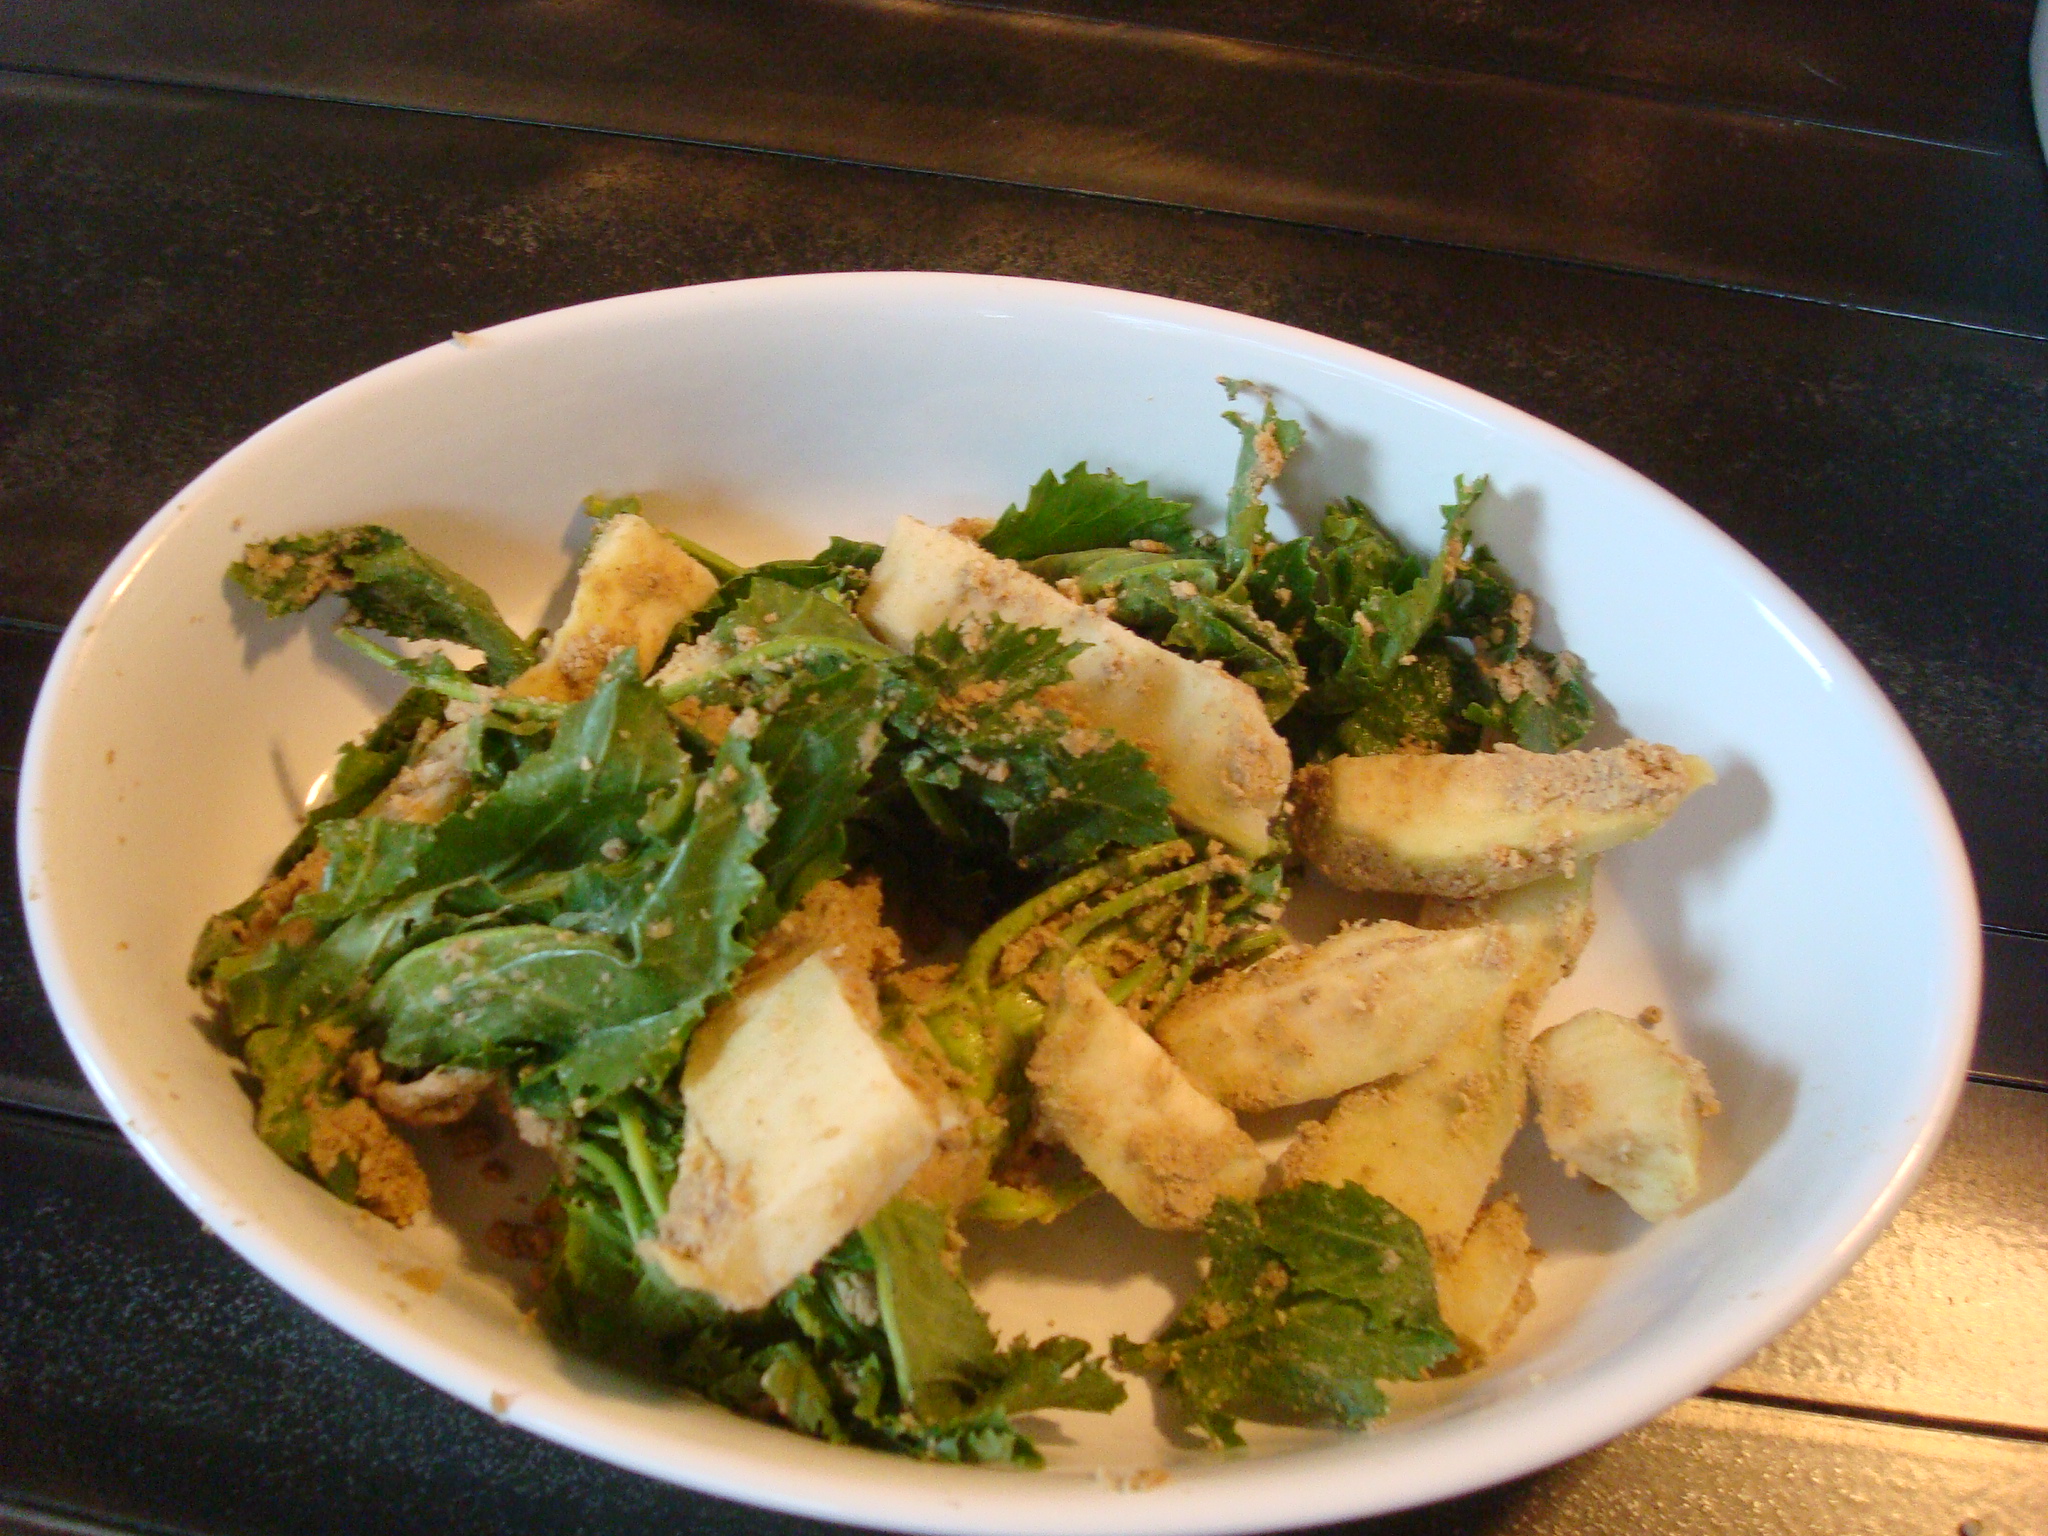
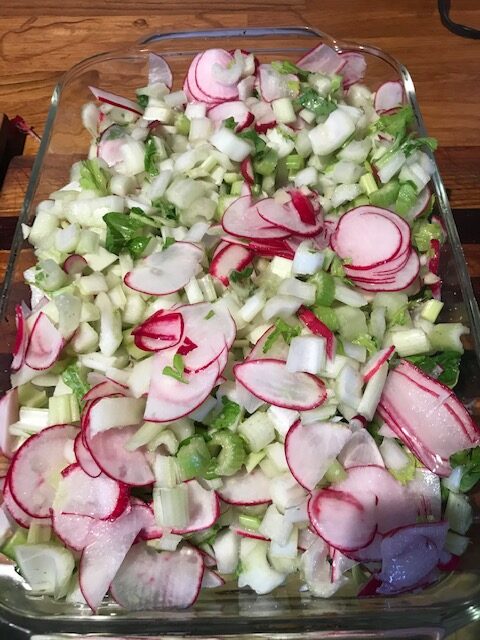
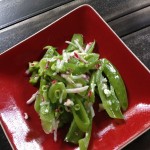
Enjoy the nuanced taste of your nukazuke pickle as an appetizer or an ingredient in a salad.

DSC06106

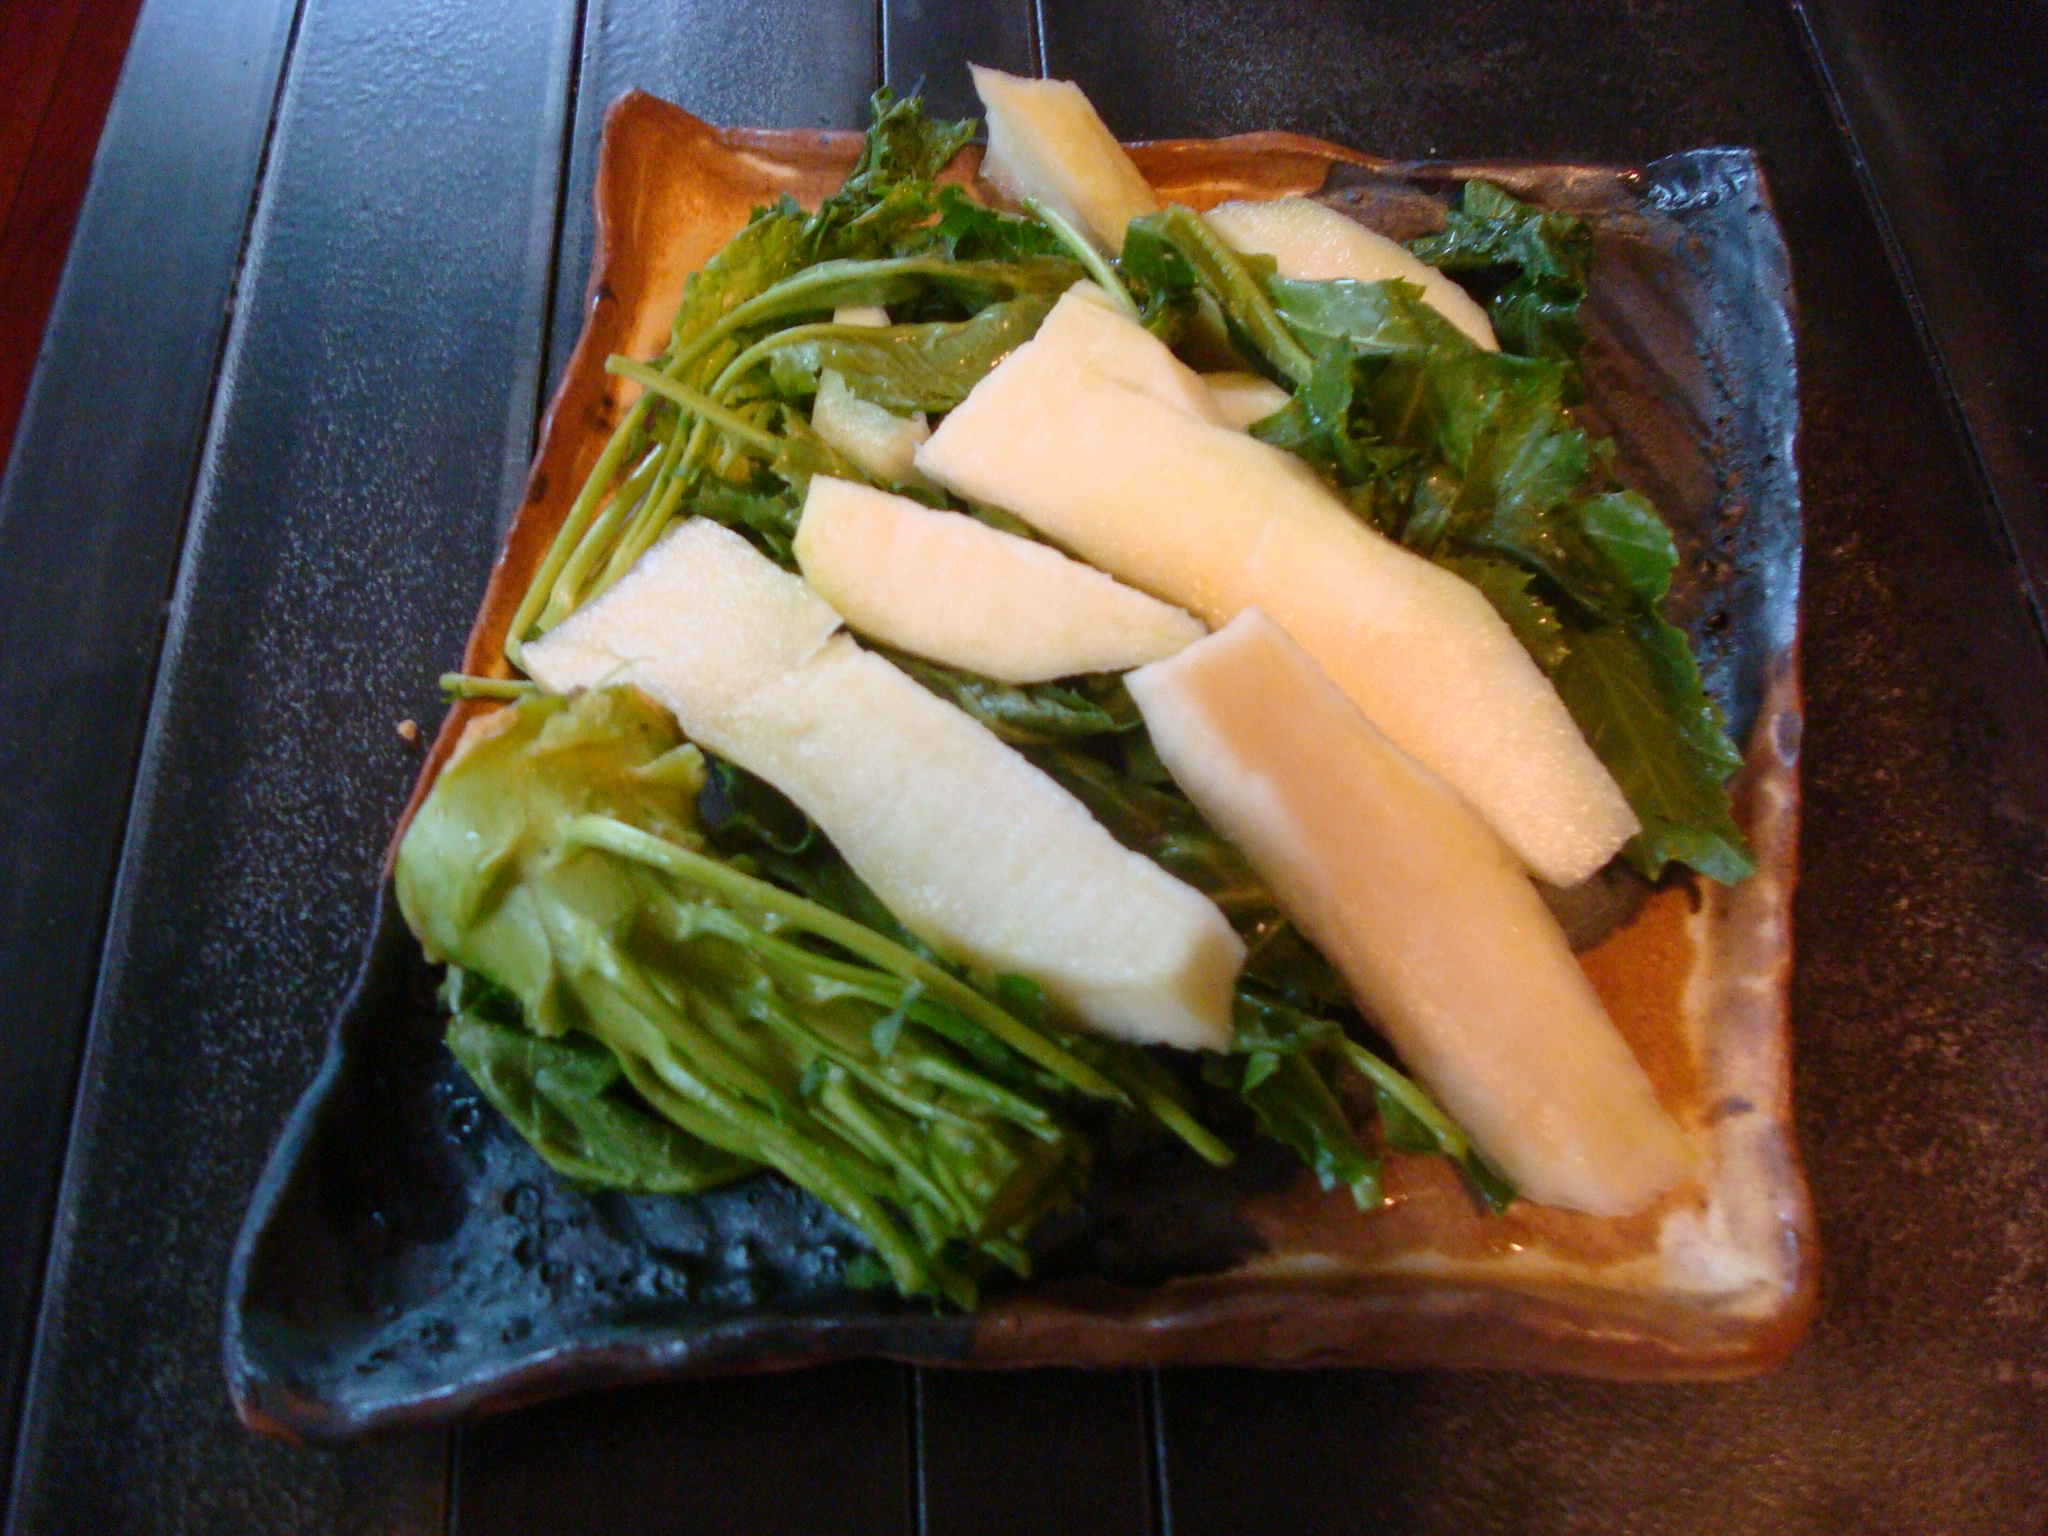
I look forward to the taste sensations my buried treasure brings me each day. I’ve tried cauliflower, red pepper, bok choi, daikon radish, red radish and celery. According to Craig, they have all been, “painfully good.”  Traditionally, eggplant, cucumber and cabbage are pickled.  If you start a nuka pot, please share your experiments with me.

On Making Sauerkraut

tumblr_mdrtfiZ9EZ1ra92m5
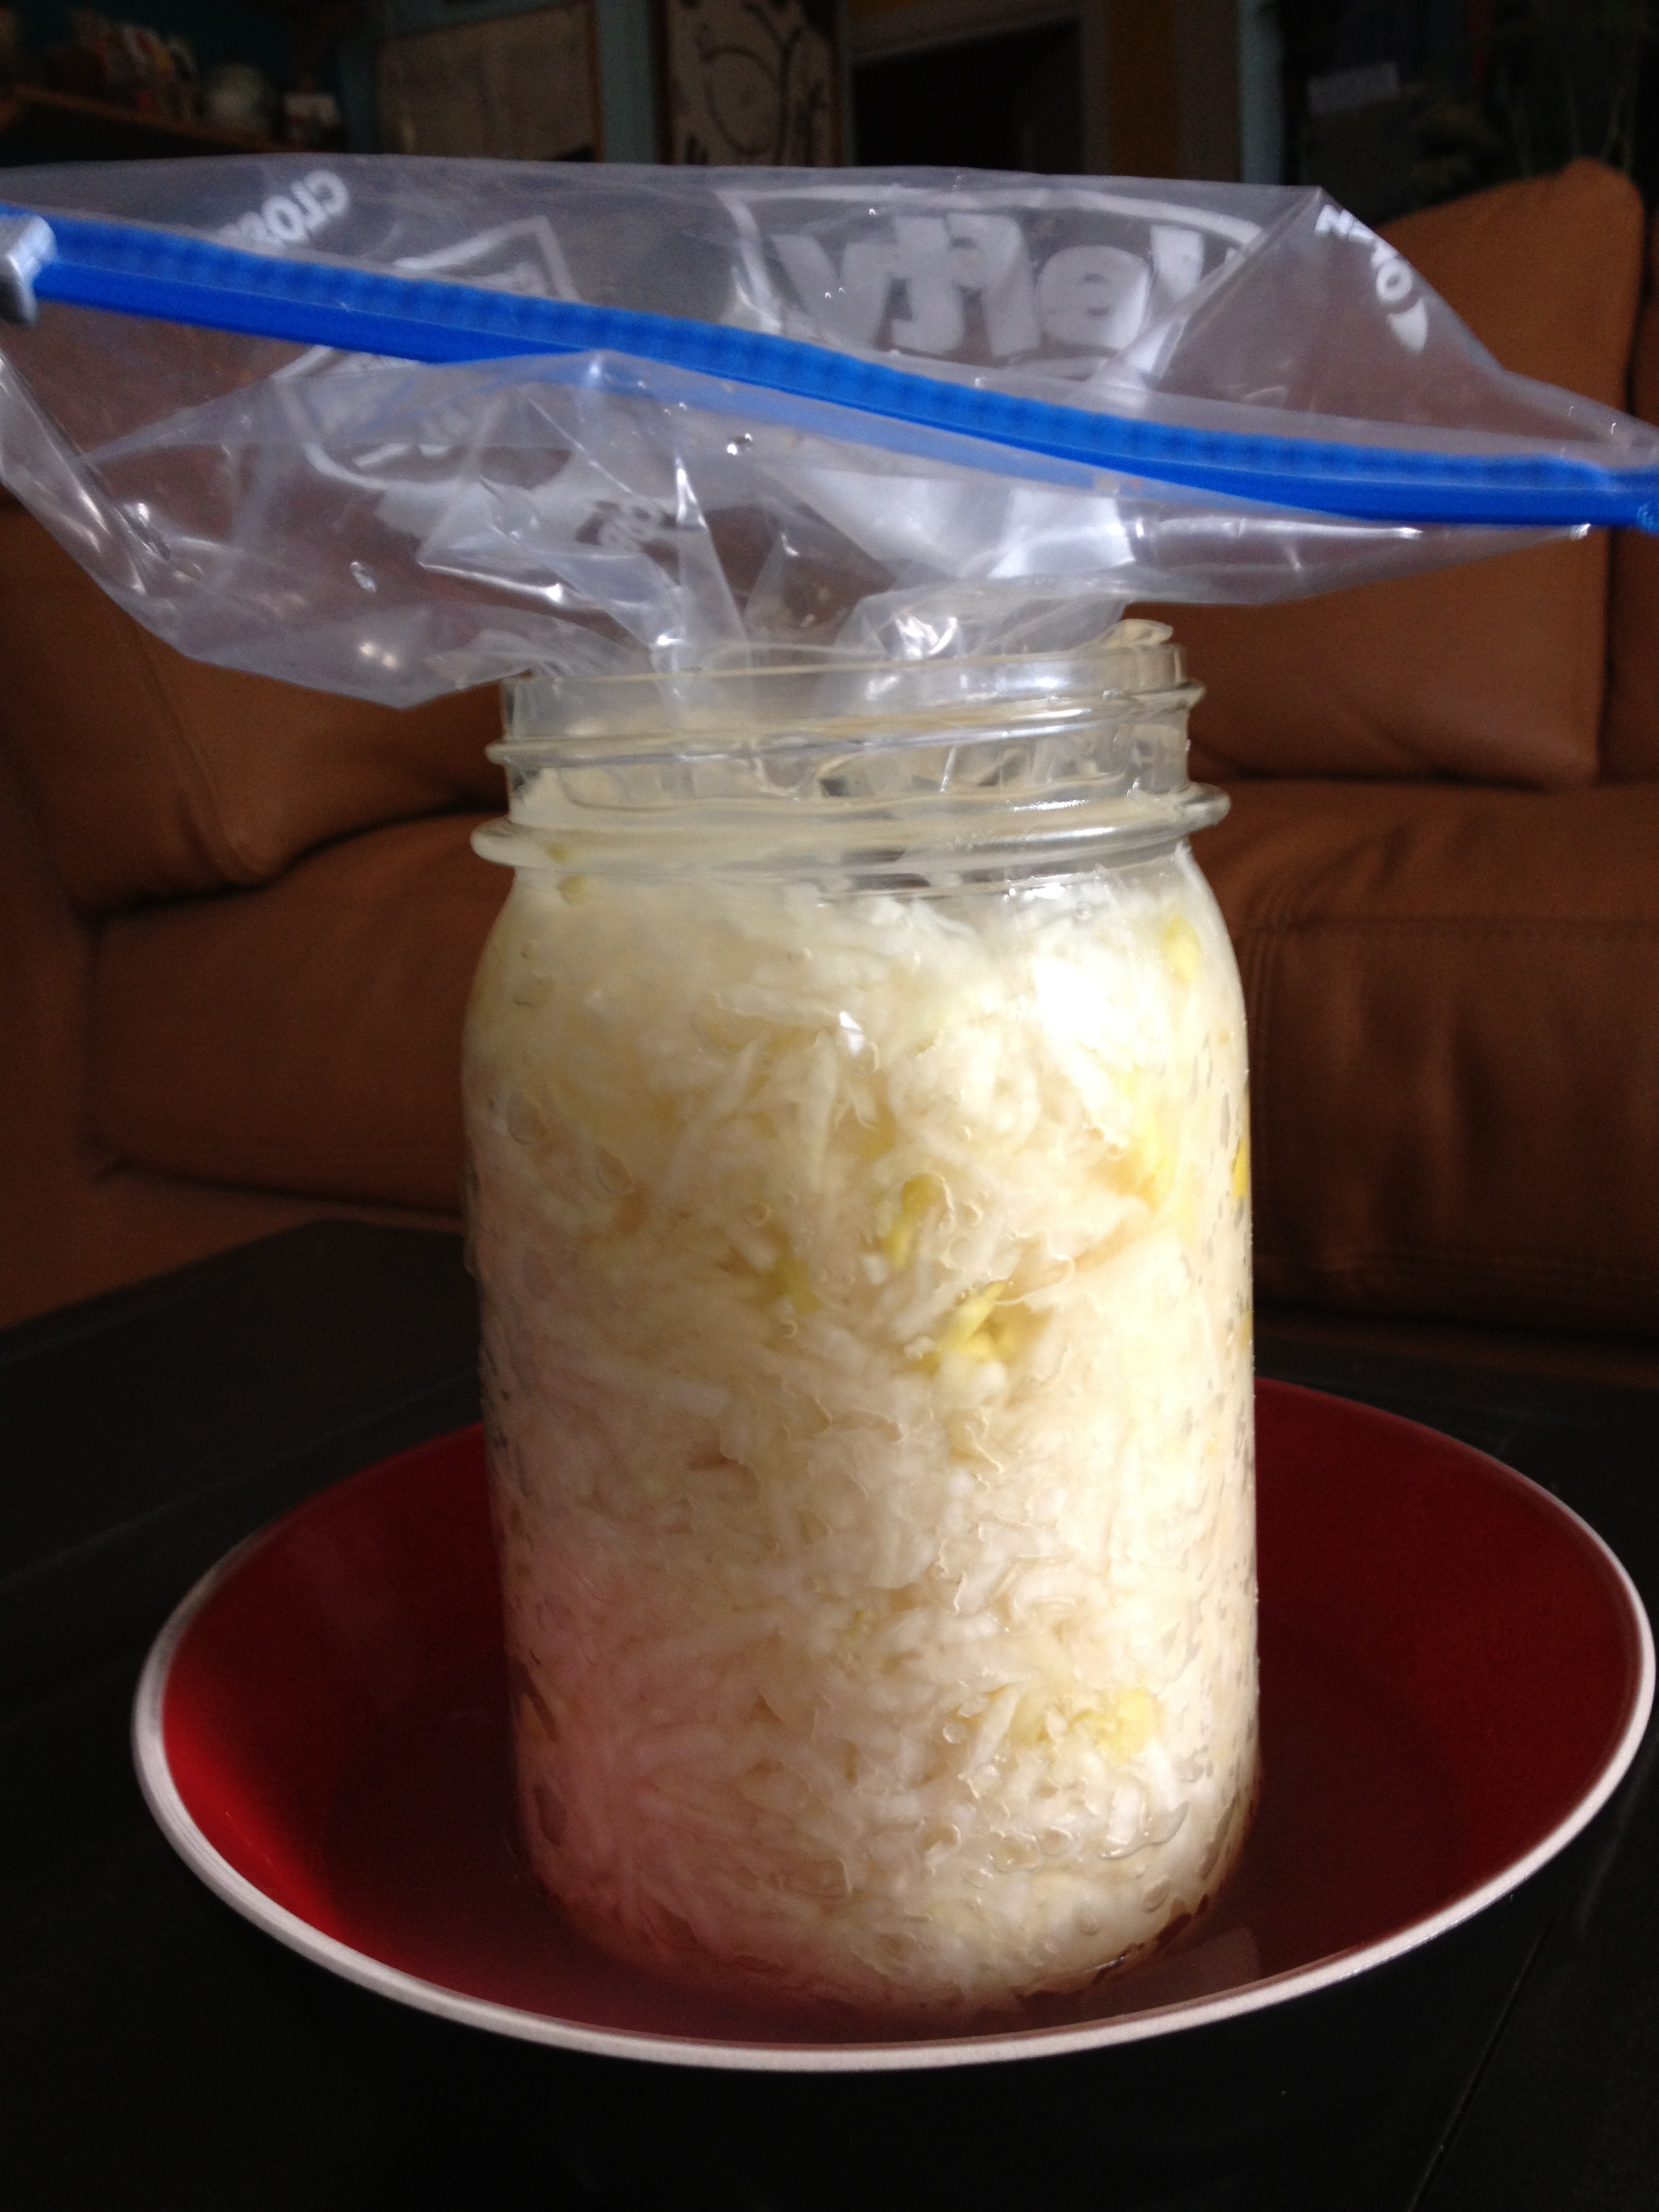
I always have containers of bubbling fermenting vegetables around so I can get my live food hit all year. In my kitchen, you’ll see glass jars of cabbage, turnips and tomatoes, crocks of cucumbers and chickpea miso, and plastic buckets with rice sake, all breaking down into highly digestible delectables. Fermentation not only is an excellent way to preserve vegetables, it also increases nutritional content, removes toxins and generates enzymes in the process.  Eating fermented food introduces lactobacillus bacteria (probiotics) into your digestive system. When it comes to health and strong immunity, lactobacillus bacteria is your best friend-the one who will watch your gut.

I love dipping into these containers for a quick snack or for an already prepared tangy side dish, which is sure to brighten every meal.

If you always wanted to know how to make sauerkraut, here are instructions from my favorite fomenter of fermentation, Sandor Ellis Katz:

http://www.wildfermentation.com/making-sauerkraut-2/

Here’s a video demonstration:

http://www.youtube.com/watch?v=i77hU3zR-fQ

IExperiment. Befriend Bacteria. Don’t fear mold.