Fermented Kohlrabi

IMG_0803Chop. Chop.  Time to harvest and preserve the kohlrabi.  I had a hunch kohlrabi would make a good ferment because as a brassica it is sweet, similar in color, and crunchy like cabbage, but this outer-worldly looking vegetable is even more versatile.  In this ferment, I added Hungarian hot wax peppers to give subtle spice, and indeed, the combo created a delicate balance of flavors.

IMG_0814Below is my recipe, such as it is.  The fermentation process lends itself to experimentation and variation.  I change it up based on what is available from my garden or on sale in the grocery store, usually making just quart size containers at a time.  Having a few different ferments bubbling away on the kitchen counter or in the refrigerator allows me to serve several small side dishes (Korean-style) alongside main dishes at dinner.  The variation at the table not only stimulates interest but the digestion as well.

IMG_0808In Vegetable Fermentation Further Simplified, Sandor Katz gives the lowdown on how to ferment any vegetable.  If you are looking to get into fermentation, follow his guidelines and you’ll be making very original side dishes and manufacturing your own tasty probiotics in your kitchen in no time.  I’d love to hear about what you are fermenting.


Fermented Kohlrabi

3 – 4  kohlrabi

2 Hungarian hot wax peppers

2 teaspoons salt


Peel skin off kohlrabi and shred in cuisine art or mandolin.

Place shredded kohlrabi in bowl and sprinkle 2 teaspoons of salt over kohlrabi.

Wash hands and massage kohlrabi until you’ve squeezed out as much liquid as possible.

Mix in diced hot wax peppers

Pack vegetables into a canning jar.

Pour liquid over the top of vegetables.

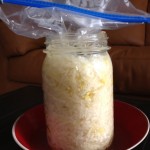
Fill plastic baggie with enough water to weigh down kohlrabi so it is submerged under liquid (usually just 1/2 cup of water).

Place on kitchen counter in a bowl.  As it ferments it will bubble up and excess will spill into bowl.

Wait 3 – 7 days, or more.  Taste often until flavor appeals to you.

Cover with a lid and place in refrigerator.


Raw Italian Giardiniera Recipe

IMG_0637Many years ago, we were introduced to Italian Giardiniera when our roommate at the time, Tommy G., would “mule” gallon jars of giardiniera from the Italian section of his hometown Chicago.  Even though this particular giardiniera was cooked and pasteurized, and used cottonseed oil as the main oil, we still loved it every time Tommy G. returned home with it.

When I found this raw recipe for hot Italian giardiniera, my attraction for this pickled food swelled into adoration.  Why?  Because it makes a gorgeous not to mention tasty antipasto, side dish, or sandwich/cracker condiment.  And because it’s raw  it also offers all the benefits of eating nutrient rich and detoxifying food.  If you don’t include jalapeno peppers, it can also be a cooling food in the heat of summer.

I like this recipe because it always comes out well even if I adjust the ratios of vegetables based on what I have in my refrigerator. Be creative and make substitutions for the vegetables listed below – for example, use any and all colors of peppers; tender green beans and broccoli are great additions too. My own preferences are for a moderate level of spicy hot so I use only 4 jalapeno peppers and leave out the carrot.  I use my cuisinart to slice up all the vegetables and usually double the batch because it is really beautiful summer food and we like to have it around.  Enjoy!

 Hot Italian Giardiniera Recipe

Recipe from www.allrecipes.com

2 green bell peppers, diced

2 red bell peppers, diced

8 fresh jalapeno peppers, sliced

1 celery stalk, diced

1 medium carrot, diced

1 small onion, chopped

1/2 cup fresh cauliflower florets

1/2 cup salt

water to cover

2 cloves garlic, finely chopped

1 tablespoon dried oregano

1 teaspoon red pepper flakes

1/2 teaspoon black pepper

1 (5 ounce) jar pimento-stuffed green olives, chopped

1 cup white vinegar

1 cup olive oil

Directions

Place into a bowl the green and red peppers, jalapenos, celery, carrots, onion, andcauliflower. Stir in salt, and fill with enough cold water to cover. Place plastic wrap or aluminum foil over the bowl, and refrigerate overnight.

The next day, drain salty water, and rinse vegetables. In a bowl, mix together garlic, oregano, red pepper flakes, black pepper, and olives. Pour in vinegar and olive oil, and mix well. Combine with vegetable mixture, cover, and refrigerate for 2 days before using.

Shio-Koji

IMG_0618If you are looking to add more fermented foods into your diet this summer, try making shio-koji(salt koji).  It’s uber-easy and extra tasty. Koji, rice inoculated with the Aspergillus oryzae spores, is commonly used in making traditional Japanese fermented foods like miso, sake and soy sauce, but it is also used to make this salt seasoning which is made from just three ingredients: koji, salt and water. Left on the kitchen counter for one to two weeks, and stirred once a day, it will ferment into sweet/salty creaminess.

IMG_0465

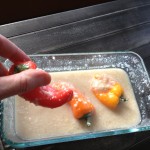
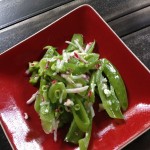
Although it can be used  simply as a salt substitute on all foods, one of my favorite ways to use shio-koji is for an overnight ferment on garden vegetables like root vegetables (especially radishes and turnips), or sugar snap peas, peppers and cucumbers.  Immerse vegetables (whole or sliced) into the mixture; the next day serve them as side dishes to meals or add them in salads.

IMG_0620

On raw salads, I enjoy using shio-koji is as a stand alone addition or in a dressing of olive oil and rice wine vinegar.  One tablespoon will give that mystifying savory sweet & salty umami taste which will keep your dinner guests guessing and wanting more.

A common and delicious way to use shio-koji is as a marinade for tofu, beef, pork, chicken or fish.  It tenderizes and brings out natural umami. Just coat your tofu, meat or fish with the shio-koji and put it in the refrigerator overnight, then bake or grill.

I know I sound all ga-ga about shio-koji, just like the nukazuke pickles, but it’s the kind of stuff I love having around my kitchen because it lends itself to experimentation and fermentation is my preferred method to get probiotics into my body.  With lots of fresh garden veggies and summer grilling, shio-koji brings sparkly savory sweet/salty flavors to the table.  If you make shio-koji, let me know all the ways you use it.

You can buy koji at most Asian Markets in the refrigerated section. Cold Mountain sells Koji in a 16 ounze container. I like to double or triple this recipe for a larger batch. This is a 6 ferment which lasts longer than a 3 percent ferment and has a sharp clean flavor.

Shio-koji Recipe

from Miso, Tempeh, Natto and other tasty ferments by Kristen and Christopher Shockey

3 tablespoons salt

1.5 cups dried koji

2-3 cups water, boiled and cooled, to fill quart jar.

Mix salt and koji in a bowl and mix well. Place mixture in quart jar and add water.  Cover with cheesecloth and secure with rubber band.  Ferment for 1-2 weeks.  Outside temperatures will influence how long it takes to ferment.  Stir every day.  It’s ready when the sharply salty taste balances with a sweet taste. Keep in refrigerator in glass container with lid.

Nettle Chip Recipe

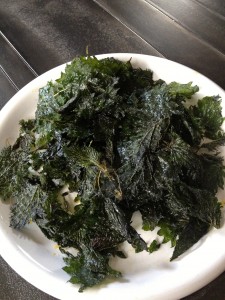
IMG_0451In my last post, I shared the benefits of using nettles for morning blended drinks and infusions.  I can attest that these drinks have successfully replaced for my morning coffee.  Because I collected more nettles than I could use in a week, I tried think of more ways to use them besides in soup, and then my brain was stung with a stunning idea: nettle chips.  It took me about 2 seconds from having the idea to getting my bag of nettles, gloving up and removing the stems from the leaves. I washed the leaves with cold water which softened the nettle’s stingers, spun dried them in the salad spinner and then set them out on a towel to air dry.  Afterwards, I made the nettle chips exactly like I make kale chips.  The nettle chips are lighter, almost flaky, a little fuzzy and more delicate than kale chips, but just as tasty and satisfying.  They’re sorta an elevated kale chip.  It definitely elevates my mood to think about how much they would cost if I bought them at Whole Foods.

Nettle Chip Recipe

(amounts vary on quantities used so just use your judgment)

Drizzle and toss enough olive oil to coat leaves. (Use a glove or metal tongs)

Add sea salt and nutritional yeast to taste

If you like spicey chips, add garlic powder and chipotle for seasoning.

Dehydrate at 145 degrees for an hour

Or, put in oven at 200 degrees on parchment paper.  Turn leaves after 20-30 minutes.

While nettle season is in full swing, my dehydrator will be continuously humming with nettles inside.  They will be an excellent snack food and addition to our summer’s backpacking food, given its high amount of protein and minerals.  I learned from www.skipthepie.org that 1 cup of cooked nettles provides 43% of the recommend daily intake (RDI) of calcium, 8% of Iron, 5 % of protein, 35 % of manganese, 36 % of Vitamin A and 555% of Vitamin K.

It takes some mettle to work with nettles but they give high rewards — even more vigor.


A Shot of Nettles

In Eastern medicine, spring is the season of the wood element, the liver meridian and liver organ.  The liver meridian is linked to eye health and the smooth flow of energy through our body. Anger, depression and irritability are the emotions associated with the wood element when it is out of balance.

Many of us start spring cleaning in our homes, gardens and craving more lightness and energy in our physical and emotional bodies.

There are many ways to activate Liver Qi like getting acupuncture, increasing exercise, eating more sour and vinegary foods, and eating lots of greens. During early spring when the garden isn’t yet producing greens there are a few common plants like dandelions and stinging nettles that pop out of the soil just in the nick of time to assist us with a Liver activating spring regimen.

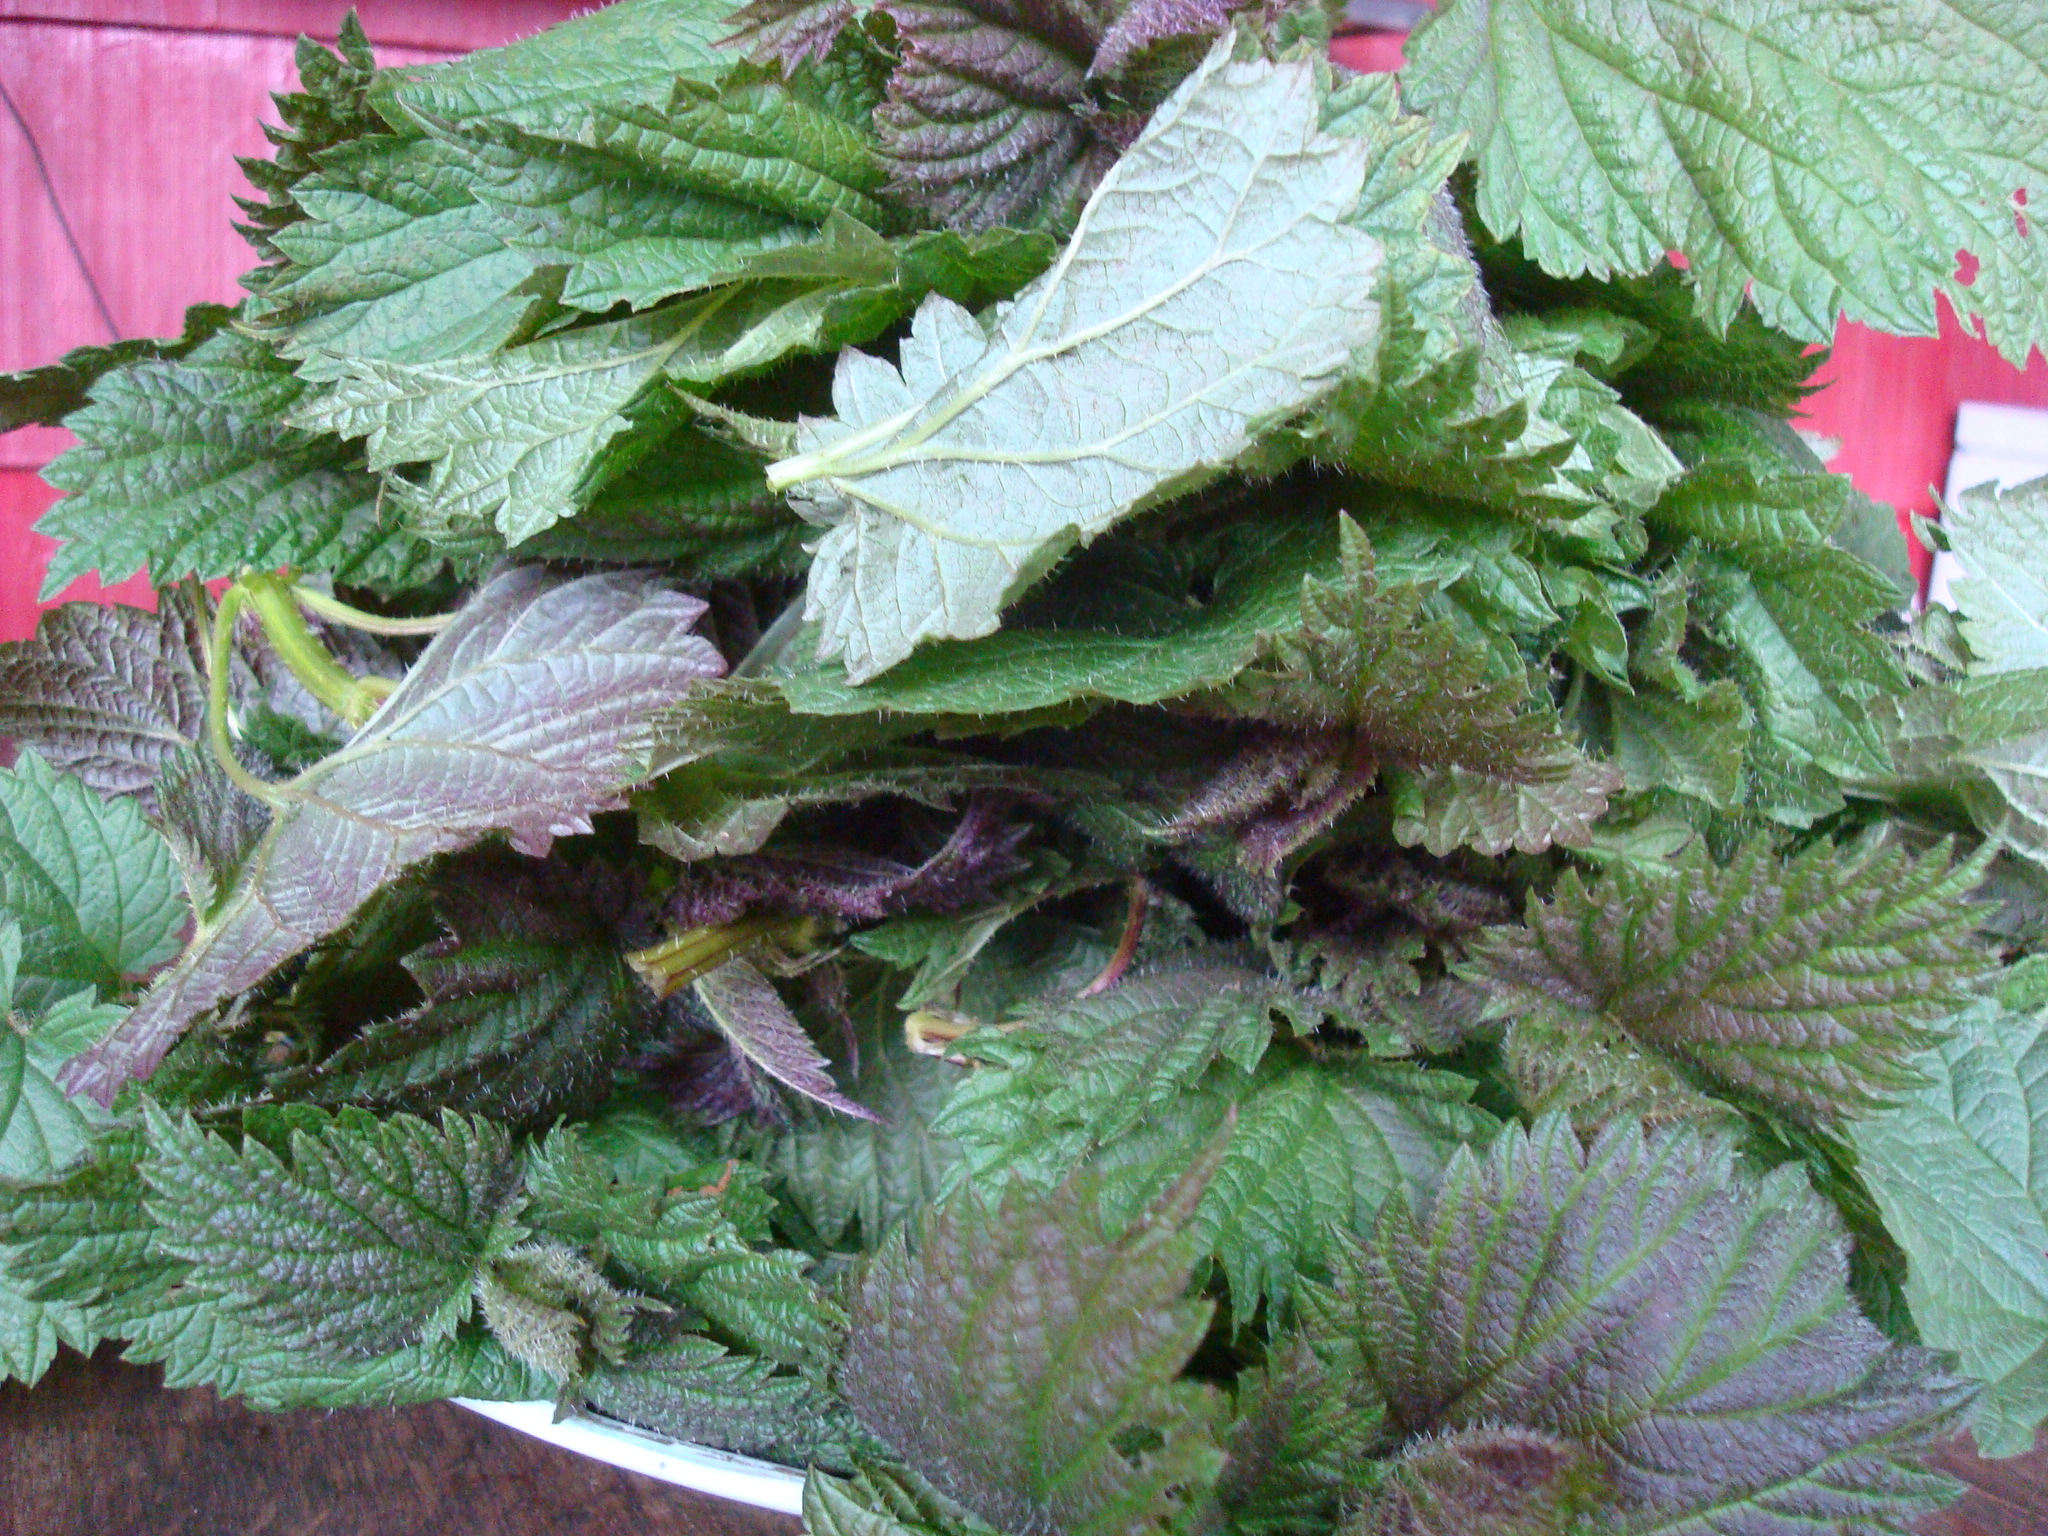
Most people are aware of nettle’s intense sting but few appreciate nettle’s nutrient values, making it a fierce physiologic ally.  In fertile soils, the purple hue on the top surface of its green leaves looks almost iridescent, shimmering with potency.  That’s why I consider stinging nettles to be one of the best shots in the arm, a rich injection of vitamins and minerals.

In Chinese medicine, nettles are categorized as a blood builder, cleanser and kidney tonic. Stinging nettles are known to be high in calcium, magnesium,manganese, iron, chlorophyll, vitamin C, and contain more protein (10%)than another other vegetable. As a blood builder, greater vitality, lustrous hair and stronger nails will result. As an antidote to seasonal allergies, it is thought to reduce the amount of histamines the body produces in response to free floating allergens if one drinks an infusion three weeks before pollens are released into the air. As a kidney tonic, it purifies the blood by eliminating toxins and metabolic wastes through its diuretic properties.

In late February and early March when I still feel some sluggishness from wintering and trees are releasing pollens, I start making nettle infusions to build my energy and clear out the accumulations from heavier winter foods. It’s too early to forage for wild nettles so I rely on dried nettles to make the infusions. You can buy organic nettles at your local natural foods market or online at Amazon, Mountain Rose Herbs. I buy a pound at a time. It seems like a lot but if you are consistent in early spring with making and drinking a quart of infusion a day,  you will use it up.

Nettle Infusion

In quart mason  jar or French Press  add nettles and then pour boiling water over it. Stir.

I cup raw leaves or one ounce dried nettles (an ounce is about a cup of dried nettles)

1 quart  boiling water

Let mason jar sit on kitchen counter for at least 4 hours or overnight for maximum infusion.  Strain and drink infusion throughout the day.

Nukazuke (Rice Bran) Pickle Recipe

DSC06106

There are some foods that are just too damn exciting, and not just to the palate.  Nukazuke, rice bran pickles, fall into the “I wish I would have done this sooner” category.  Not only are they crisp, their flavor is subtle, but with a complexity unique to each vegetable’s qualities. And, just as significant, the fermentation process for making them is very simple and downright entertaining.  My own definition of what cures me is any activity or experience, which engages, vitalizes, and catalyzes healing.  It might be hard to imagine that a traditional Japanese pickling process could elicit such fizz in me. But it does. I always pay attention when any food processing activity excites, or as my friend Danny says, gives me juice. We all know this…if what we do gives us energy then we must be on the right track.

I found out about nukazuke pickles in the most traditional way — from my neighbor, Stewart.  He borrowed one of my most cherished books, The Art of Fermentation, by Sandor Ellix Katz, made a batch of the nukazuke pickles, and then gave me some samples. In due time, he offered me a lesson on how to ferment vegetables using this method.  Because Stewart has spent significant time in Southeast Asia and had previously tasted these pickles at their source, he was drawn to making them.

Stewart warned me that recipes for making these pickles vary widely, but since it’s a no-fail kind of process, he advised doing my own research and experimenting since ingredients were cheap.  That’s exactly what I did so the recipe that follows is a composite recipe based on The Art of Fermentation’s instructions, Stewart’s recommendations and my own google searches. I offer it as a guide, and like Stewart, encourage readers to try out their own versions, becoming their own resident authority on a method that they can share with neighbors.  One reason I love live culture foods is they survive because they are passed from organism-to-organism, household-to-household, and generation-to-generation.

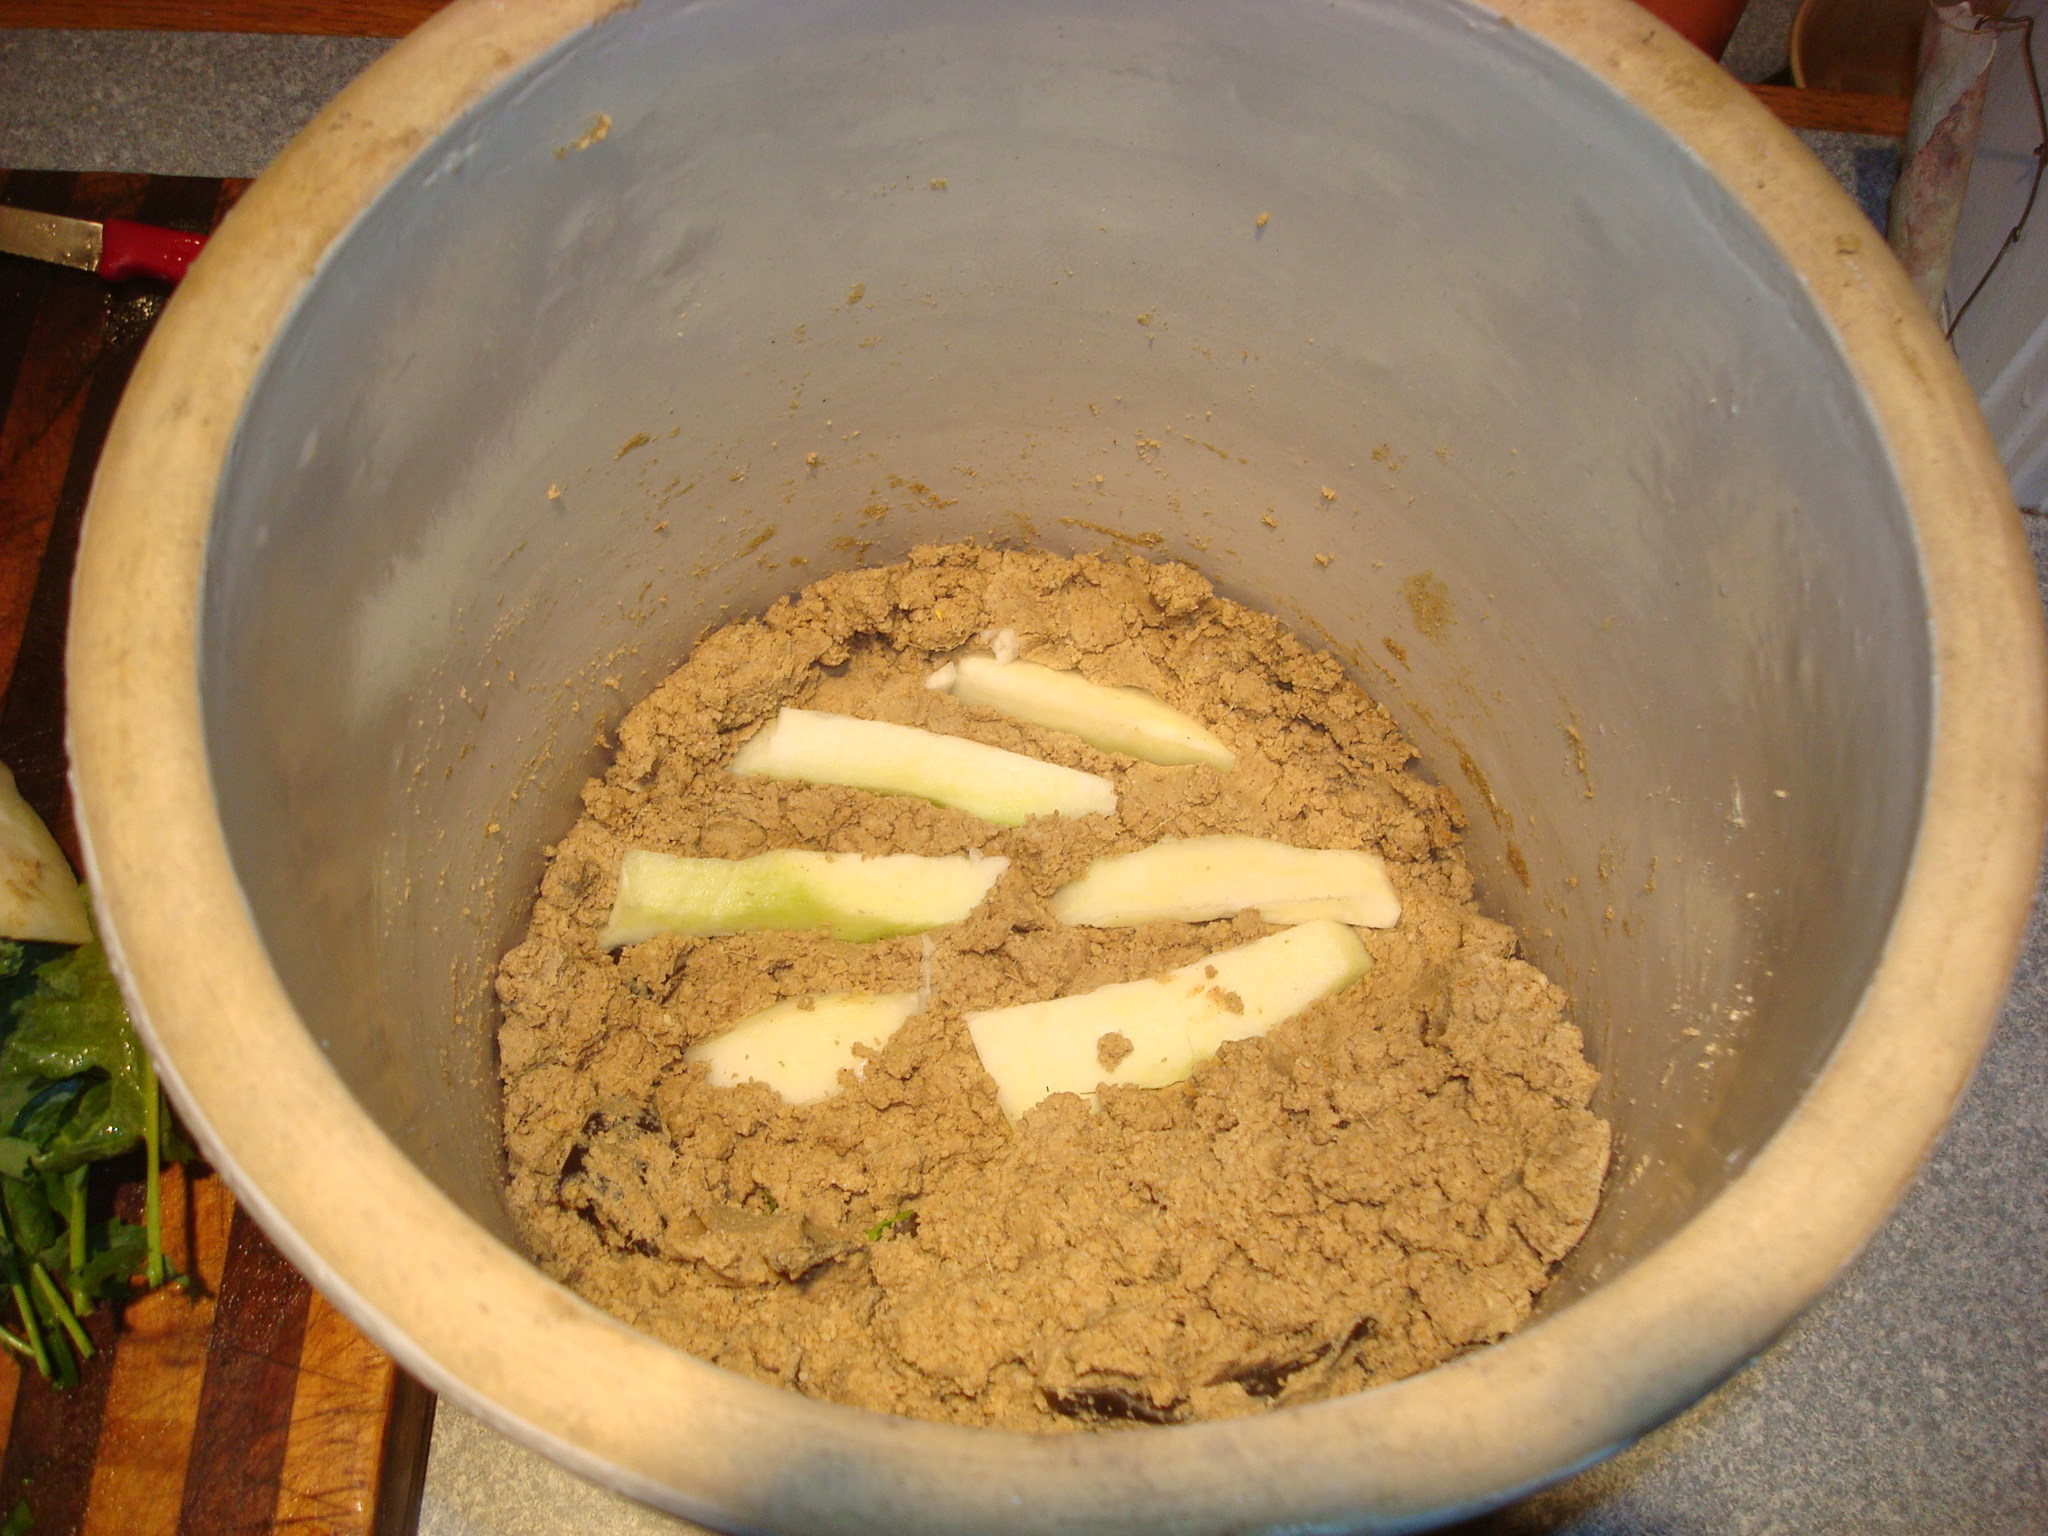
In this fermentation method, we bury any and all types of vegetables in a rice bran and salt paste with a consistency like wet sand.  Depending on the ambient temperature, vegetables can pickle in a matter of hours or overnight, retraining their crispness. If you like a stronger, more sour taste and softer texture, the vegetables can be left in the rice bran for a few days or even months. This method of fermentation is reliant on a continuous supply of lactic-acid producing bacteria colonies, which comes from the surface of our bare hands and the skin of fruits and vegetables.

It is important to stir the nuka pot (crock if you have one) everyday with your hands to keep the healthy bacteria alive and to prevent mold.  Since this is a live culture, it emits an earthy almost nutty scent.  It can also be refrigerated if ambient summer temperatures become too warm (which might sour your nuka-bed), or if you go away for any length of time.

The reward for getting your hands nuka-covered everyday is finding your vegetable treasures buried in the nuka pot.  To my husband Craig’s delight, I’ve been serving a different pickle delicacy with dinner every night.  He exclaimed after sampling the kohlrabi, “This is sooo good.  You are really on to something!”

 Nukazuke Rice Bran Pickle Recipe

1. Use two pounds of rice bran. Use a glass or ceramic crock for your nuka pot.

I bought rice bran in one pound packages at our local Japanese food store (Uwajimaya).  If you can find fresh bran (wheat or rice) that is more ideal since bran can go rancid over time.
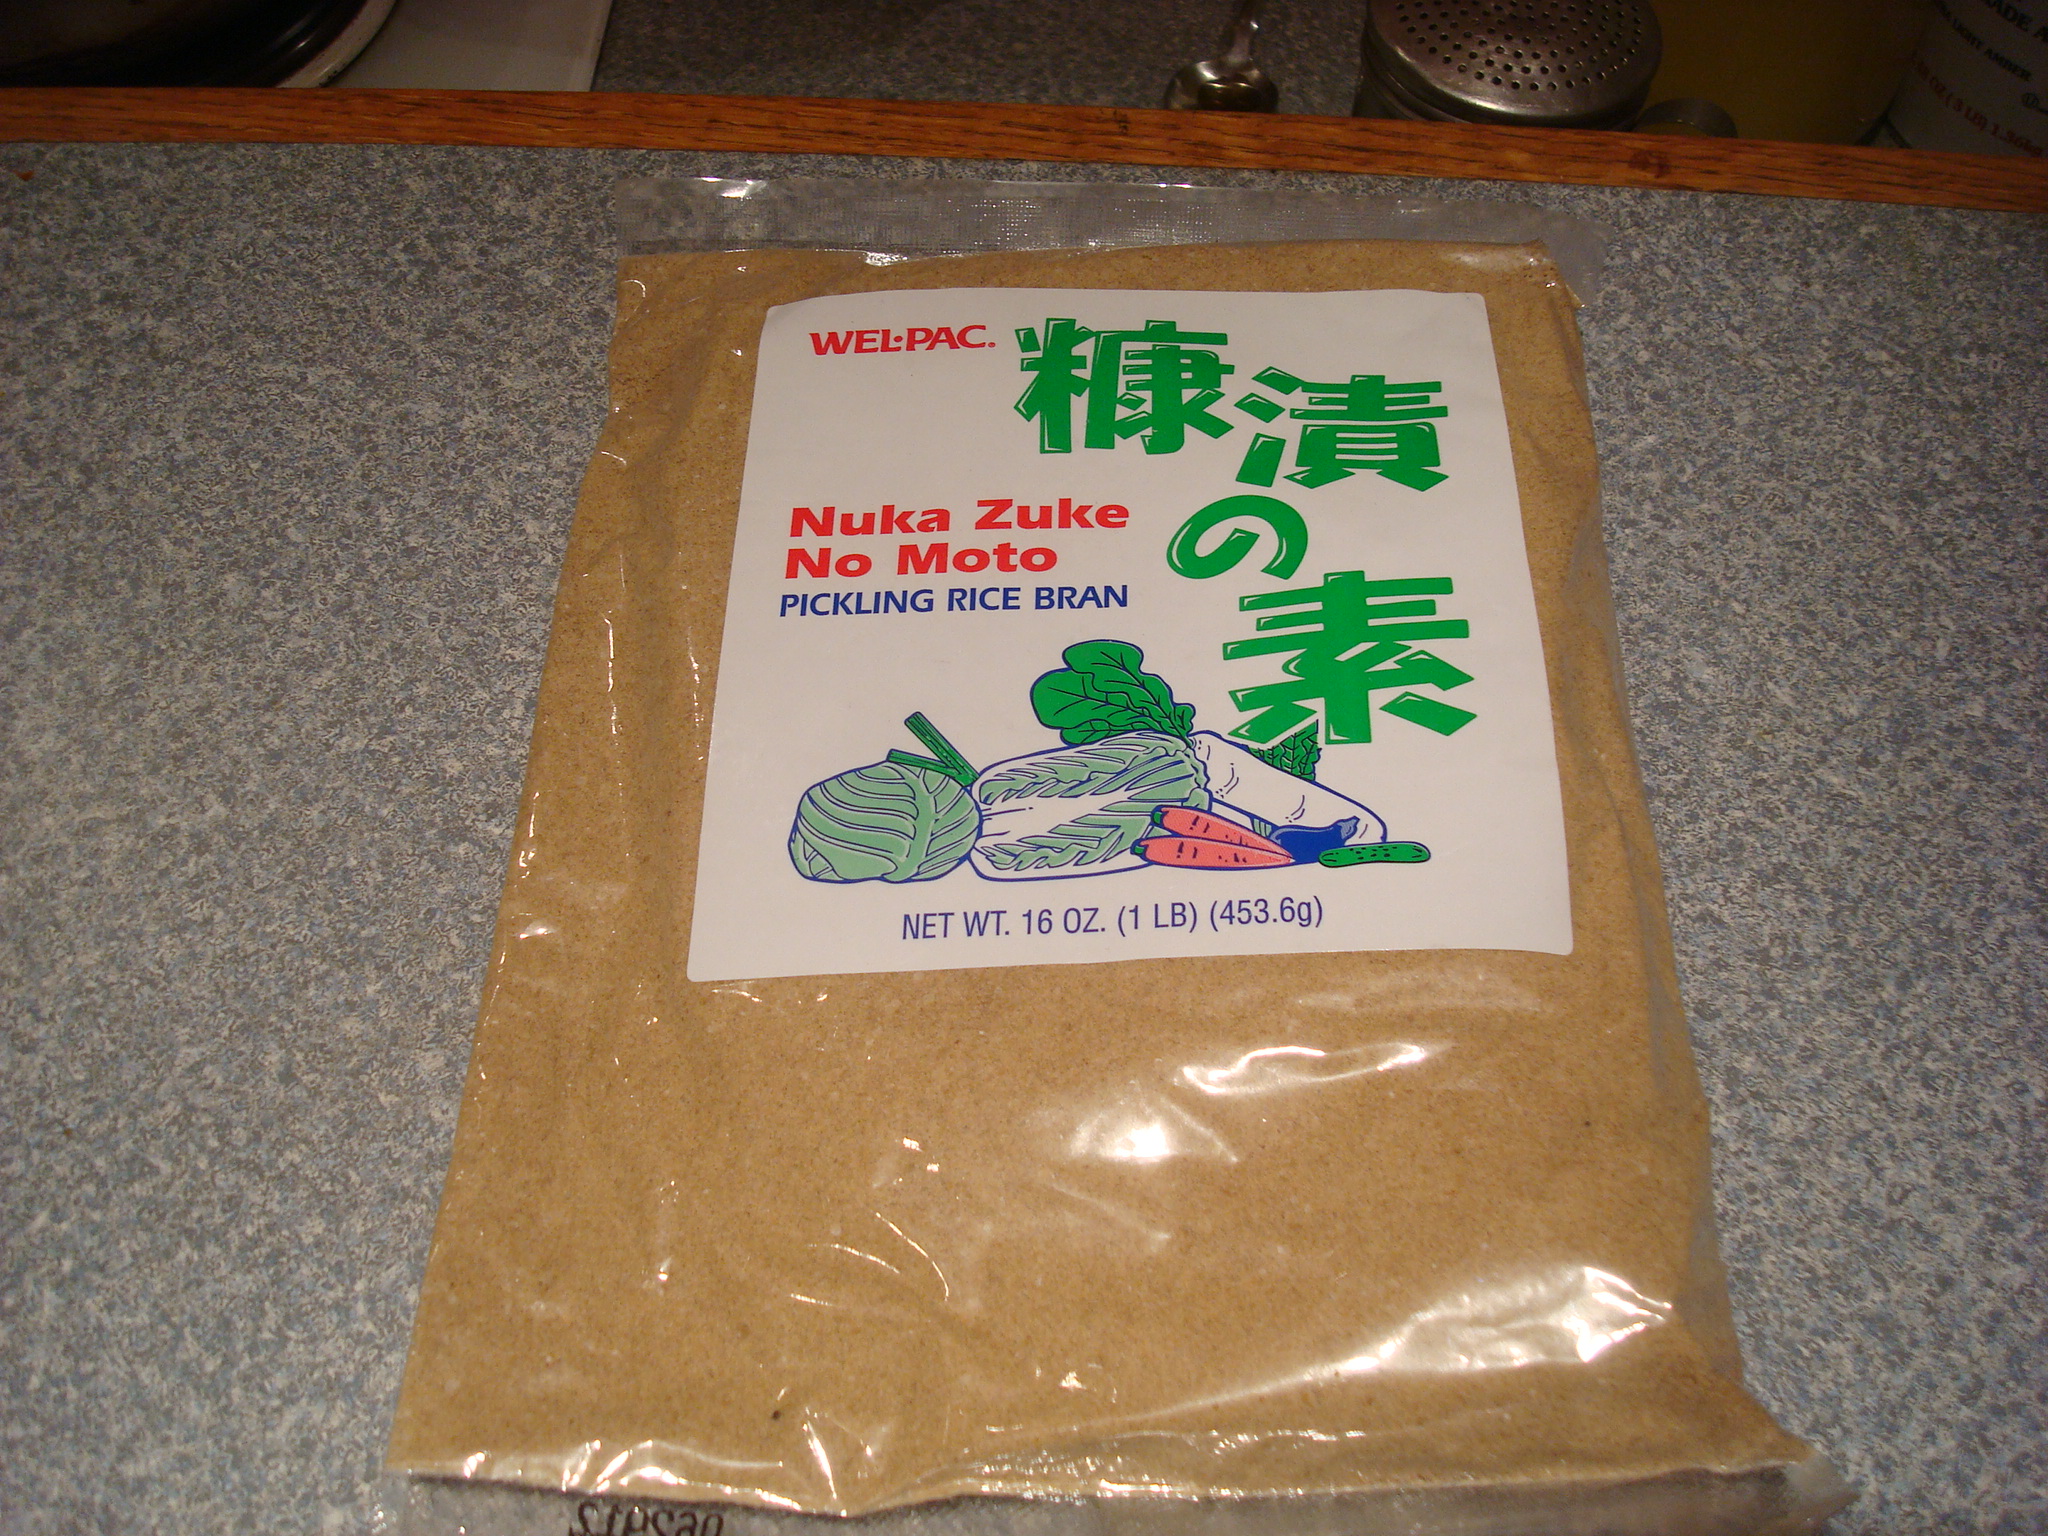
DSC06083

2. Roast the rice bran until slightly darkened and gives off a roasted aroma.
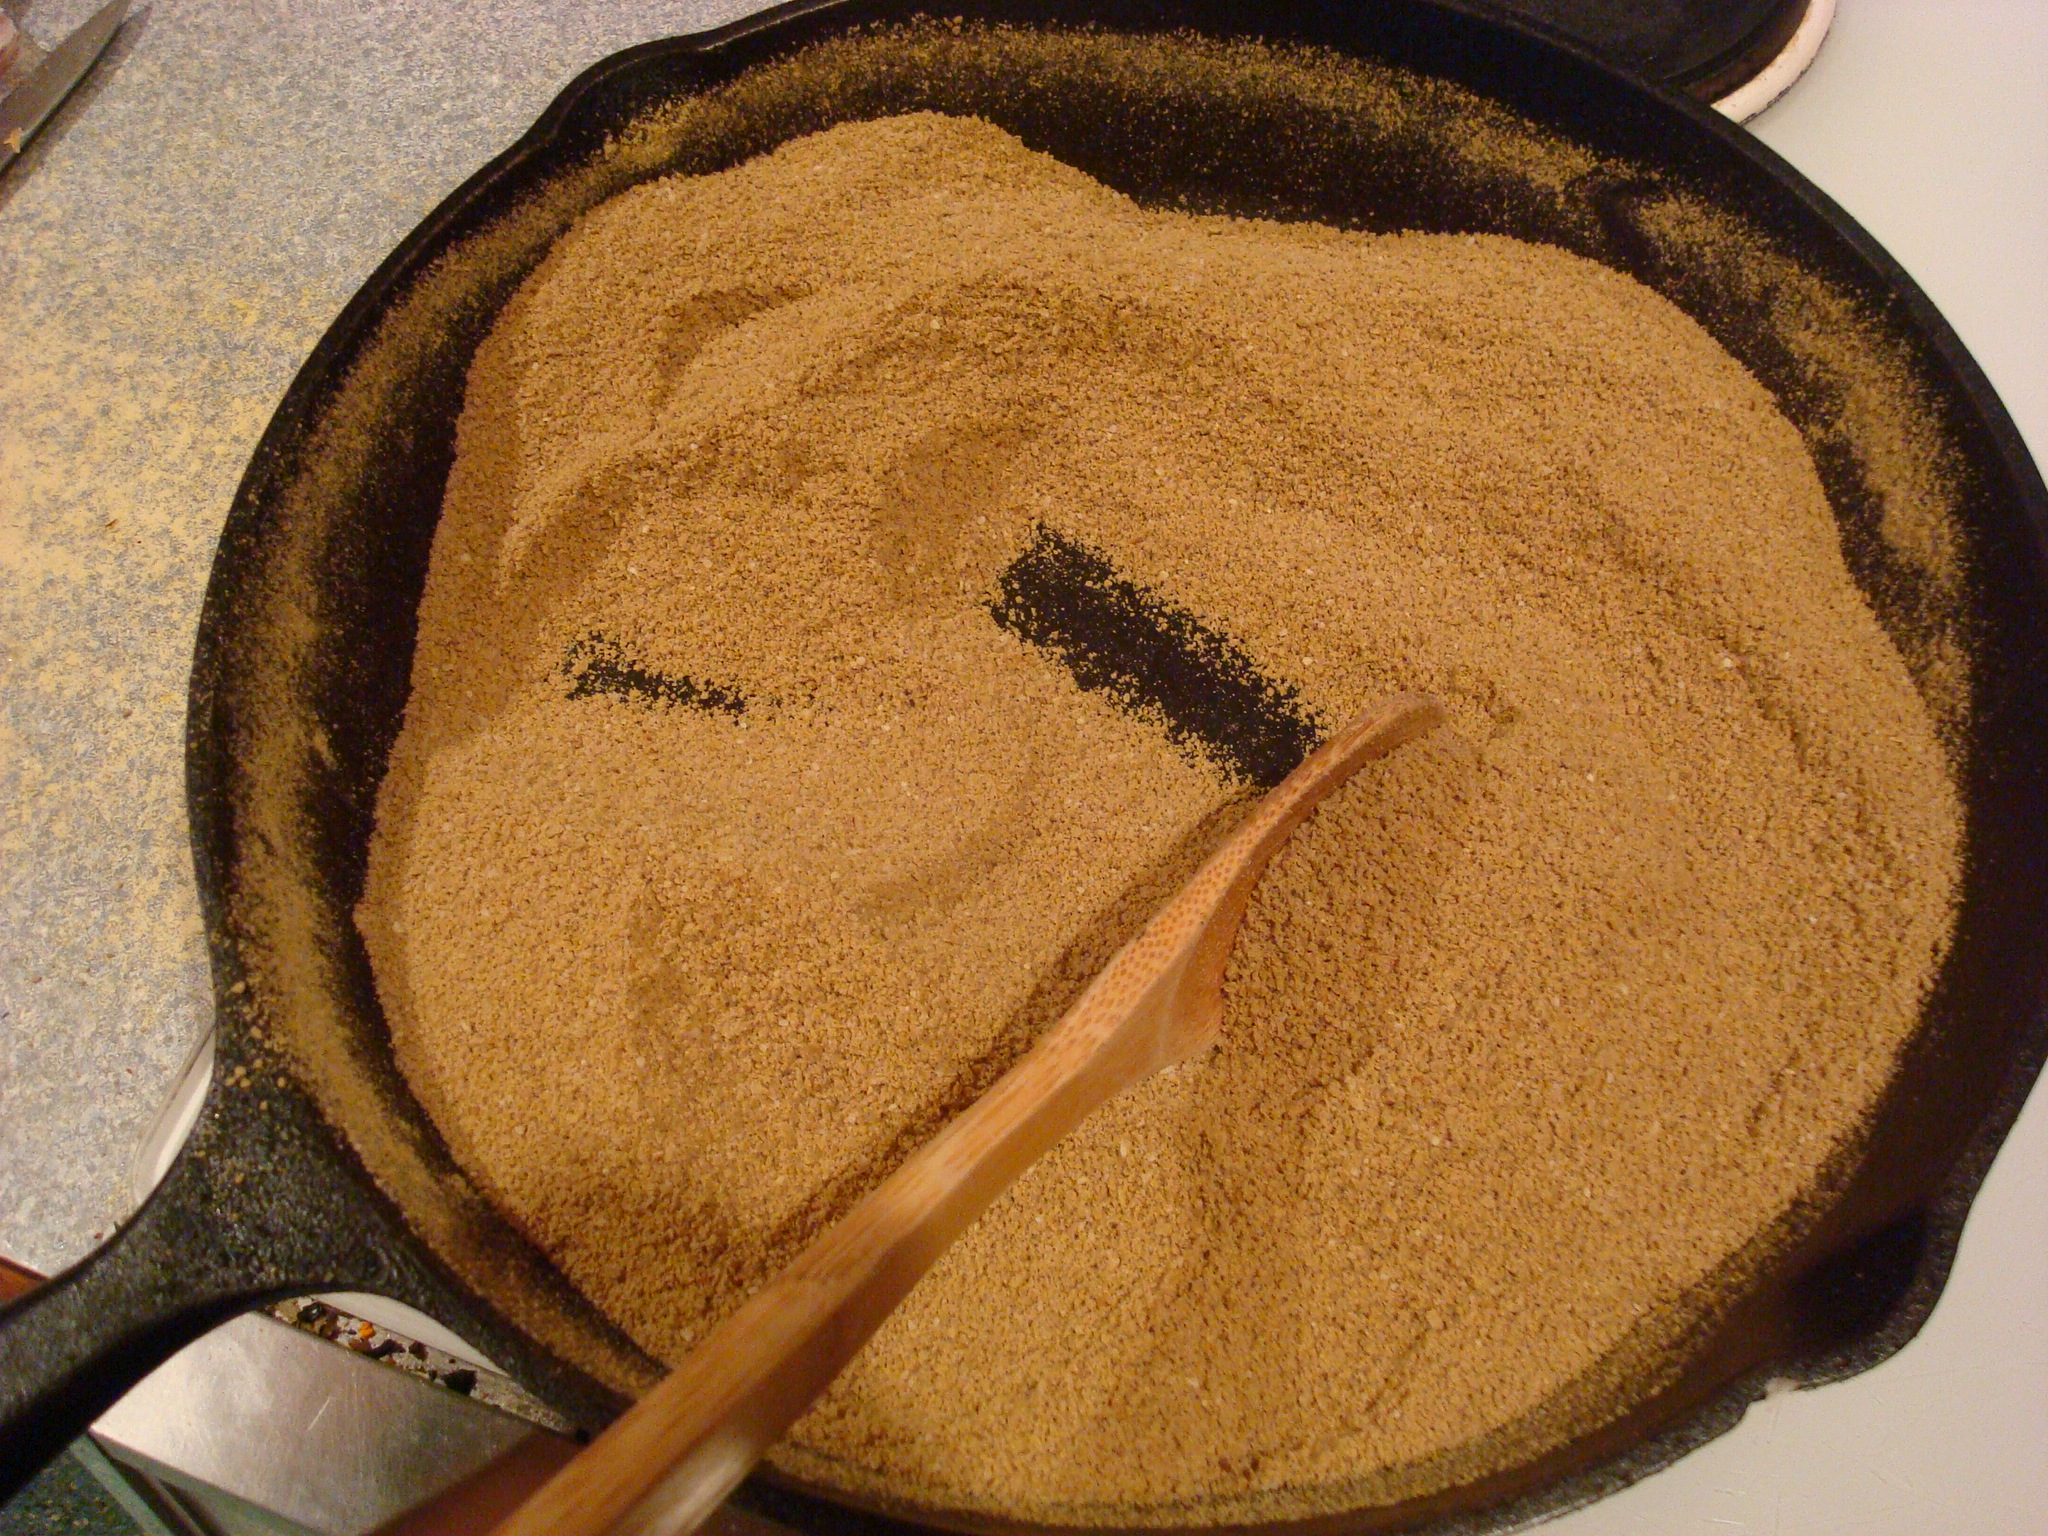
DSC06075

3. Make a slurry of 6 cloves of garlic and a big chuck of ginger in the cuisine art and add it to the bran. Optional:  red chili peppers with seeds removed.
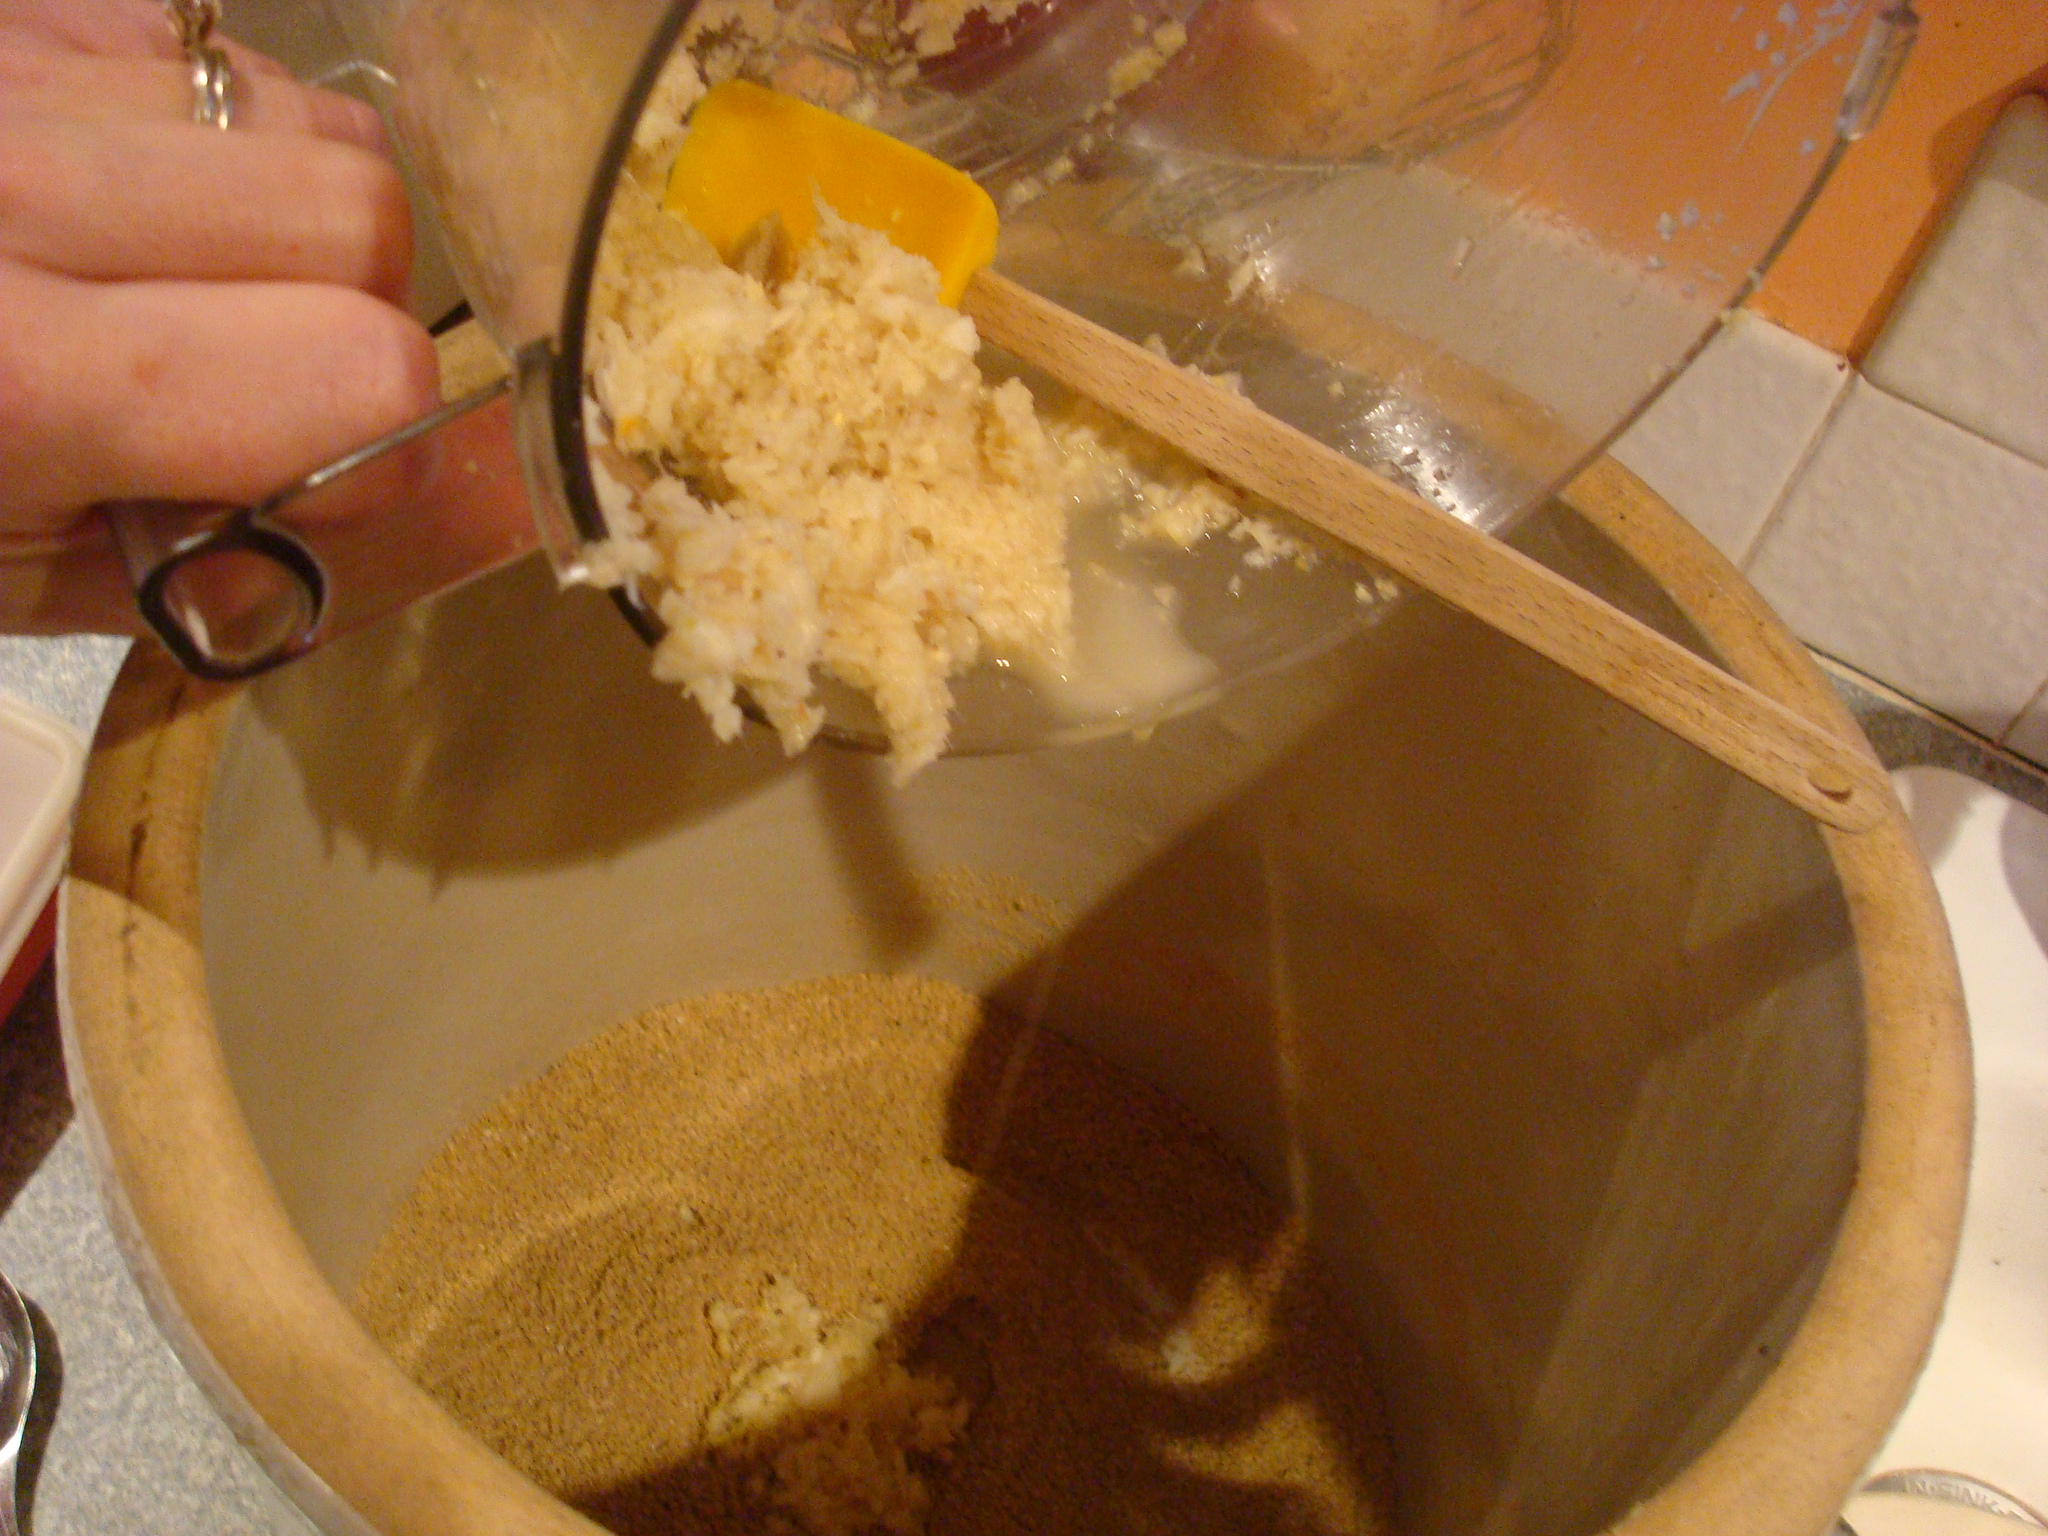
DSC06078

4.  Add 5 – 6 Tablespoons of salt to 6 cups of boiling water. Recipes vary greatly regarding salt content. Sandor Katz reports that recipes range from 5% – 25% salt content to the weight of bran so use your judgement and taste preferences. Chop up a piece of kombu seaweed and add to salted water.  Let water cool and then add salted water and kombu to rice bran until you find a consistency you like.  Some people prefer a wetter mixer.  I like a wet sand consistency, using only 4 1/2 cups of water.

5.  I added a cup of starter from Stewart’s batch however, if you are starting your culture from scratch you can add a piece of soaked bread, crushed dried eggshells, apple peelings, beer or sake to get the ferment going.  Again, recipes vary greatly as to whether you need any of these additional microbial prompts or not.

6.  After washing hands, stir nuka with your hands, aerating it well.  Bury a variety of different vegetables in your culture every day and remove them the next.  Some people salt rub their vegetables to stimulate the breakdown of vegetables, but it is not necessary if you want less salt.  Gradually, the vegetables start tasting more and more pickled.

On the fourth day I used a gnarly looking old kohlrabi that had been overwintering in my garden. I peeled and cut it into pieces, and buried both the leaves and root in the nuka pot.  Vegetables can be put in whole or sliced in the pot.
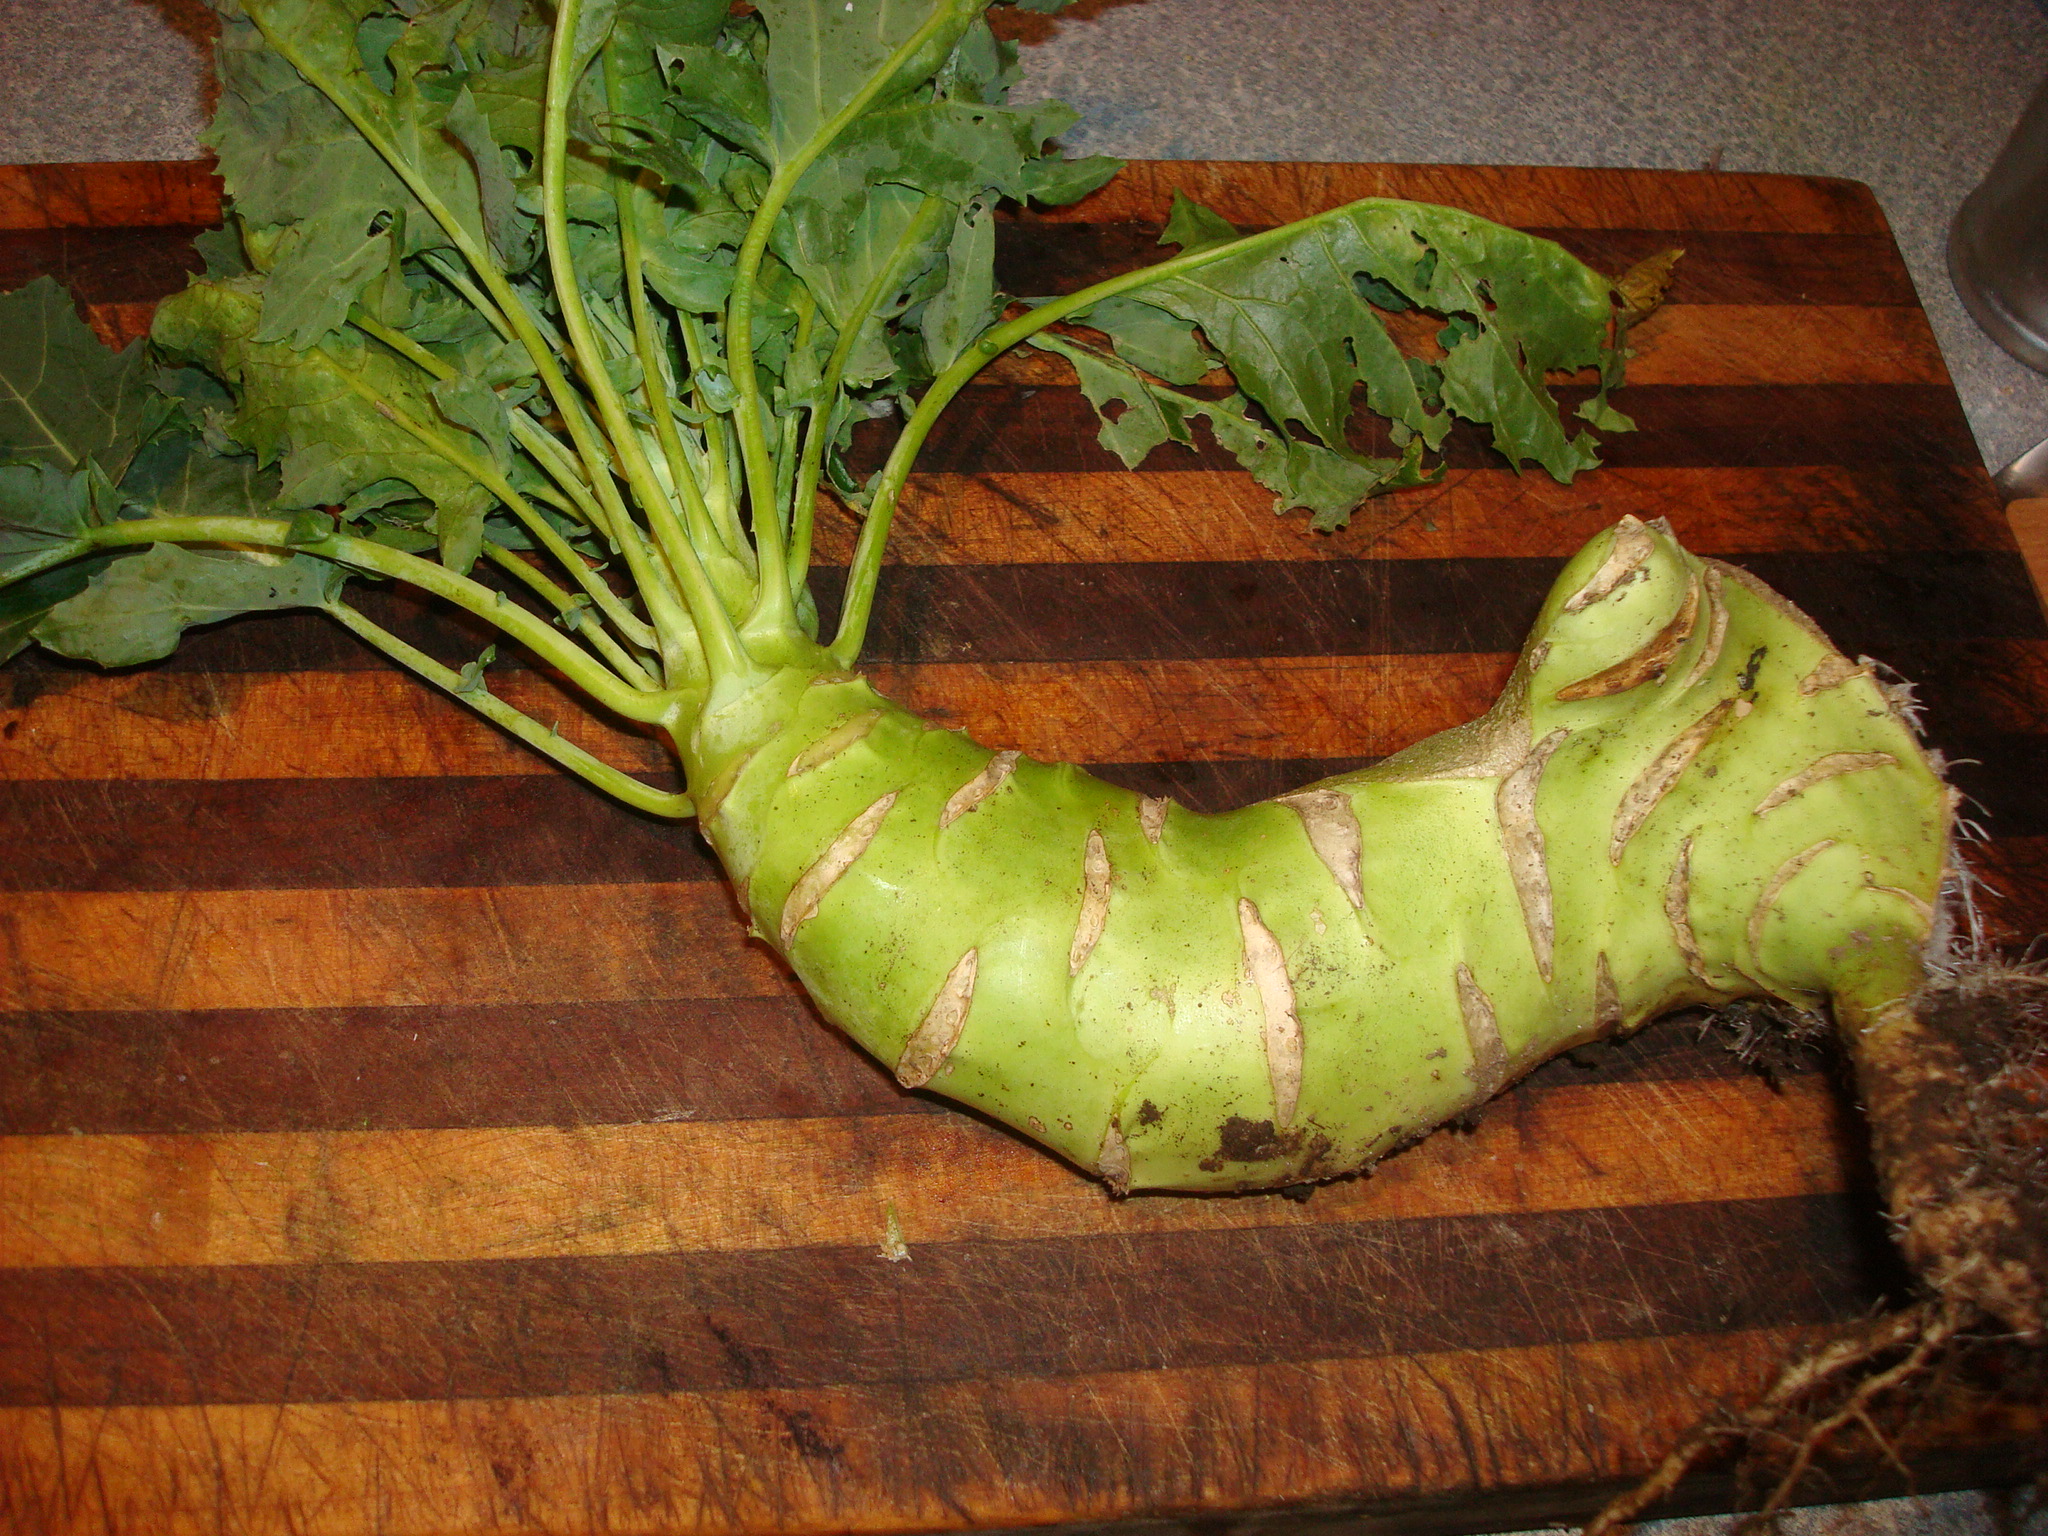
DSC06095

 DSC06097

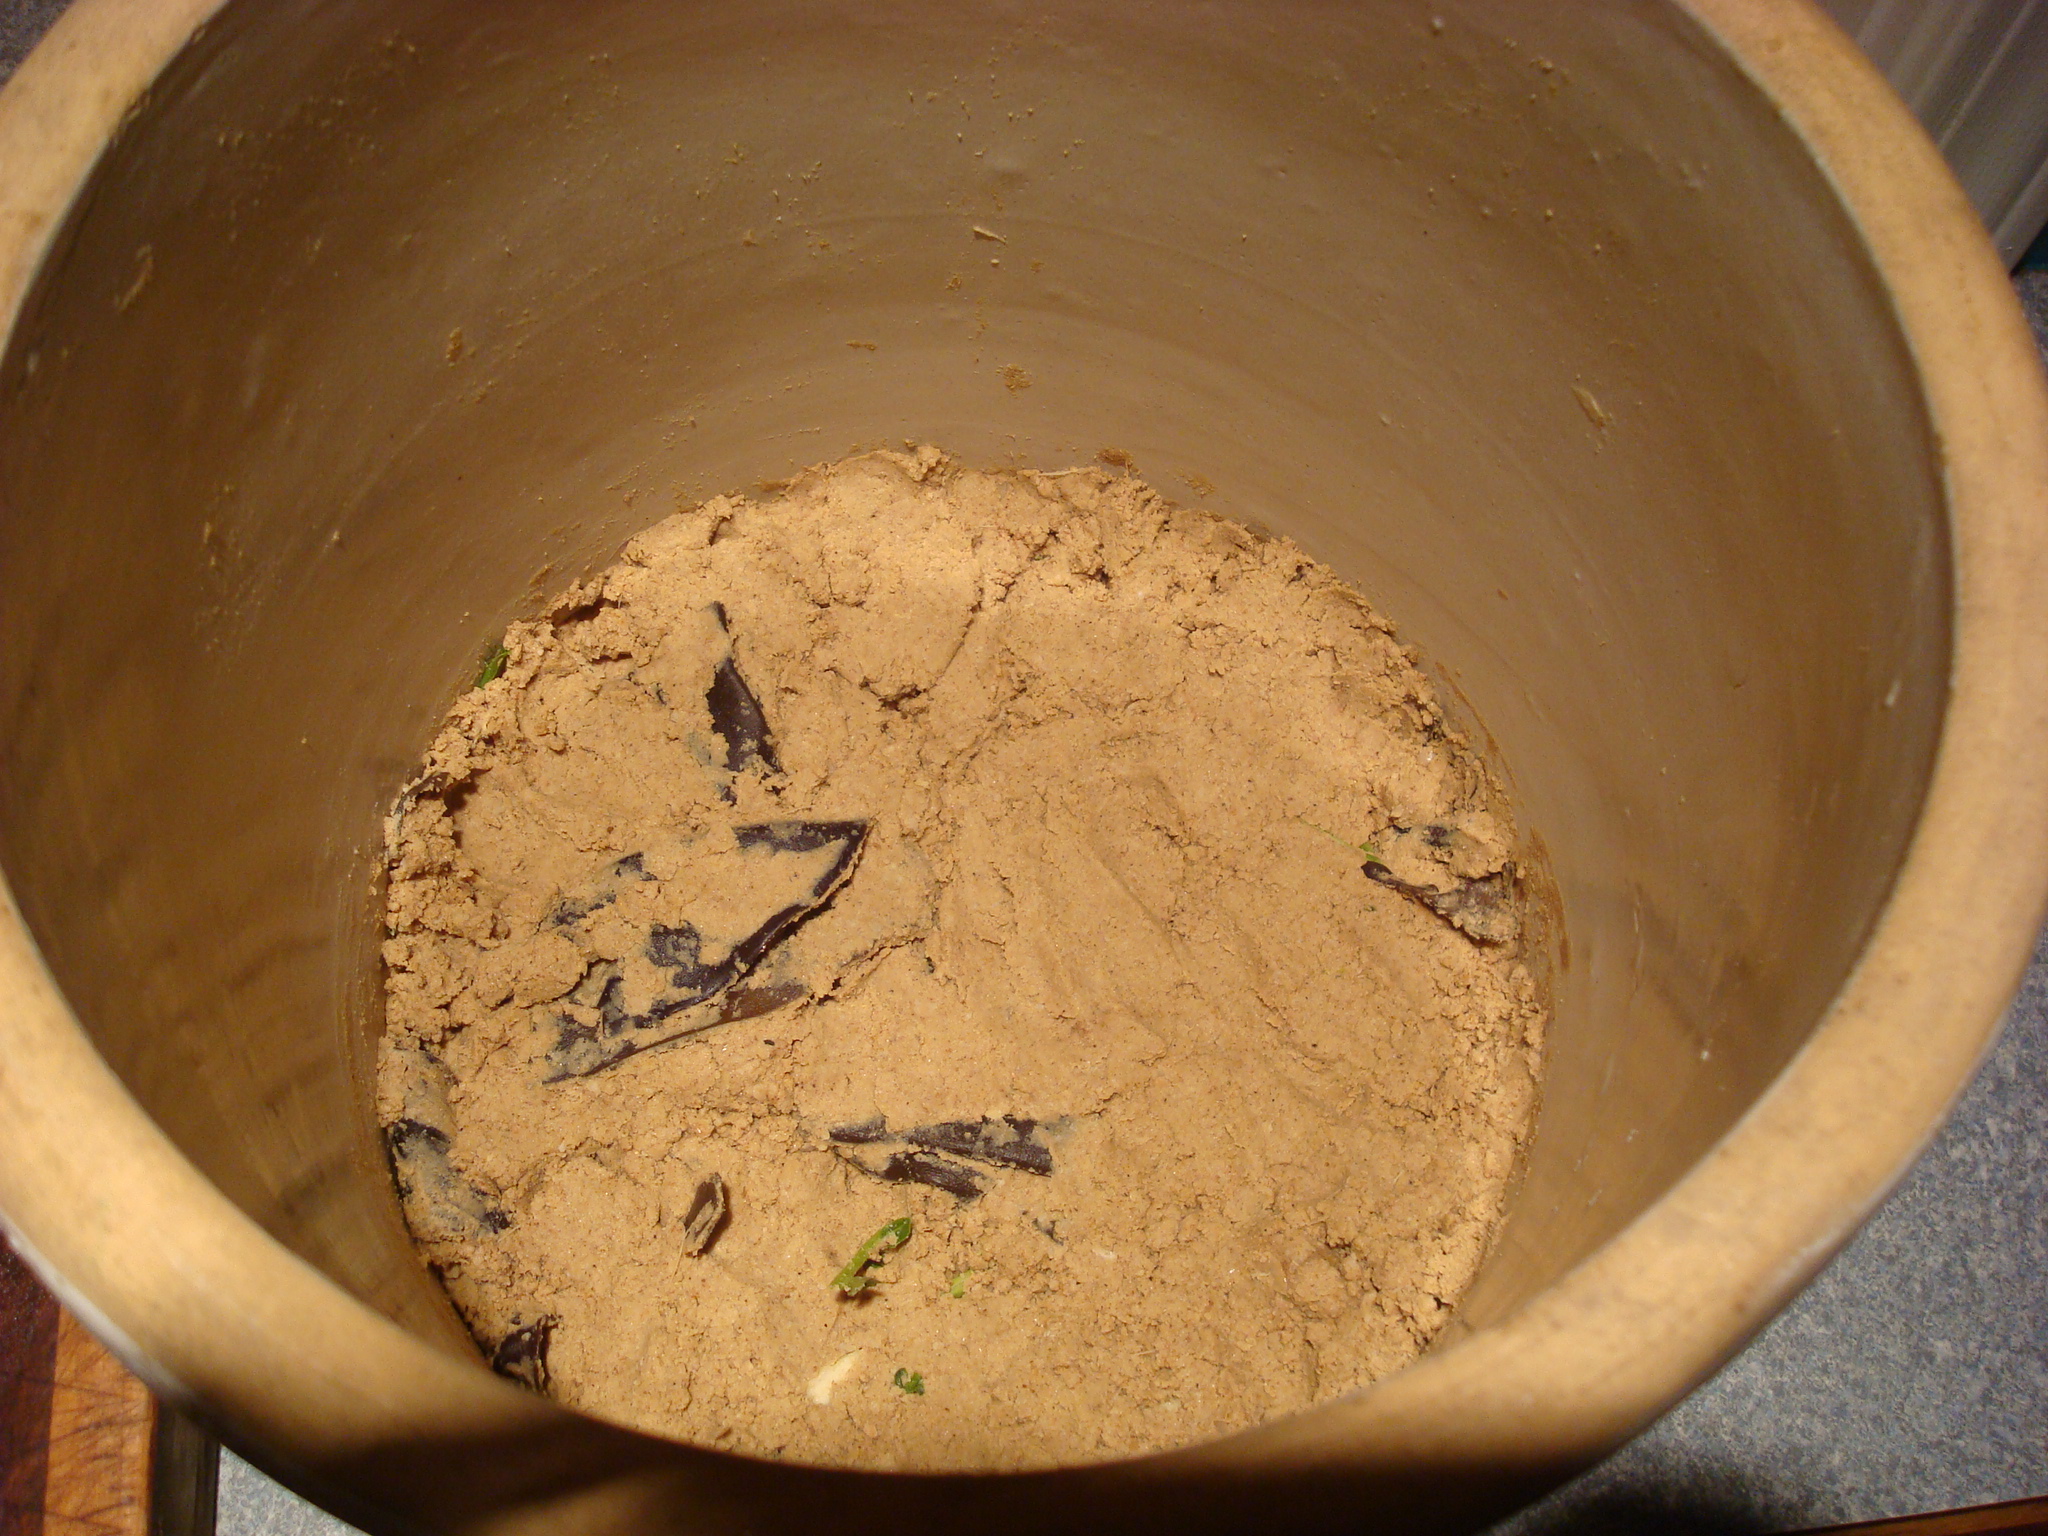
7. Wipe away any residual bran from the sides of the vessel and pat surface down smooth after covering vegetables.
DSC06099

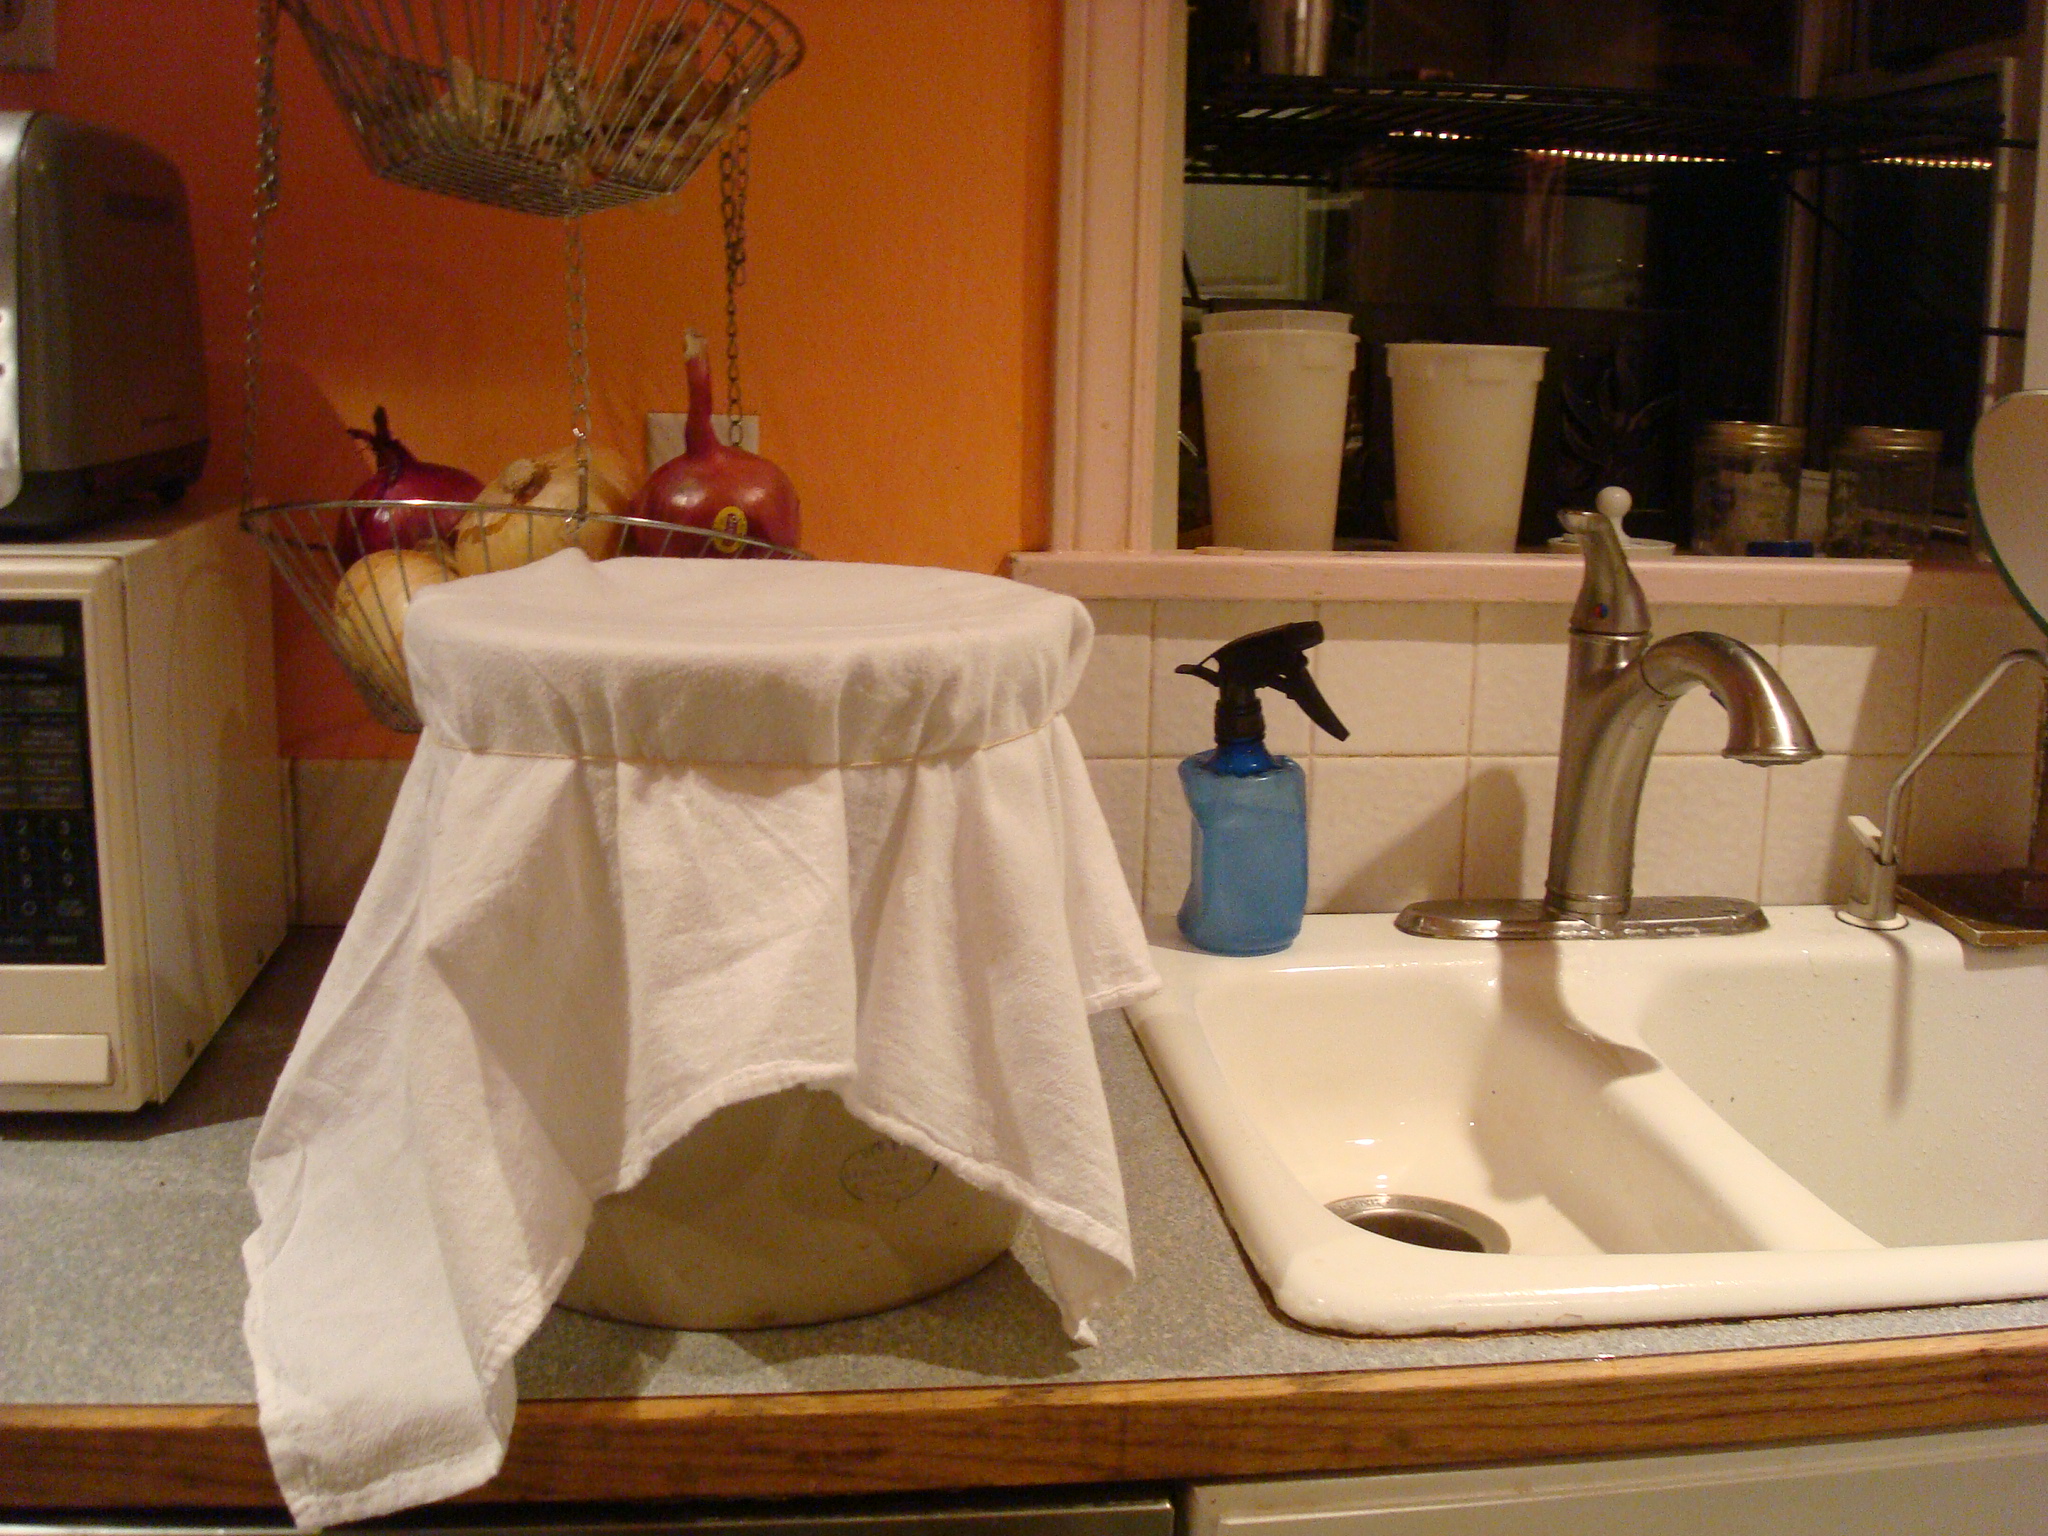
8.  Cover pot with a clean cloth and use an rubber band to bind it.
DSC06102

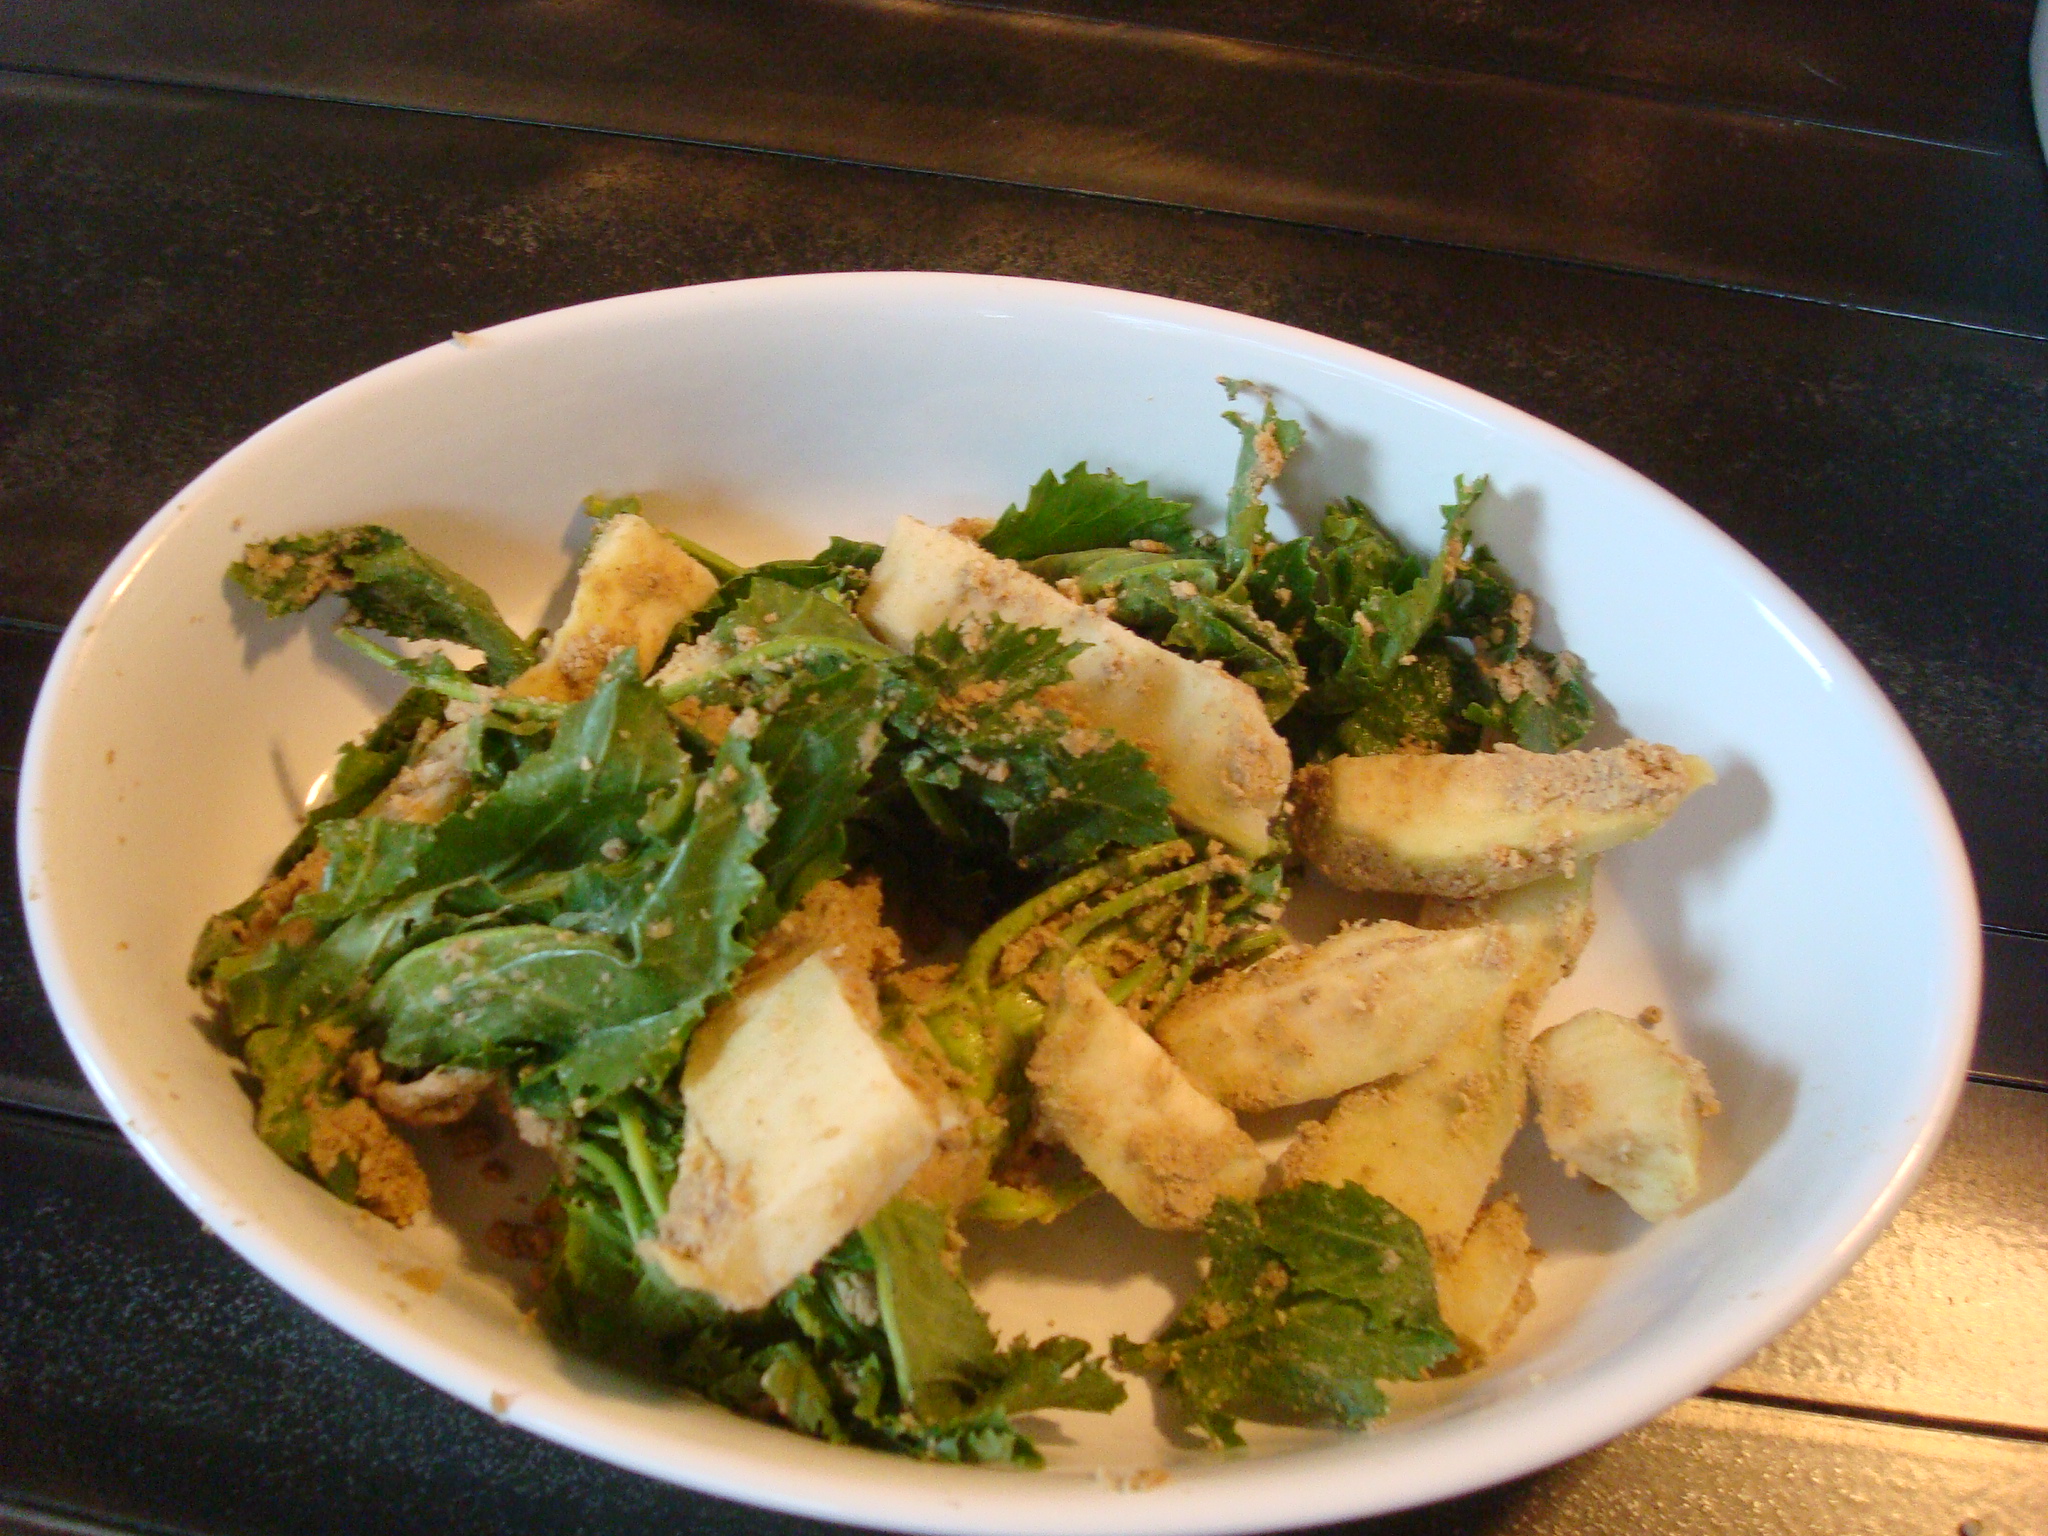
9.  The next day, remove the vegetables from the nuka pot, wipe off excess nukazuke paste into the pot. Wash off vegetables with cool water.  Occassionally add more rice bran and salt to your pot.
DSC06105

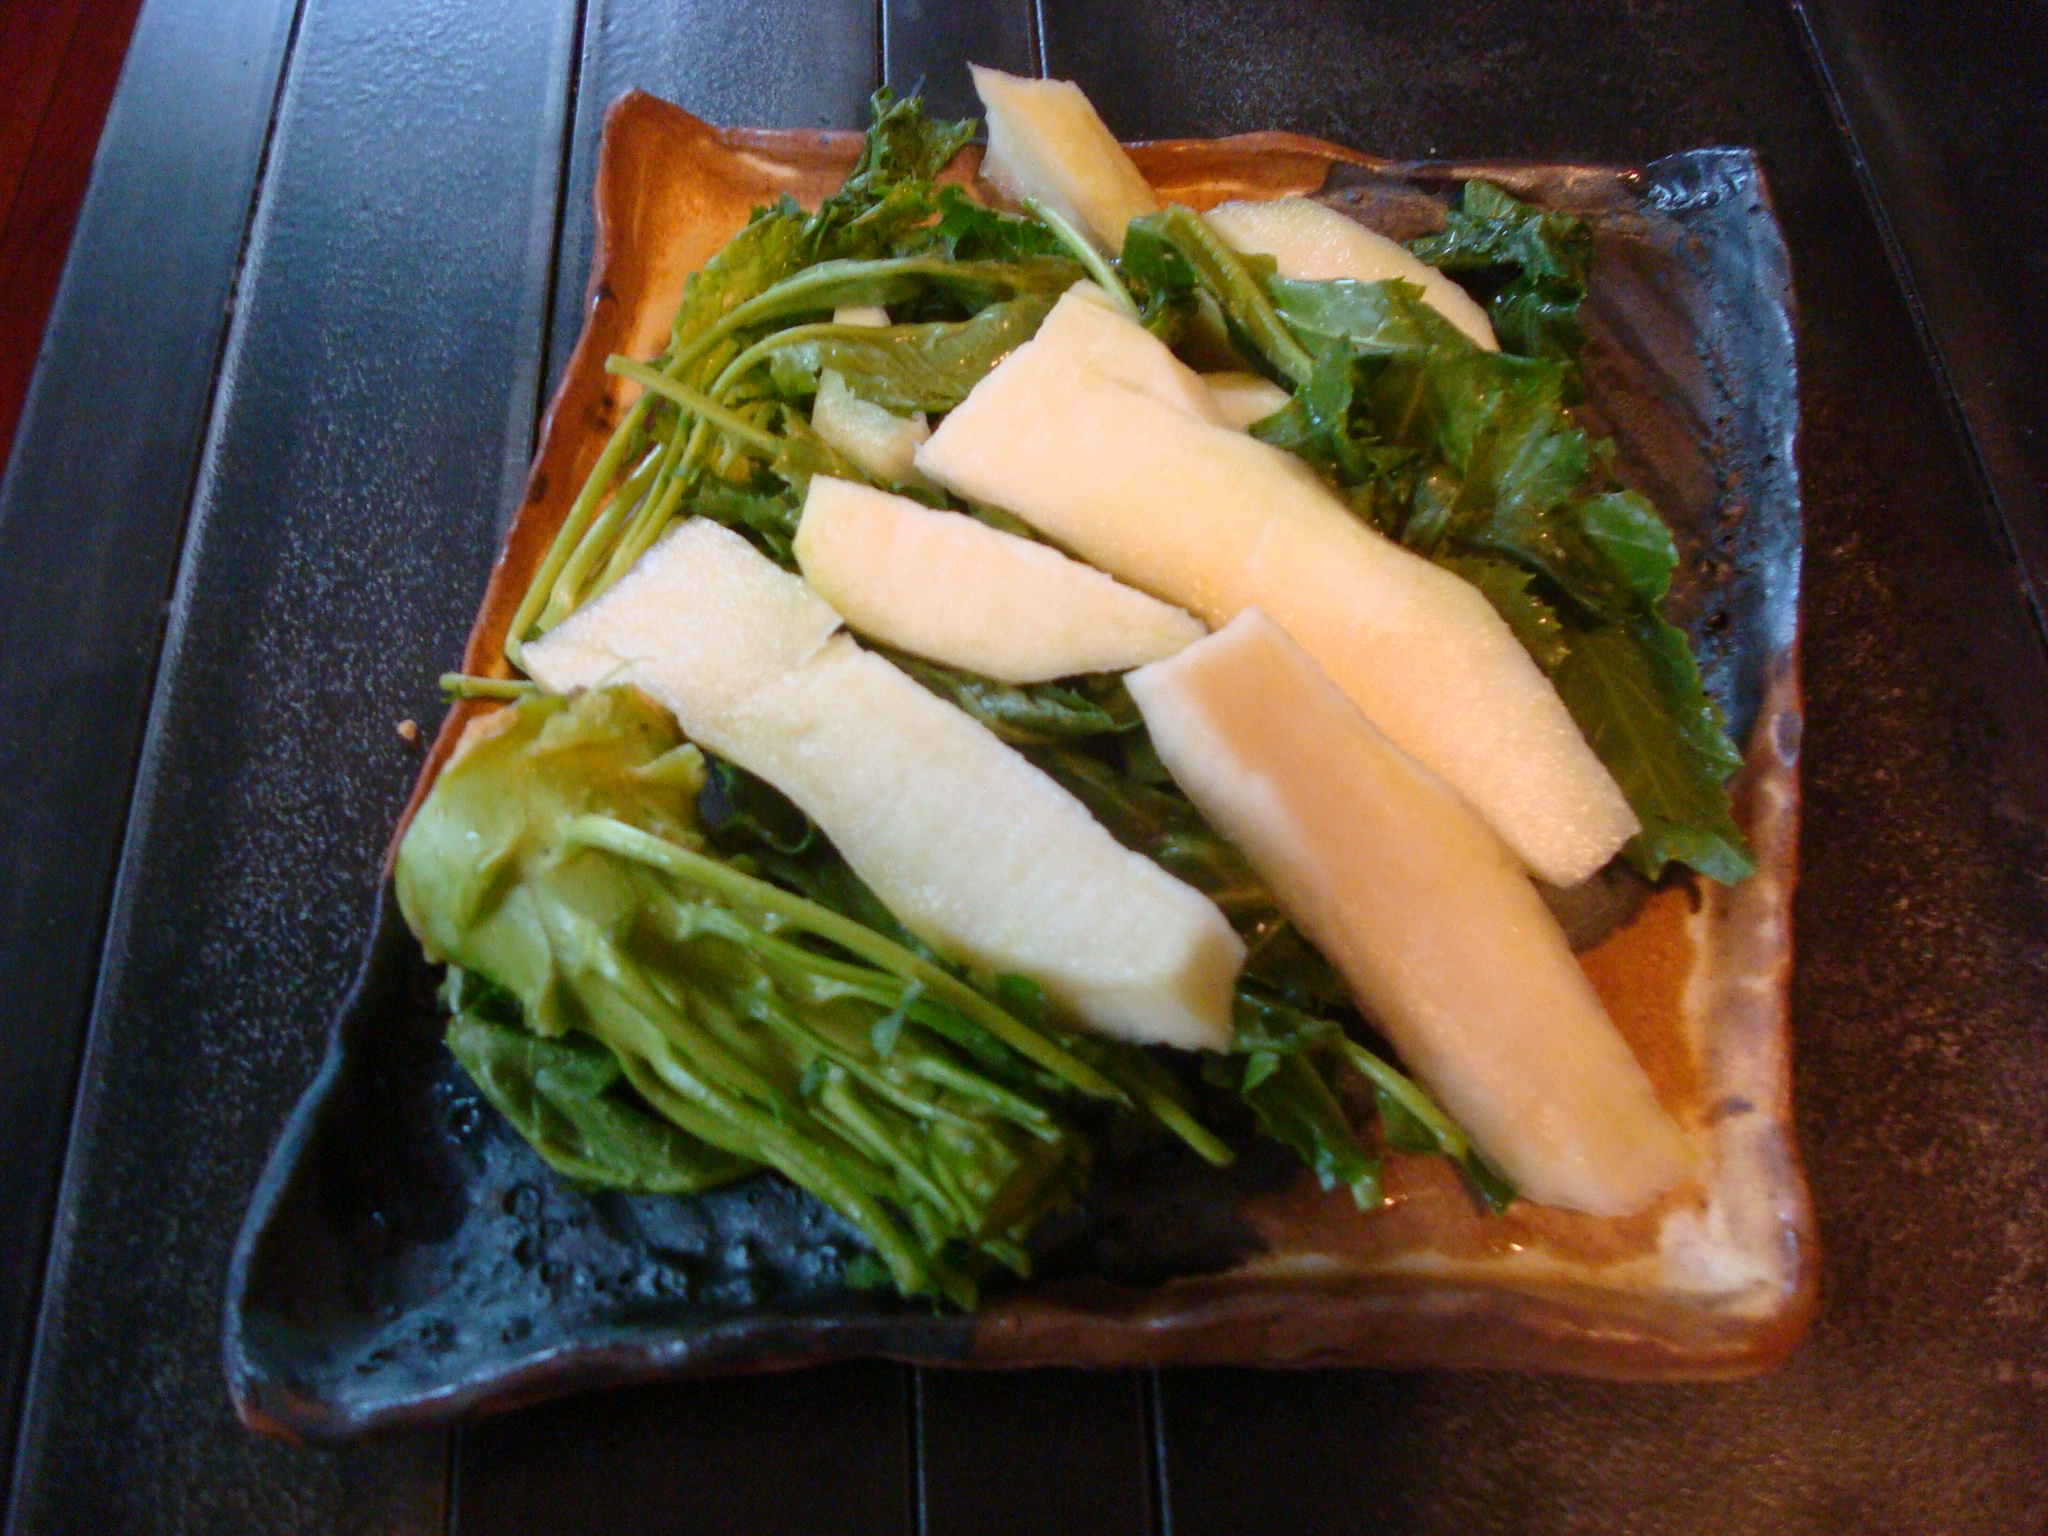
Enjoy the nuanced taste of your nukazuke pickle as an appetizer or an ingredient in a salad.
DSC06106

I look forward to the taste sensations my buried treasure brings me each day. I’ve tried cauliflower, red pepper, bok choi, daikon radish, red radish and celery. According to Craig, they have all been, “painfully good.”  Traditionally, eggplant, cucumber and cabbage are pickled.  If you start a nuka pot, please share your experiments with me.

Garlic Soup Recipe

DSC06064

Getting on an airplane to visit my mother tomorrow night prompted me to begin preparing my body for the trip by making a pot of microbe killing garlic soup. I’ve had one too many upper respiratory infections after airplane flights so going on the defensive seemed like a reasonable preventative measure. Just thinking about all the bacteria and viruses waiting for me on my seat or tray or in the collective bathroom is enough to make me sick before even boarding.

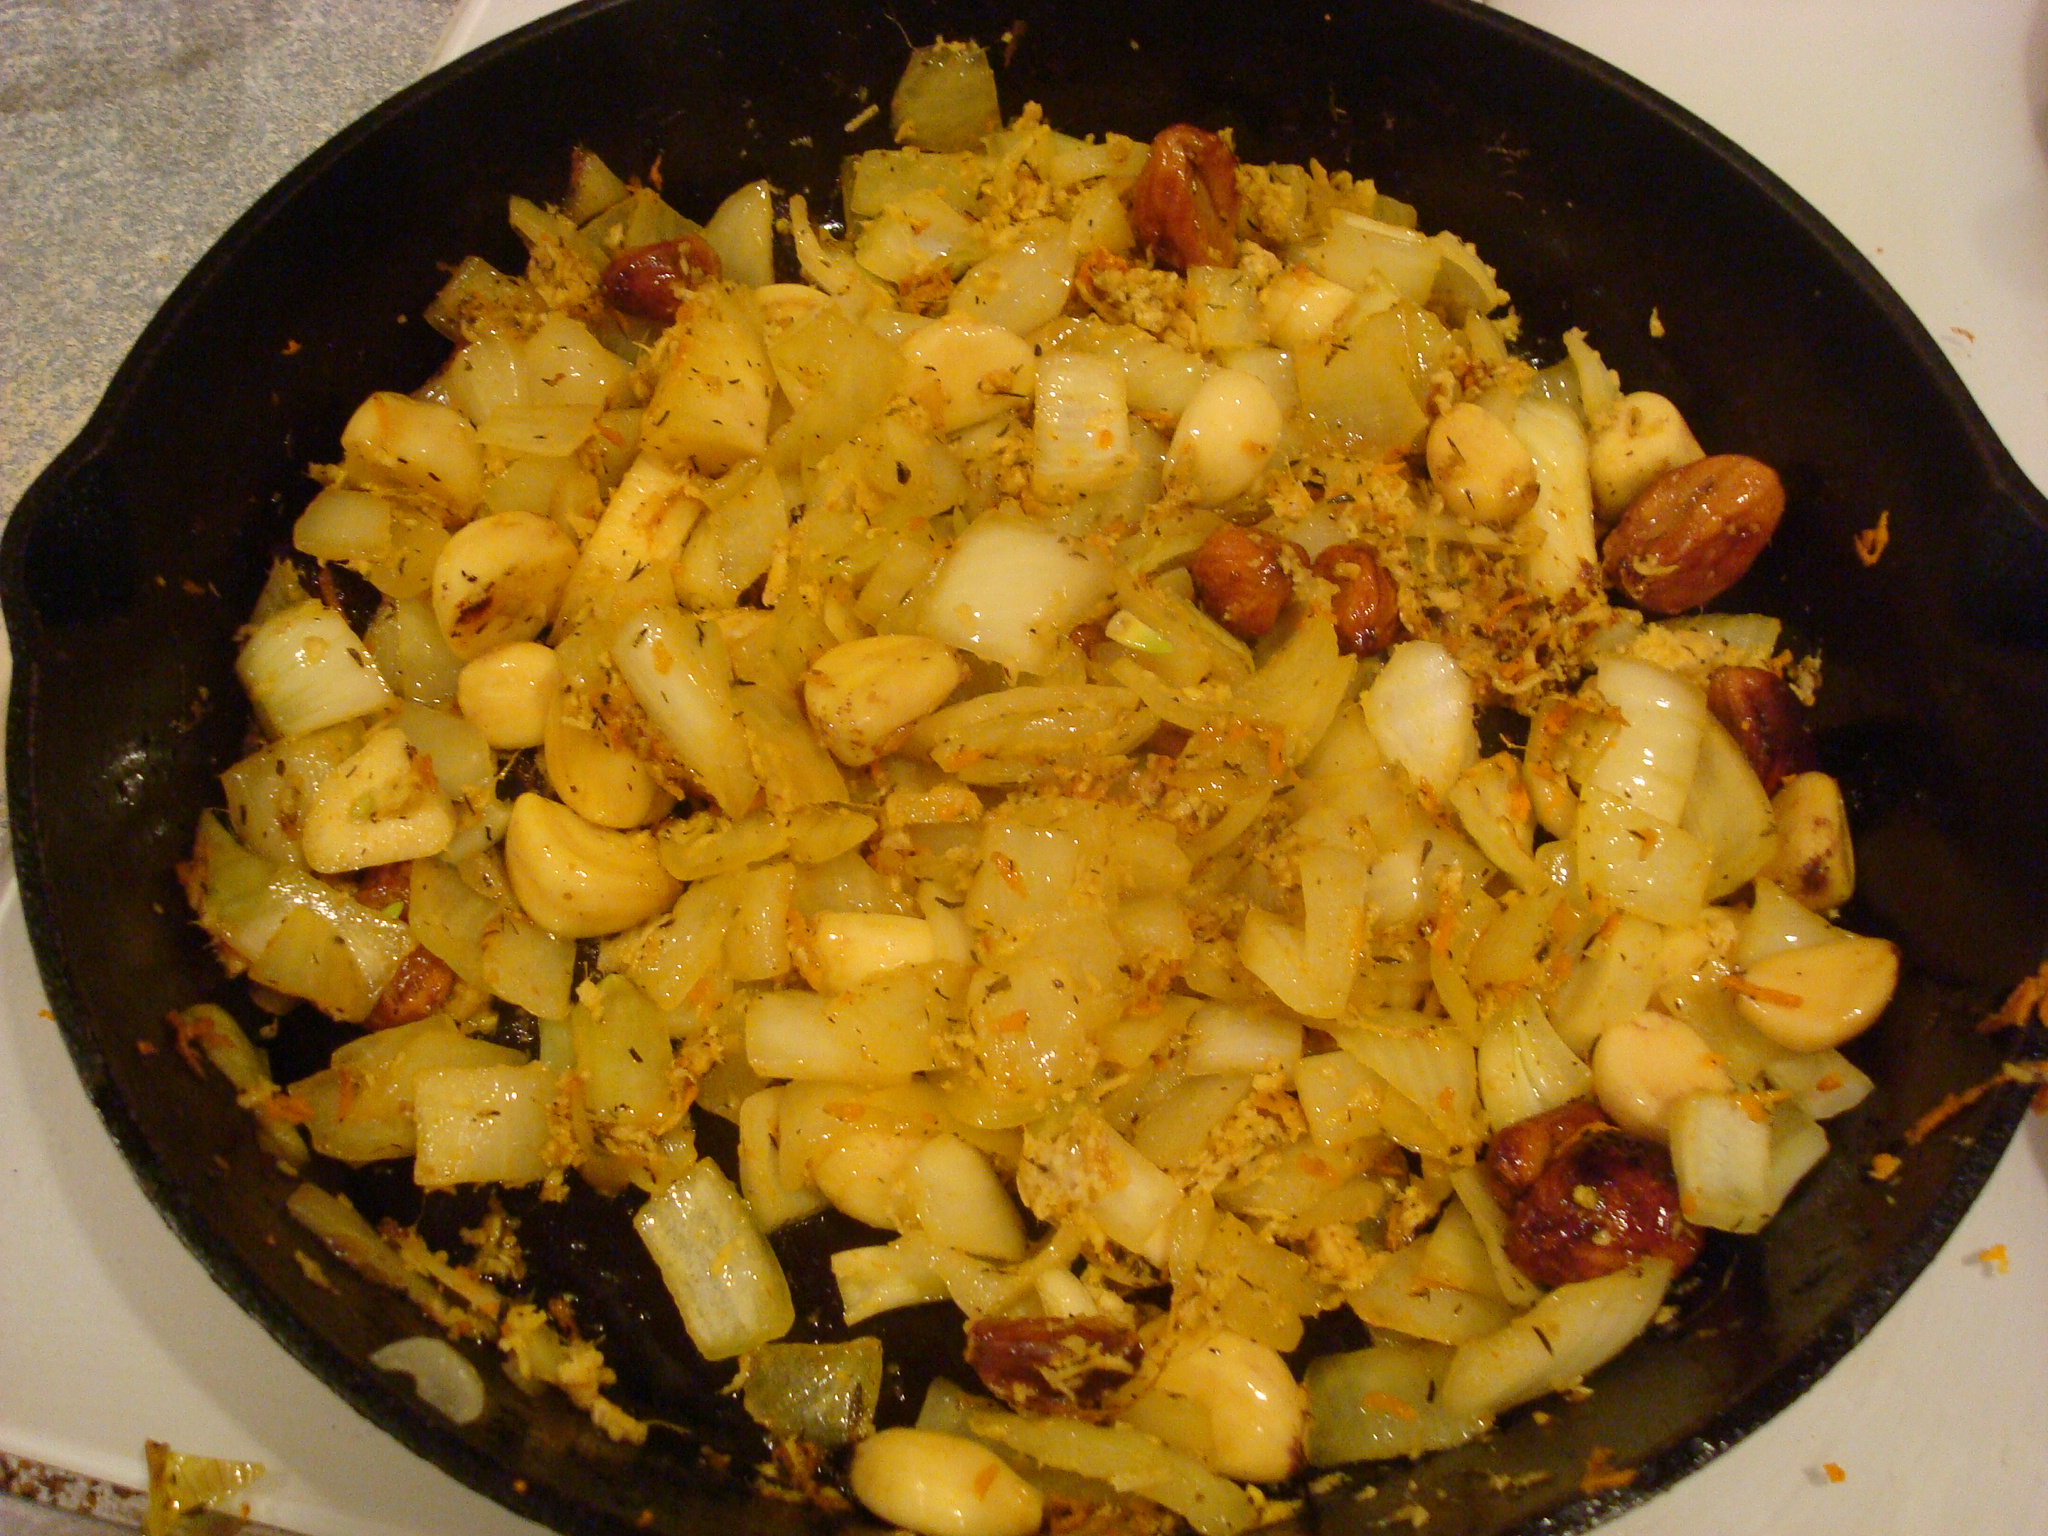
I figured I couldn’t lose with this recipe.  After all, 52 cloves of garlic, ½ cup of ginger, onions, lemon, cayenne and thyme are classic phlegm busters, and are capable of driving most pathogens out of the body. Was it overkill?  Maybe. When I made the soup, I wasn’t really thinking in terms of taste, I was thinking in terms of potency.  And I can assure you; this hot, pungent soup will send out a major warning to any microbe whose vector pathway might cross mine. Unfortunately, Craig, usually an adventurous gourmand, could only stomach four bites.  I ate my whole bowl with the curiosity and stamina of a seasoned traveler in a foreign country.  I can honestly say it was good…..very, very good for me.

Anyways, It’s my version of a flu shot, just way spicier, and likely more effective. If you have a cold, this soup might be just the thing to rid your body of the crud.

I followed this recipe:

In my batch, I also grated in some tumeric root for extra protection.

Modified Garlic Soup Recipe

Serves 4

26 garlic cloves (unpeeled)

2 tablespoons olive oil

2 tablespoons (1/4 stick) organic butter

1/2 teaspoon cayenne powder

1/2 cup fresh ginger

2 1/4 cups sliced onions

1 1/2 teaspoons chopped fresh thyme

26 garlic cloves, peeled

1/2 cup coconut milk

3 1/2 cups organic vegetable broth

4 lemon wedges

Preheat oven to 350F. Place 26 garlic cloves in small glass baking dish. Add 2 tablespoons olive oil and sprinkle with sea salt and toss to coat. Cover baking dish tightly with foil and bake until garlic is golden brown and tender, about 45 minutes. Cool. Squeeze garlic between fingertips to release cloves. Transfer cloves to small bowl.

Melt butter in heavy large saucepan over medium-high heat. Add onions, thyme, ginger and cayenne powder and cook until onions are translucent, about 6 minutes. Add roasted garlic and 26 raw garlic cloves and cook 3 minutes. Add vegetable broth; cover and simmer until garlic is very tender, about 20 minutes. Working in batches, puree soup in blender until smooth. Return soup to saucepan; add coconut milk and bring to simmer. Season with sea salt and pepper for flavor.

Squeeze juice of 1 lemon wedge into each bowl and serve.

Can be prepared 1 day ahead. Cover and refrigerate. Rewarm over medium heat, stirring occasionally.


Miso Soup Recipe

DSC05896

During the winter, chickpea miso soup is my comfort food.  It’s my Asian style version of chicken soup with its light, yellow, salty broth. Because miso is fermented, it delivers beneficial bacteria and enzymes, which aids in digestion, strengthens immunity and increases vitamins – B12, B2, K and E, amongst other benefits like cancer prevention. I never seem to drink enough fluids in the colder months so miso is one of my primary hydration allies when I have a bowl for lunch and before dinner.

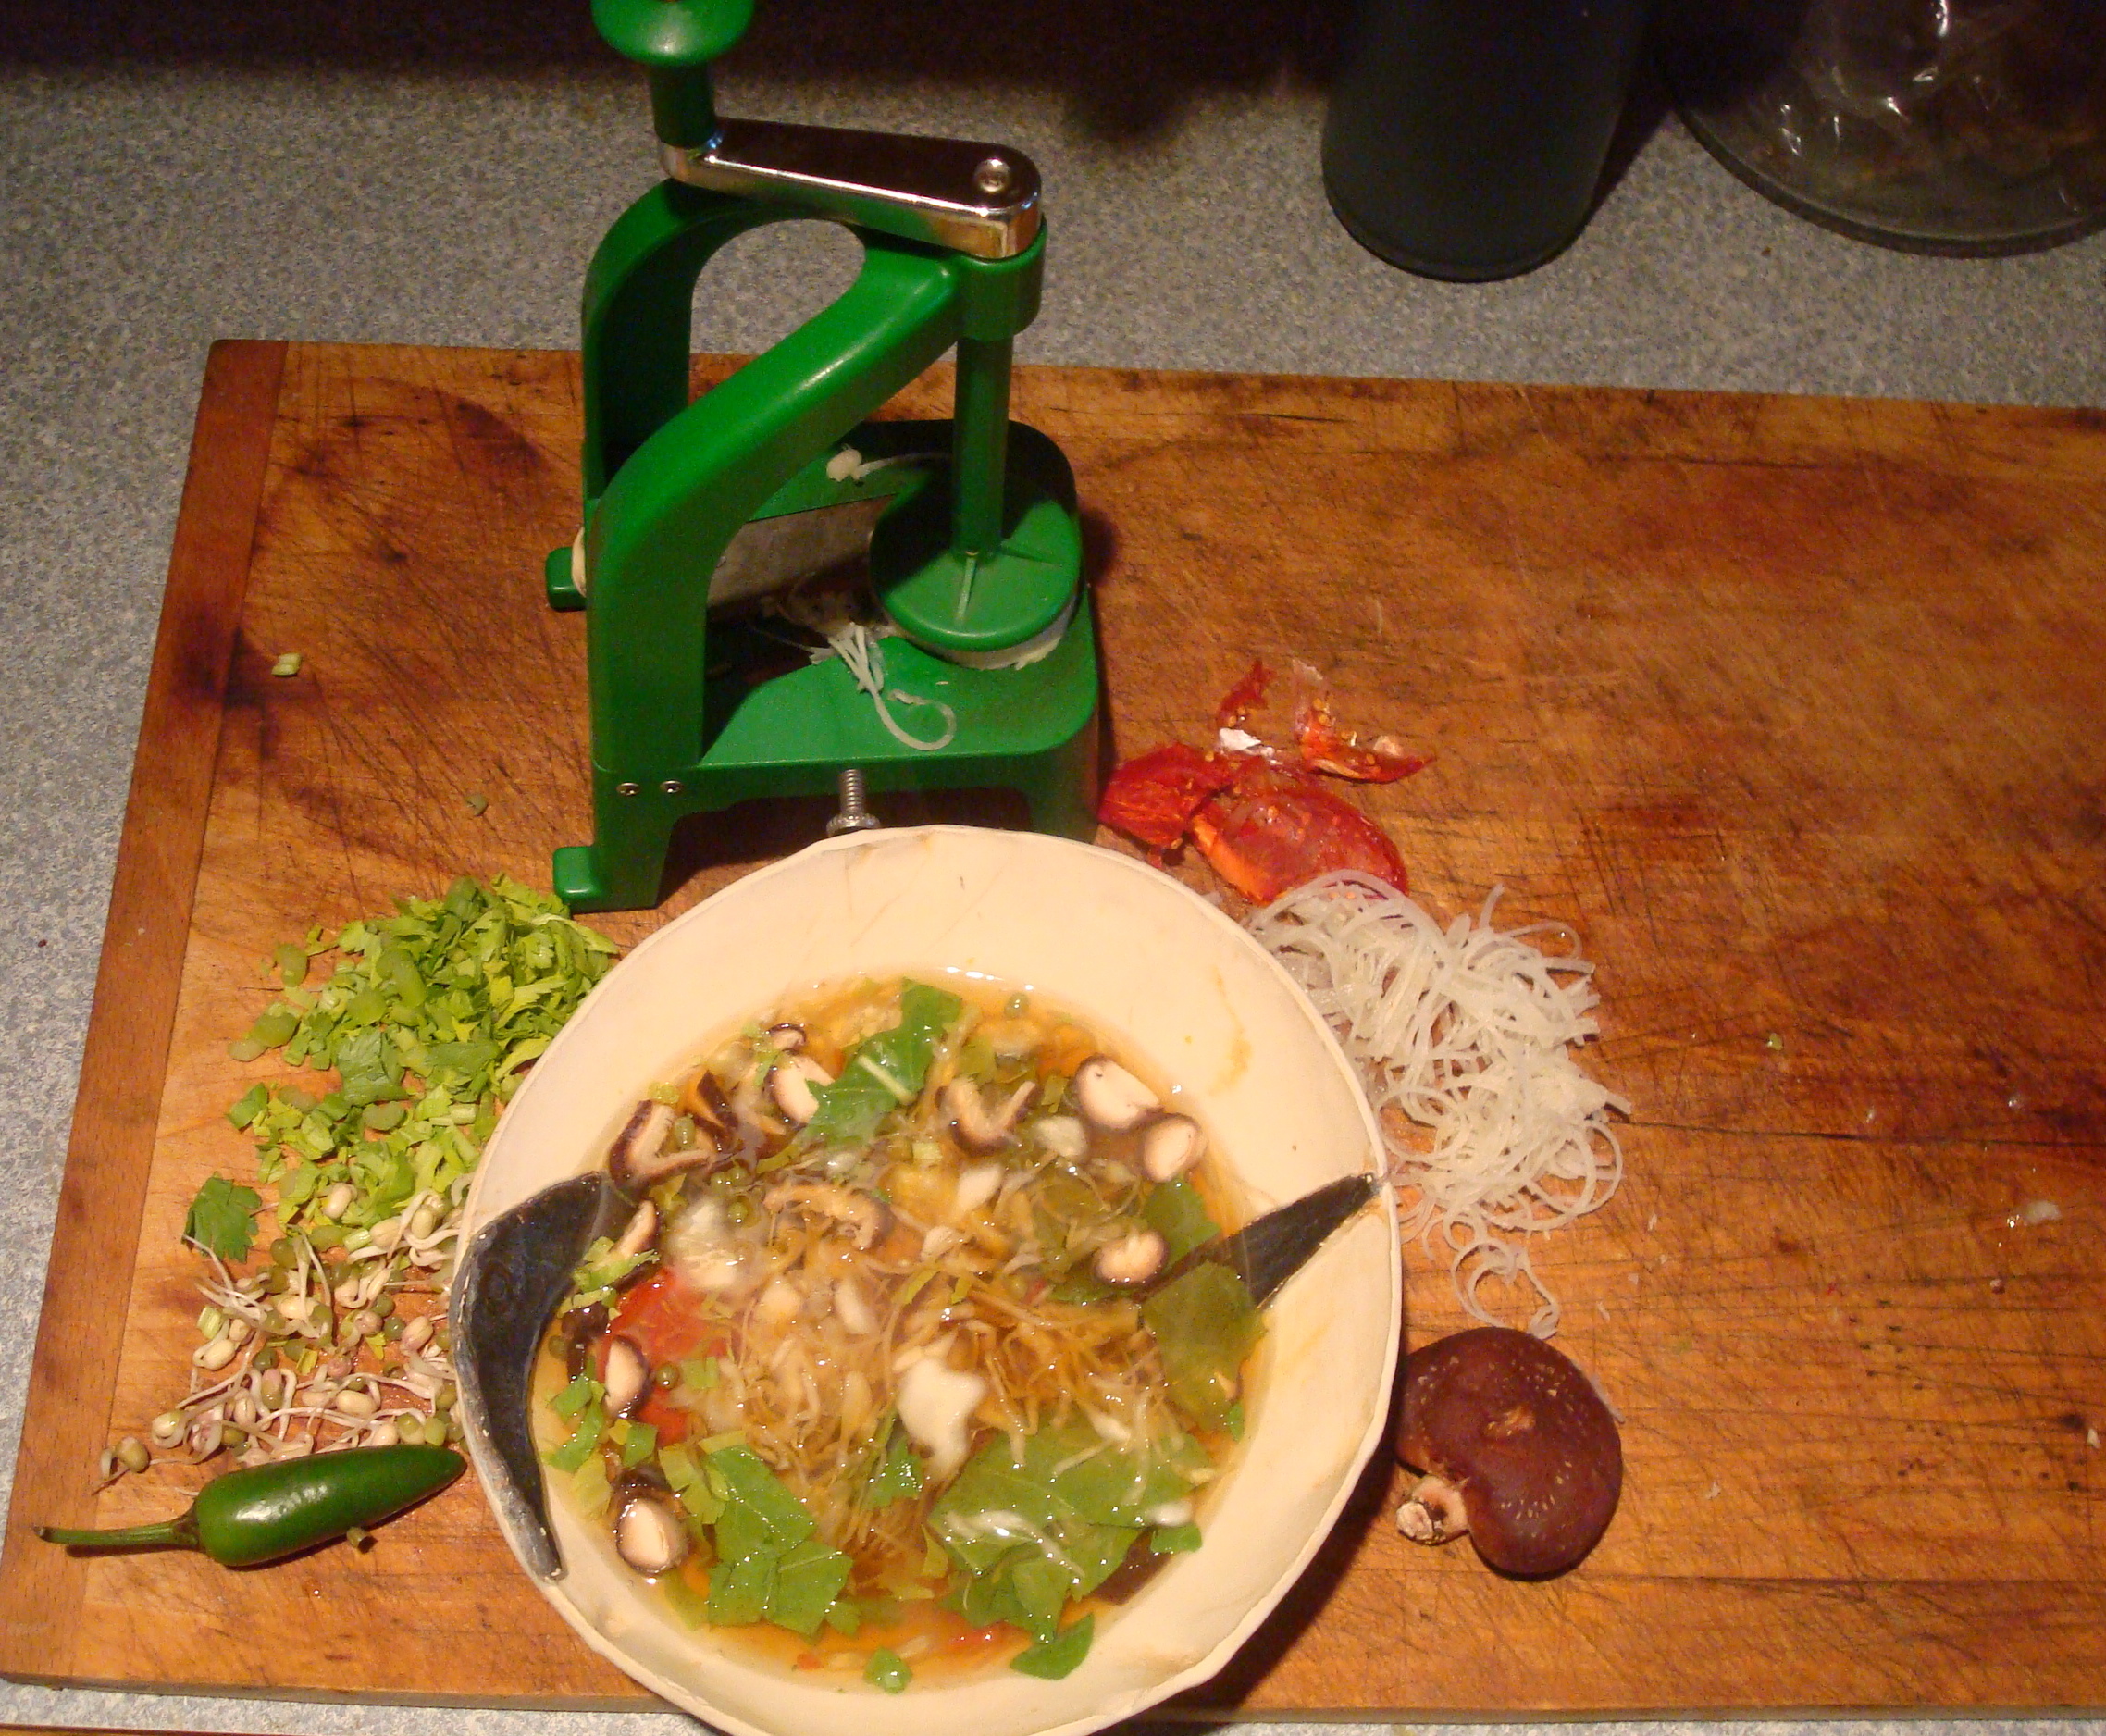
The traditional Japanese way to make miso is to simmer wakame seaweed before dissolving the miso paste and then adding little cubes of tofu and scallions. Margaret (or better known as Marge in my blogs) introduced me to a non-traditional, but equally delicious method, of adding a variety of raw vegetables into the miso broth. Chinese medicine dietary advice counsels against eating too many raw foods, especially in the winter, because it can generate dampness in the body; however, adding grated ginger and red chili pepper sauce balances the raw vegetables perfectly. I use a mandoline called benriner cook help slicer to make spiraling thin slices of root vegetables, which resemble transparent rice noodles.

For the last year, I have been making my own chickpea miso, which is made by fermenting a mixture of garbanzo beans, salt and koji with a fungus Asperigillus oryzae.  It’s simple to make and I will share the details in a future post, but you can also buy unpasteurized miso at all health food stores.

Miso Soup Recipe

Heat water to near the point of boiling but not quite because boiling water will kill the bacteria and enzymes in miso.  Put a ½ cup or so of water into a bowl, add two tablespoons of miso, and using the bottom of a tablespoon, dissolve the paste into the water.  Add grated ginger.

Add thinly sliced vegetables of your choice. My selections include: cabbage, radish, sprouts, peppers, celery, shredded turnips, dried tomatoes and mushrooms.

For a hot and sour miso soup, I add sauerkraut and 1 tsp. of red chili pepper sauce.

Depending on the saltiness of your miso, add salt or soy sauce.


Massaged Raw Kale Salad Recipe

DSC06036

Yeah, it happened to me too at the end of the year-I couldn’t resist eating the homemade goodies that arrived in little cellophane gift bags tied with pretty ribbons.  Full disclosure: I could resist most cookies but not the homemade almond roca or the toffee.  So, as the New Year begins, I am sharing my antidote for replacing the sweet taste that might still be clinging to your palate, and derailing your healthy food choices too.

At Parsley Farm, lacinato kale, or commonly referred to as dinosaur kale, is our primary winter food crop.  All the cruciferous vegetables grow well in the Pacific Northwest climate, but kale, in particular, seems to thrive. And if it thrives, we thrive.  Unlike cabbage, broccoli or Brussels sprouts, which mature for a one-time harvest, kale, a plant that keeps on giving throughout the seasons, will continue to generate growth when some of its leaves are picked as it develops. If you start your plants in the spring, by fall they will mature into big leafy plants, mighty manufacturers of nutrient dense nutrition for picking throughout the winter.

Kale is a medicinal money tree as far as I’m concerned.  With many large plants growing in my garden, I feel rich. In Chinese medicine, we view kale as slightly bitter which benefits the liver and heart.  All dark green vegetables nourish the blood, but kale also has a detoxifying effect, which can be helpful for anyone with cancer thus my strong attraction to this plant. It is also helpful for lowering cholesterol.  Besides being rich in vitamins such as Vit A, C and K, it is also a good source of iron, magnesium and calcium.

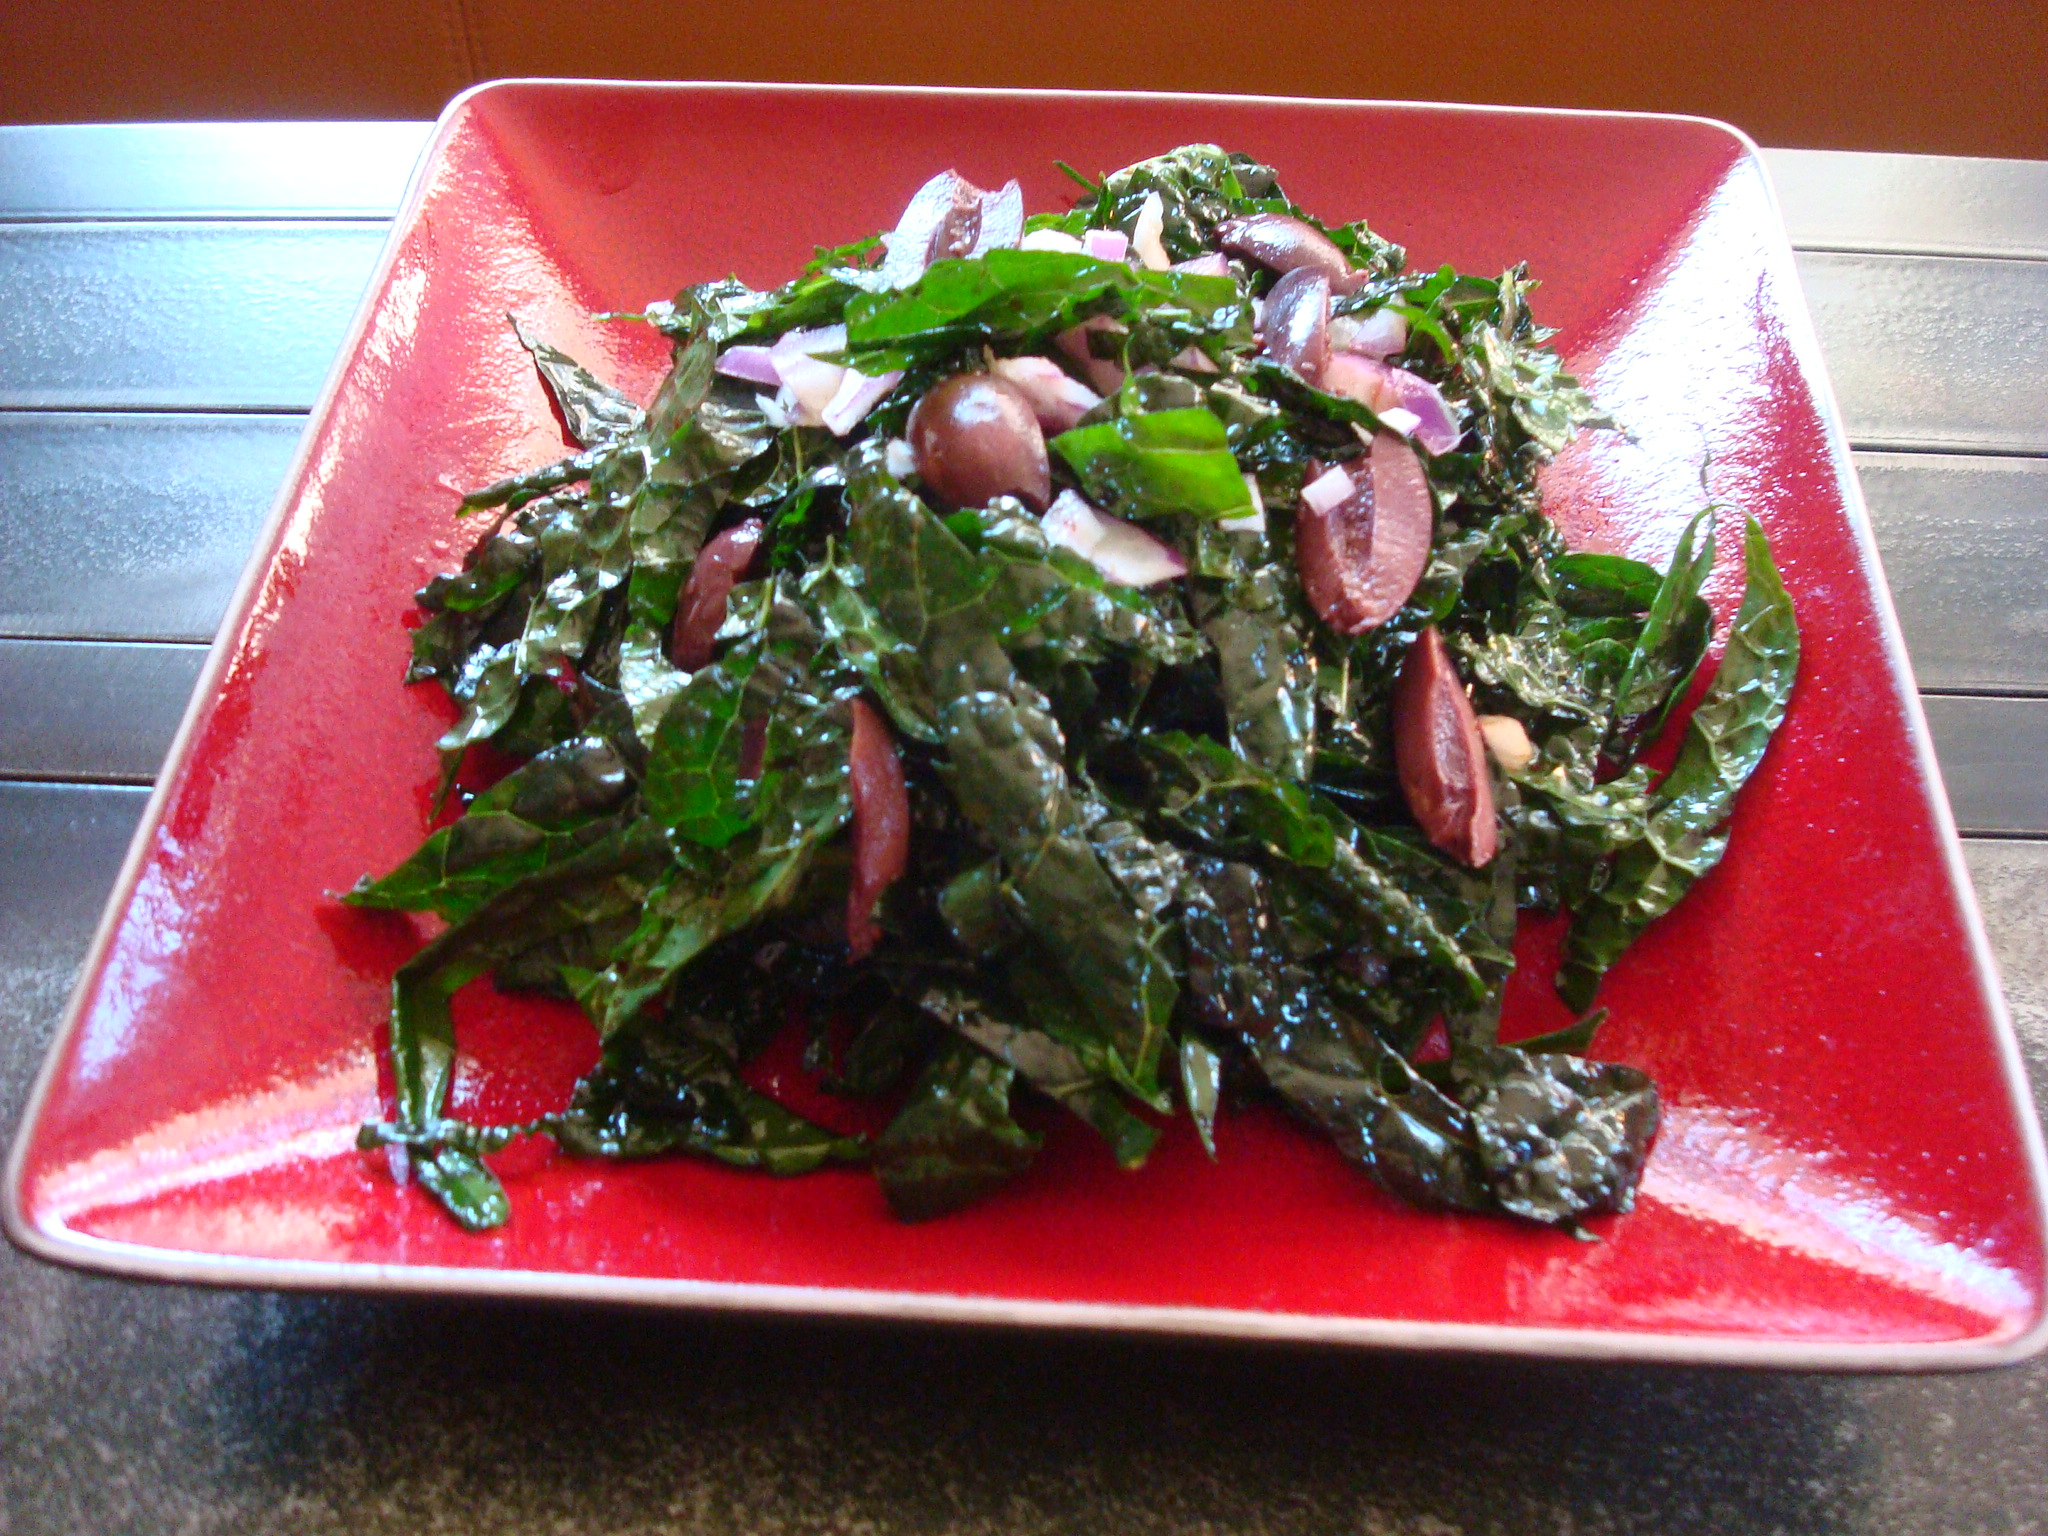
Massaging raw kale is my favorite way to prepare it because by manually breaking down the cell walls, we render it into a tender, digestible and delicious dish.  The shiny deep dark green leaves seem to transform into something more akin to seaweed with all the nutrient richness of chlorophyll coming to the surface, but with none of the fishy taste. Below is my basic recipe because I like the simple, clean taste of the kale itself with a little red onion, but it can be fancied up with red pepper, olives or sprouts, or whatever else you might imagine.

Parsley Farm

Massaged Raw Kale Salad

Ingredients

1 bunch kale

1 – 2 tbsp balsamic vinegar (or, any other acid: ½ lemon or lime; rice vinegar, apple cider vinegar)

1/8 cup extra-virgin olive oil

2 pinches of sea salt (adjust to taste)

¼ cup red onion sliced thinly

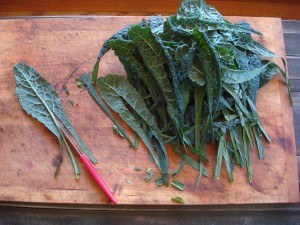
First, cut the stems out of the kale.

DSC06026

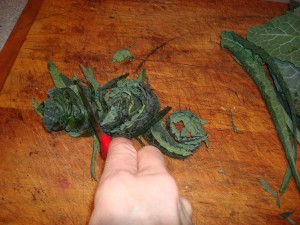
Roll up a few de-stemmed leaves at a time and then slice them into narrow bite size pieces.

DSC06031

Put all of the sliced kale into a bowl, add 2 pinches of salt and drizzle olive oil over the greens.  After washing your hands, massage the kale with your hands for 2 -3 minutes until they soften and wilt, and become visibly darker.  Add your vinegar and stir.  Add sliced red onion, and any other additions such as red pepper, olives or sprouts.  Toss, serve, and eat ALLOT.


The Cleaning Cure

DSC05990

Have you ever had the experience of waiting for those precious few days when your partner will be away, and then finally you are alone? This morning Craig left to visit Indian Bob over the Christmas holiday so finally I had the solitude I’d been waiting for to start rewriting the first chapter of my memoir.

Well, of course, instead of sitting down to write, I had to clean the space first.  That’s not too avoidant, it’s practically a norm for writers to clean their space as a first attempt to clear their head before banging it up against their subject matter. But when I decided to make DIY household cleaning supplies, I knew I was really getting off my mark.

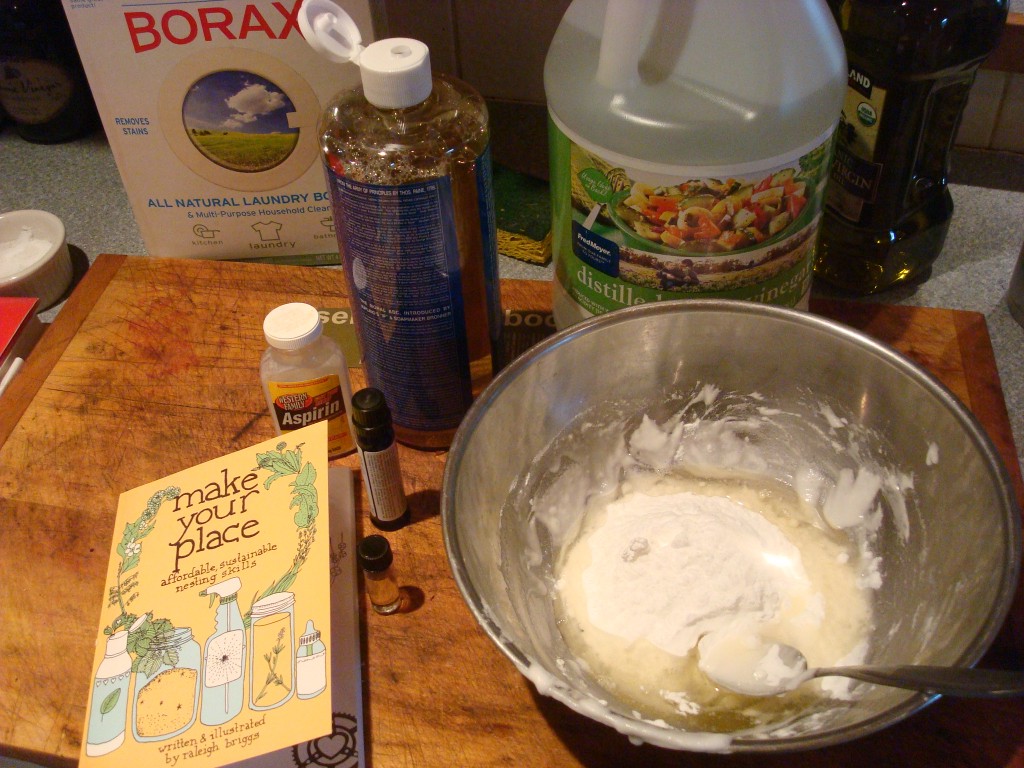
The reality is I’ve been putting off making these simple, totally non-toxic, effective and inexpensive cleansers for about as long as I’ve been putting off rewriting chapter one.  As it turned out, spending the very few minutes it took to make an All Purpose Spray Cleaner and a Soft Scrub cleanser, using Seattle writer Raleigh Briggs’ very cool book, Make Your Place, affordable, sustainable nesting skills, triggered an all out, clean every white surface in sight siege.  Raleigh Briggs offers excellent non-toxic solutions for household cleansers so her book is a small and very worthwhile investment.  She uses basic and inexpensive ingredients like baking soda, vinegar and essential oils among other simple ingredients, and enough practical hands on tips to make all conscientious homemakers succeed at using non-toxic cleansers as a first choice.

This is my favorite recipe for making a soft scrub for cleaning bathtubs and sinks:

1 c baking soda

3-5 drops tea tree oil (other oils are fine too – lemon, eucalyptus, peppermint)

¼ c liquid castile soap

2 aspirins, powdered

Mix all ingredients together and add enough water to make a paste. Keep in a shampoo bottle or small Tupperware container.  To use, apply with a sponge, scrub and rinse thoroughly.

Now back to the clean white page.